1. Description
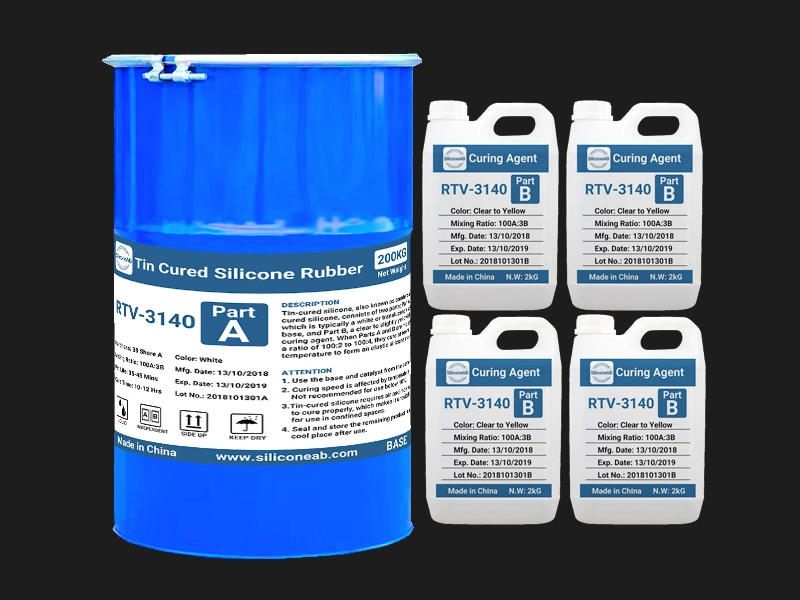
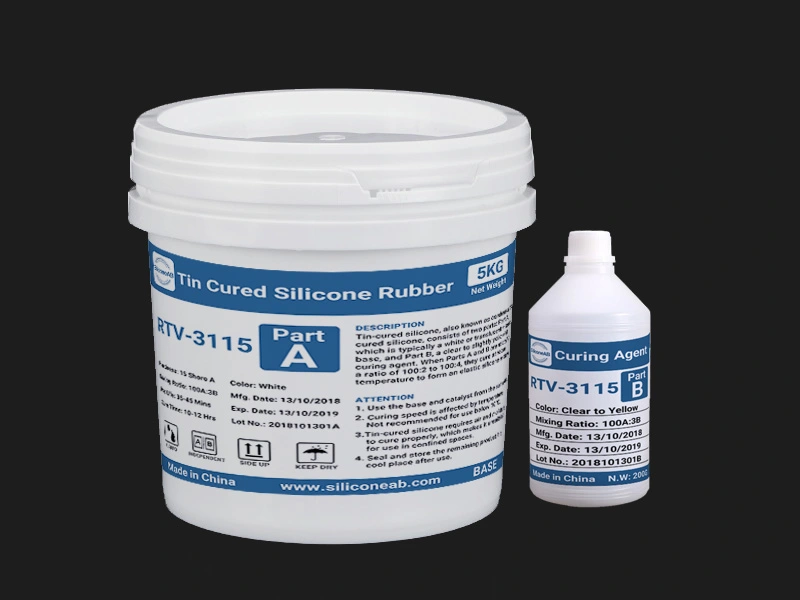
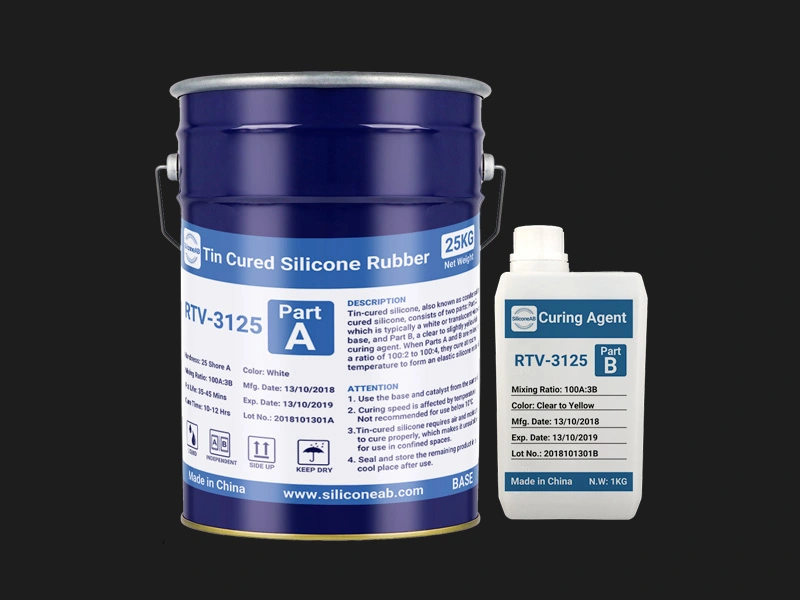
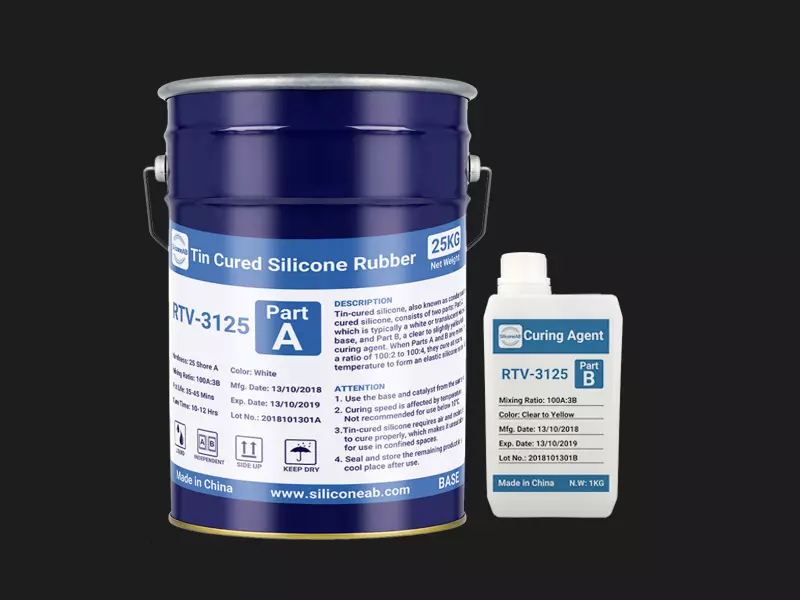
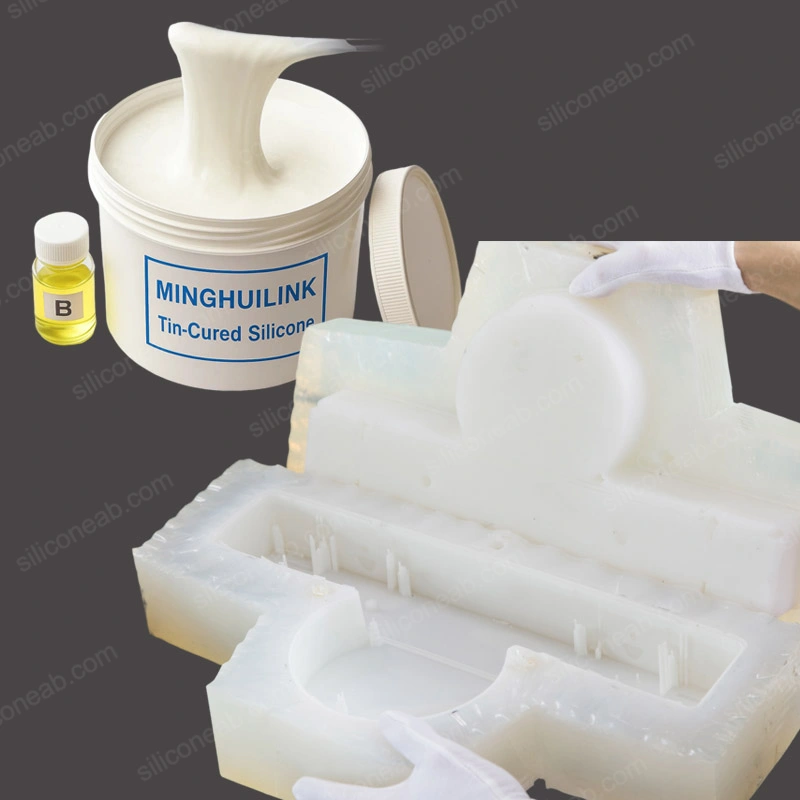
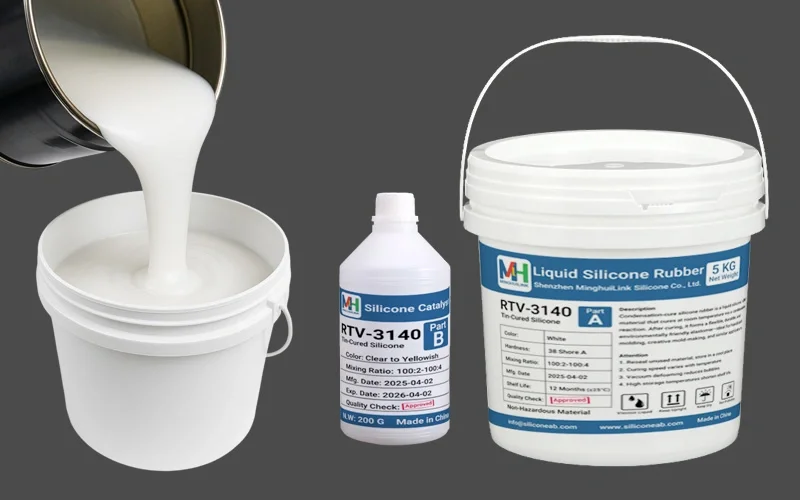
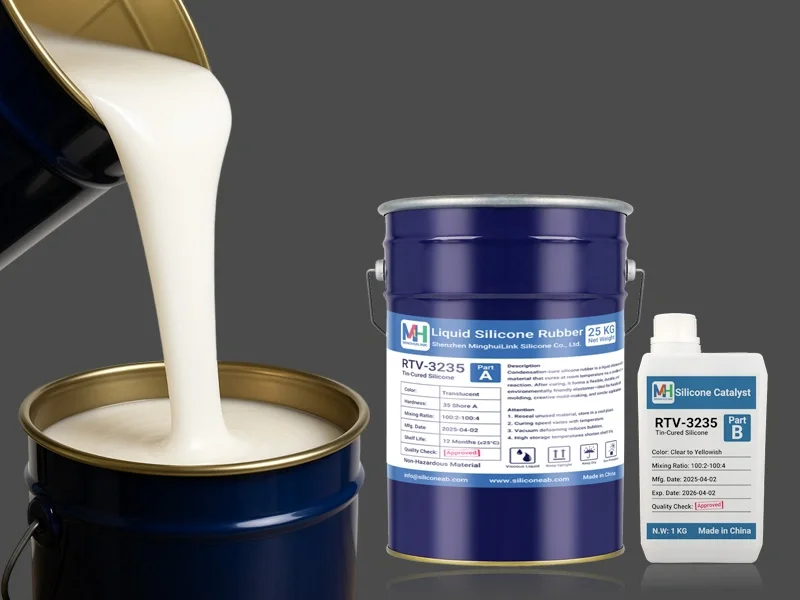
This series of High Hardness Tin Cured Silicone Rubber, also known as Condensation Cure Silicone, is a high-performance RTV-2 silicone material engineered for applications requiring maximum rigidity and dimensional stability. It consists of a white or translucent base (Part A) and a tin-based catalyst (Part B), which cures at room temperature by reacting with atmospheric moisture.
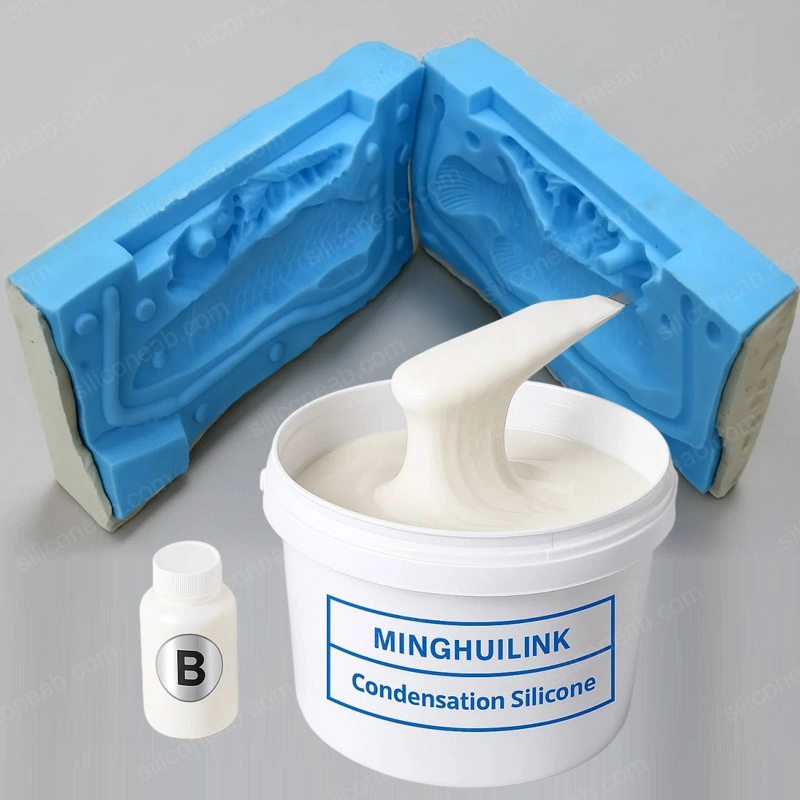
When mixed in a ratio of 100:2 to 100:4 by weight, it cures to a rigid, deformation-resistant rubber. While it offers superior stability for precision parts, it has lower tear strength compared to the medium hardness series, making it best suited for block molds with few undercuts.
2. Features
- High Hardness & Rigidity: Cures to a firm rubber (35-40 Shore A) that resists deformation under pressure, ensuring the cast part maintains precise dimensions.
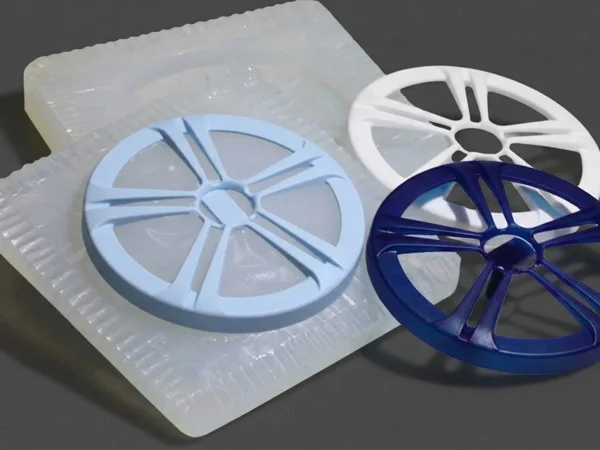
- Dimensional Stability: Exhibits minimal distortion during the casting process, making it ideal for reproducing mechanical parts that require tight tolerances.
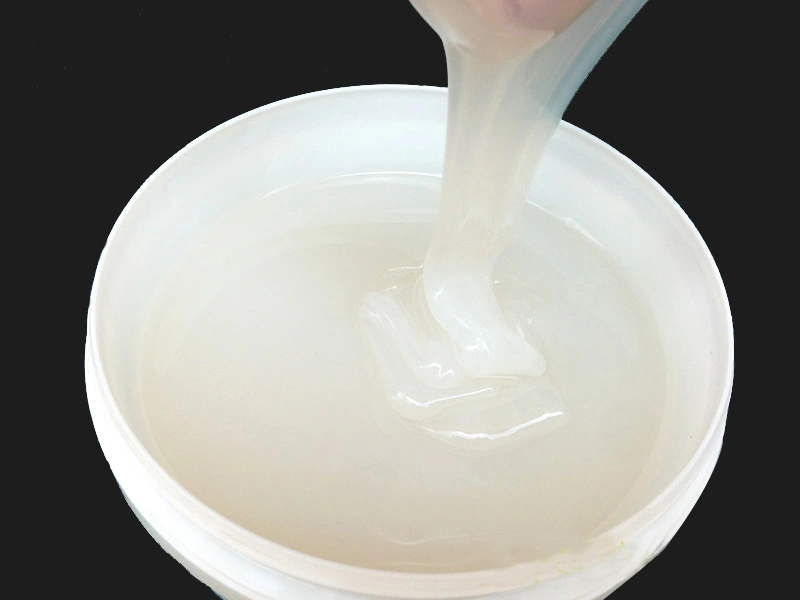
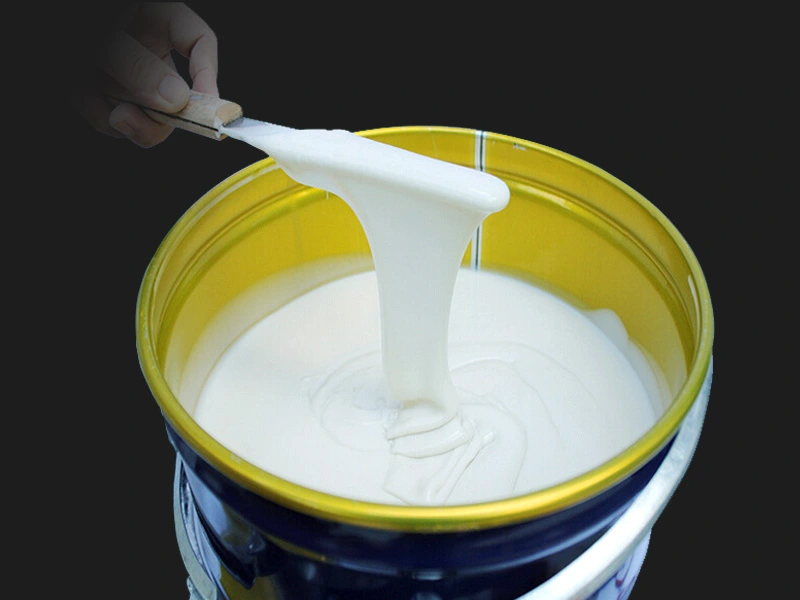
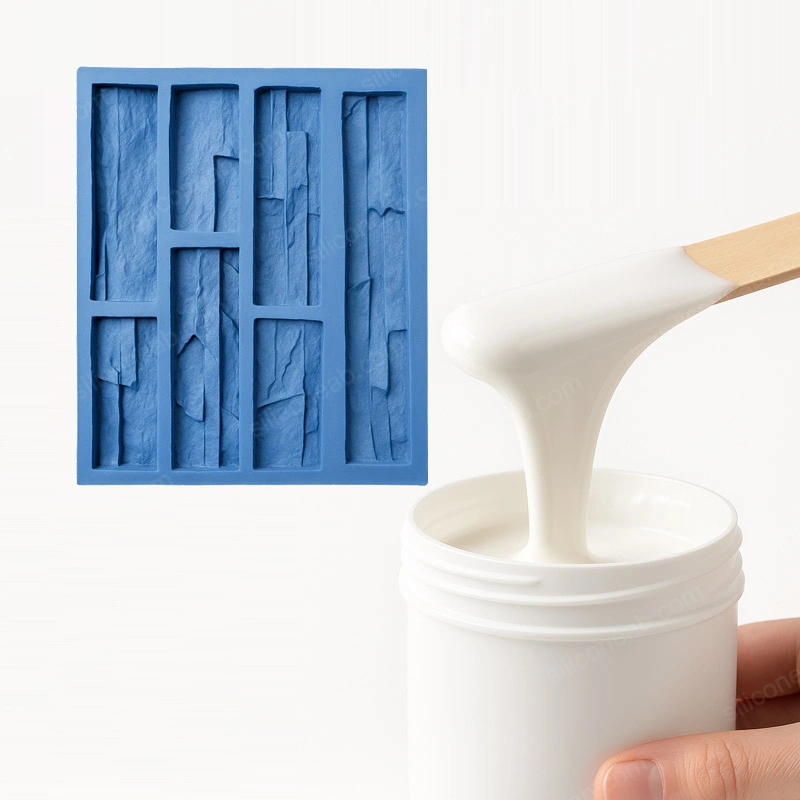
- Detail Reproduction: Despite its hardness, the material exhibits excellent flowability, ensuring it captures fine details and textures from the master model.
- Heat Resistance: Withstands temperatures up to 200°C (392°F), making it suitable for casting exothermic resins and low-melting point alloys.
- Excellent Release: Its natural non-stick properties significantly reduce the need for release agents, ensuring clean castings.
3. Applications
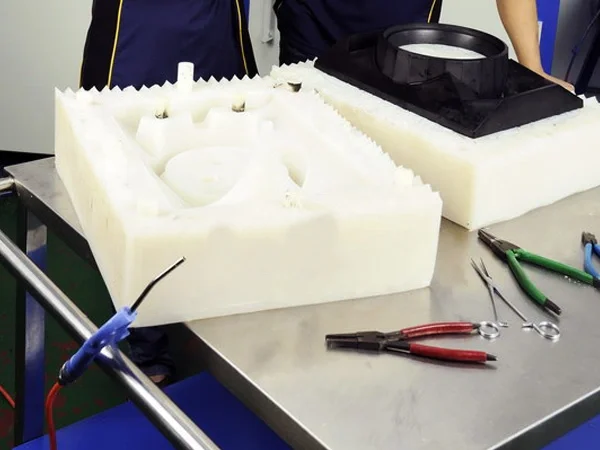
This series is specifically engineered for applications where mold rigidity and precision are paramount. Its high stability makes it the ideal choice for reproducing prototypes and industrial parts where deformation must be eliminated.
- Rapid Prototyping: The preferred choice for creating prototype molds in the automotive and electronics industries, such as for lamp housings, console boxes, and appliance parts.
- Vacuum Casting: Its rigidity withstands the vacuum pressure without collapsing, ensuring accurate reproduction of PU resin parts.
- Cement & Ceramic Molding: Provides the necessary support for heavy casting materials like cement and ceramics, preventing the mold from deformation.
- Thin Shell Prototyping: Ideal for casting thin-walled parts where a softer mold might distort the product's geometry.
Prototype Vacuum Casting
Thin Shell Prototyping
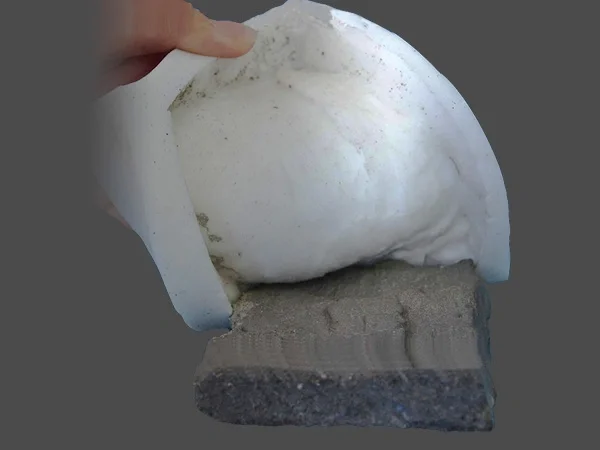
Cement Silicone Mold

Ceramic Silicone Mold
4. Processing Notes
- Batch Consistency: For consistent results, always use Part A and Part B from the same batch. Mixing components from different batches requires user testing to confirm compatibility.
- Mixing Ratio: Weigh Part A and Part B accurately. The recommended ratio is 100:2 to 100:4 by weight.
- Catalyst Impact: Using excess catalyst (>100:5) to speed up curing may cause the mold to become brittle and shorten its lifespan.
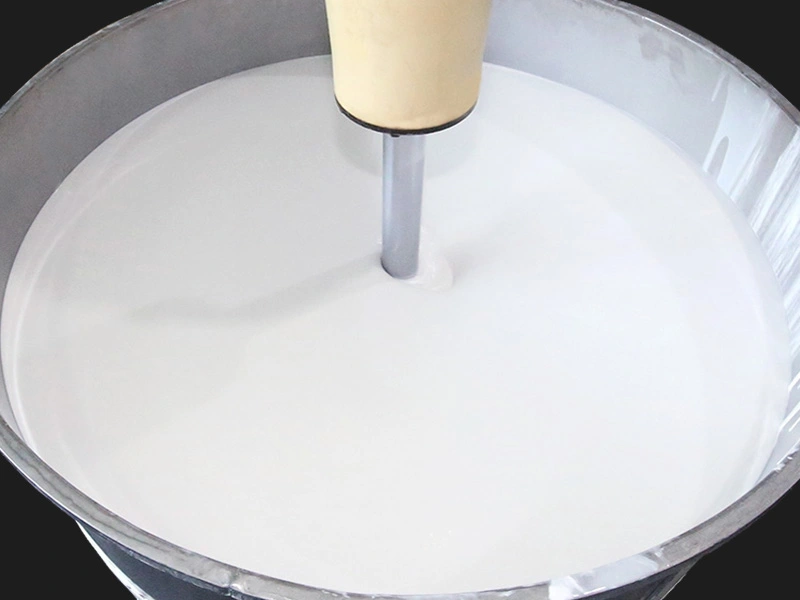
- Mixing Process: Mix thoroughly, scraping the sides and bottom of the container. If using white silicone, stir Part A before use as fillers may settle.
- Shrinkage: Tin-cured silicone molds undergo gradual shrinkage over time. The rate of shrinkage can be affected by the casting material and mold design.
Important Usage Warnings
Industrial Use Only: This product is NOT suitable for food, dental, or skin-contact applications due to potential leaching and catalyst by-products.
Troubleshooting & Solutions
Encountering issues with bubbles or shrinkage? Check out our expert guides:
5. Safety Precautions
During curing, condensation silicones release by-products (e.g., alcohol). Use in a well-ventilated area. Keep out of reach of children.
- Ventilation: Ensure adequate ventilation to disperse vapors released during curing. If ventilation is insufficient, respiratory protection is recommended.
- PPE: Wear safety glasses and liquid-tight gloves (nitrile/butyl) to prevent skin and eye contact.
- Skin Contact: Wash thoroughly with soap and water. Seek medical attention if irritation persists.
- Eye Contact: Flush eyes with water for 15 minutes and seek medical attention.
- Inhalation: Move to fresh air. Seek medical attention if symptoms such as dizziness or irritation occur.
- Ingestion: Do not induce vomiting. Rinse mouth and seek immediate medical attention.
6. Storage & Shelf Life
- Storage Conditions
- Store in a cool, dry, well-ventilated place at room temperature (15–25°C / 60–77°F). Keep away from heat and direct sunlight.
- Shelf Life
- 12 months from the date of manufacture when stored properly. High temperatures may reduce shelf life.
- Opened Containers
- Reseal immediately after use to prevent leakage and protect the catalyst from moisture (hydrolysis).