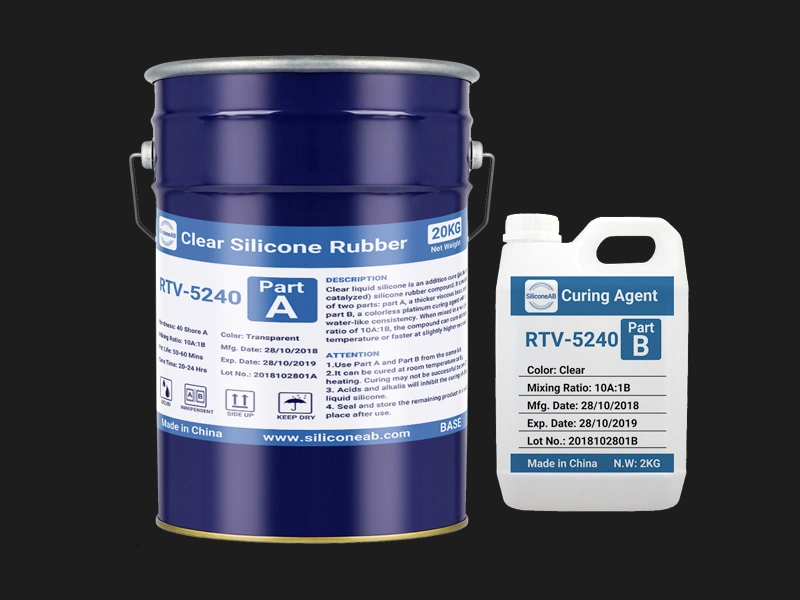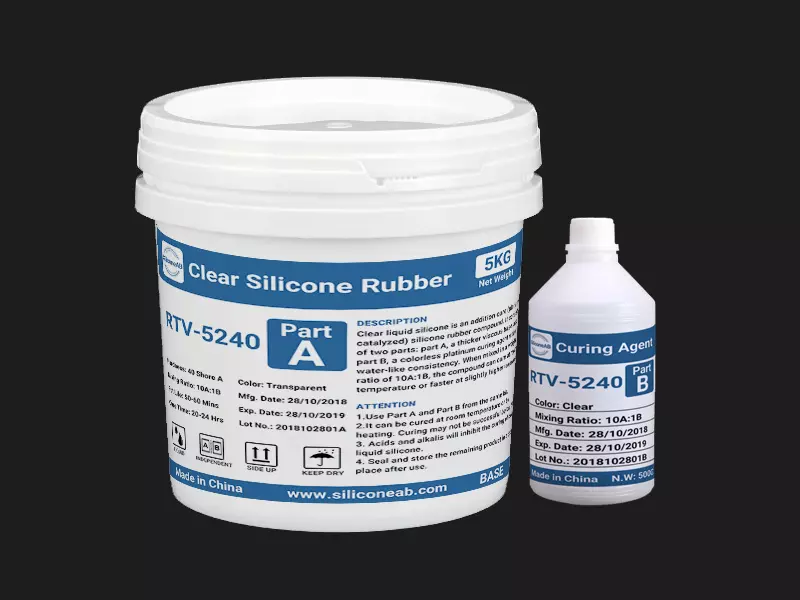
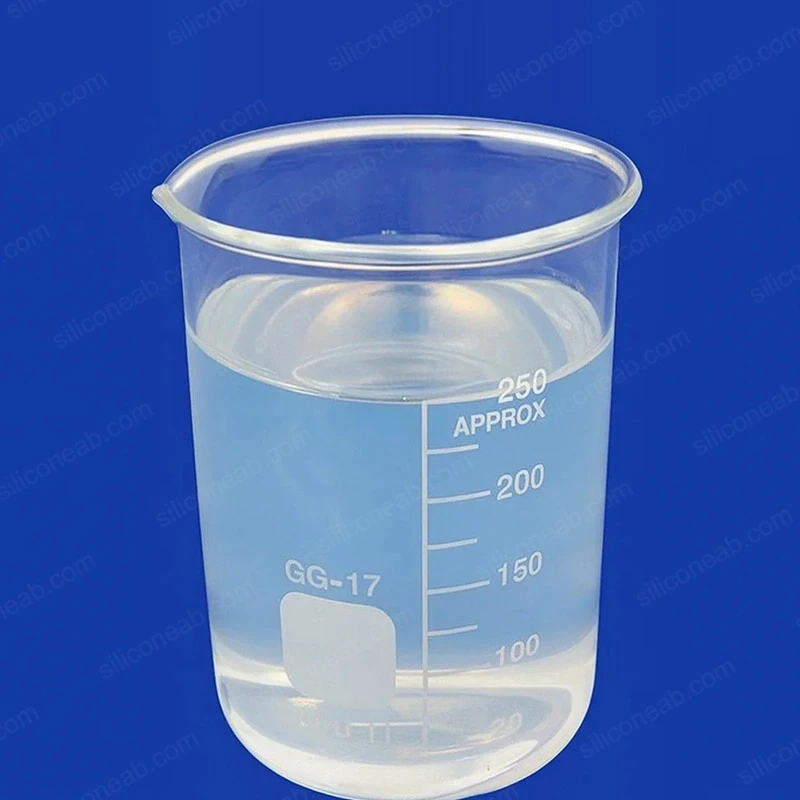
Soft RTV-2 Transparent Liquid Silicone Rubber for Molds

high transparency rtv-2 low shrinkage 10-20 A platinum based
  • Pricing: Custom Quote
  • HS Code: 3910.00.0000
  • MOQ: 1.1 kg Kit (1 kg Part A + 100 g Part B) (Same unit price for Part A & B)
Estimated Lead Time
  • 2-3 Days
    < 1,000 Kg
  • 4-7 Days
    1-5 Tons
  • Negotiable
    > 5 Tons

Not sure yet? Request a sample to evaluate its suitability for your project.

1. Description

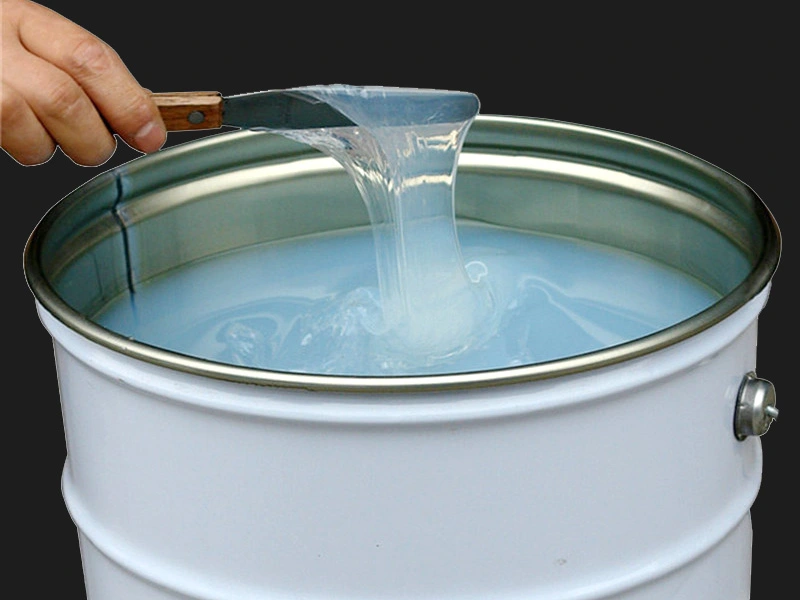
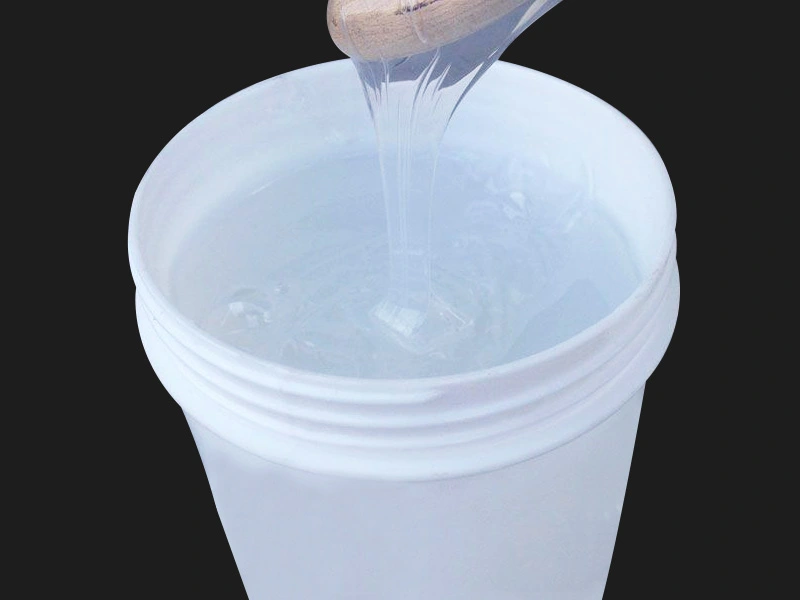
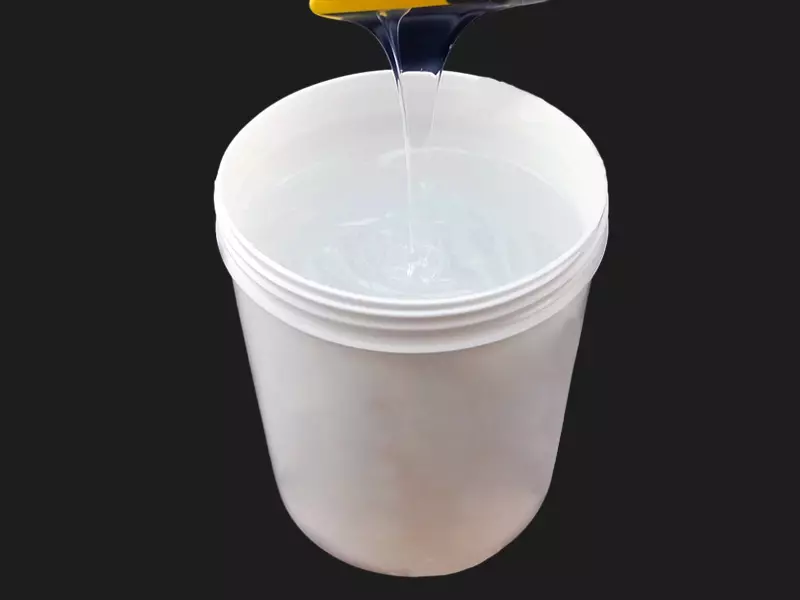
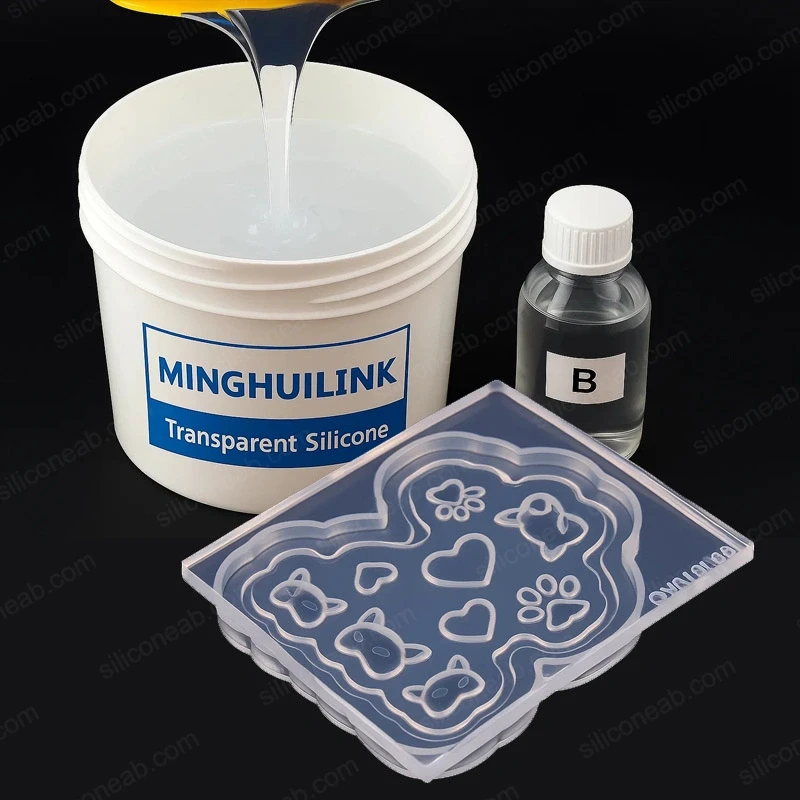
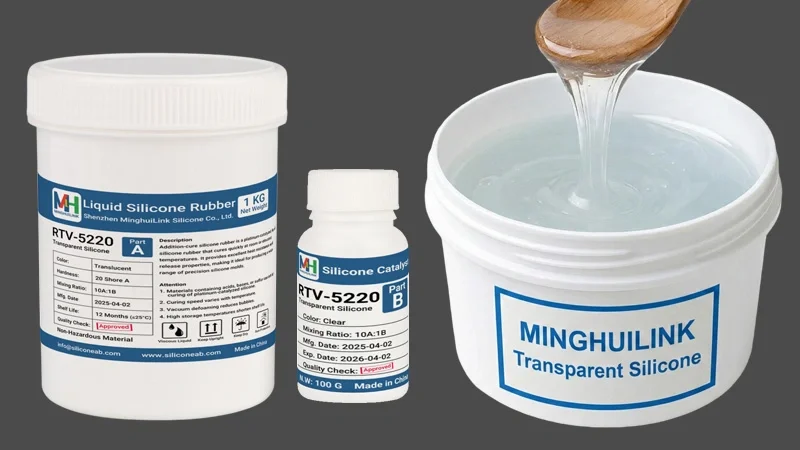
This series of Soft Transparent Silicone Rubber, also known as Clear Platinum Cure Silicone, is a low hardness addition-cure silicone material characterized by its crystal-clear appearance and exceptional flexibility. Unlike standard translucent silicones, this series offers superior clarity for visual inspection during casting.

Available in convenient 1:1 or 10:1 mix ratios, it cures to a soft, elastic rubber at room temperature or can be accelerated with heat. It is specifically engineered for applications requiring see-through molds, such as complex resin crafts, intricate prototypes, and parts with deep undercuts where internal visibility is critical.
soft transparent silicone rubber

2. Features

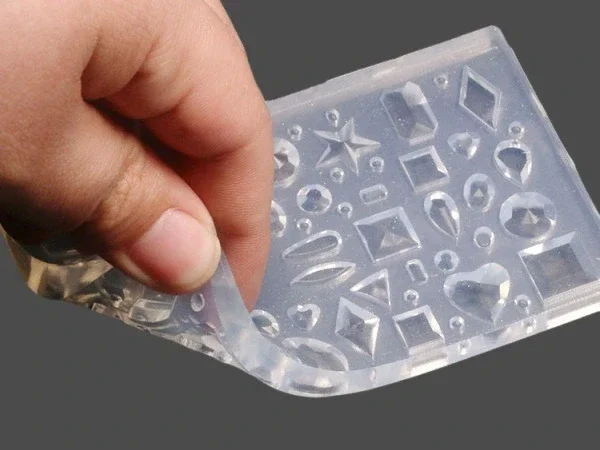
  • High Transparency: Crystal-clear appearance allows for precise cutting of split lines and visual monitoring of air bubbles.
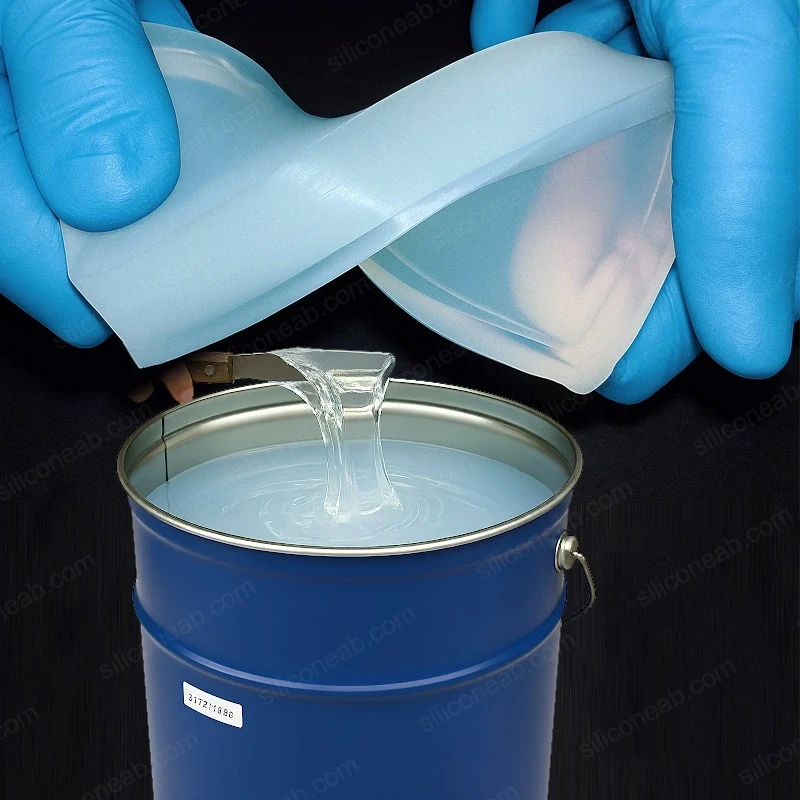
  • Soft & Elastic: Low hardness (10-20 Shore A) ensures easy demolding of complex, undercut shapes without damage.
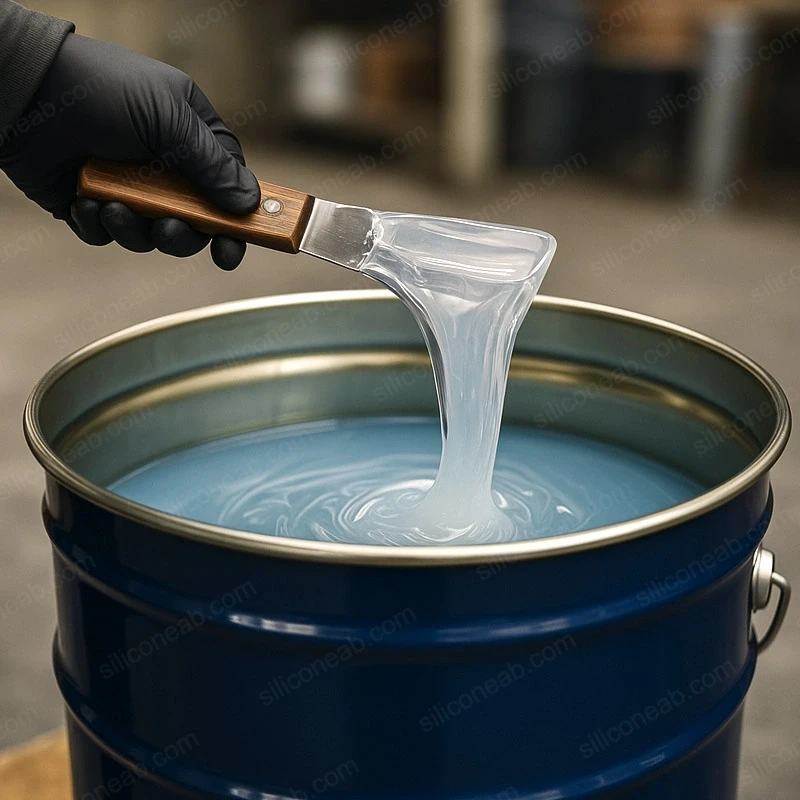
  • High Fidelity: Excellent flowability allows it to capture the finest micro-textures and intricate geometries from the original master.
  • Excellent Release: Non-stick surface reduces the need for release agents.
  • Dimensional Stability: Low shrinkage (≤0.1%) for accurate reproduction of fine details.
  • Clean & Safe: Platinum cure system; odorless, tasteless, and non-toxic.
low hardness transparent liquid silicone

3. Applications

This series is the preferred choice for artists and makers of soft molds who need to see the object inside the mold. Its exceptional clarity, combined with its high flexibility, makes it perfect for:

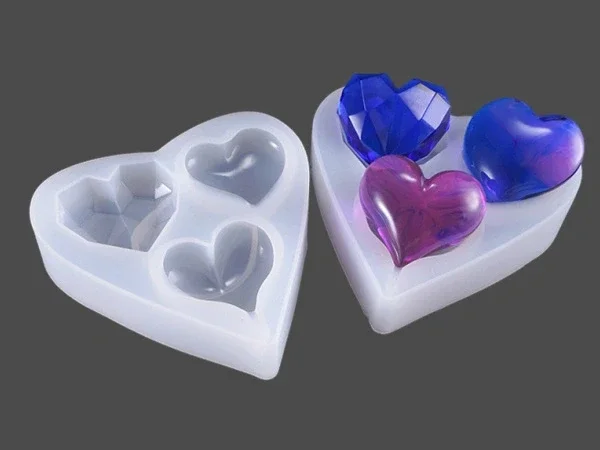
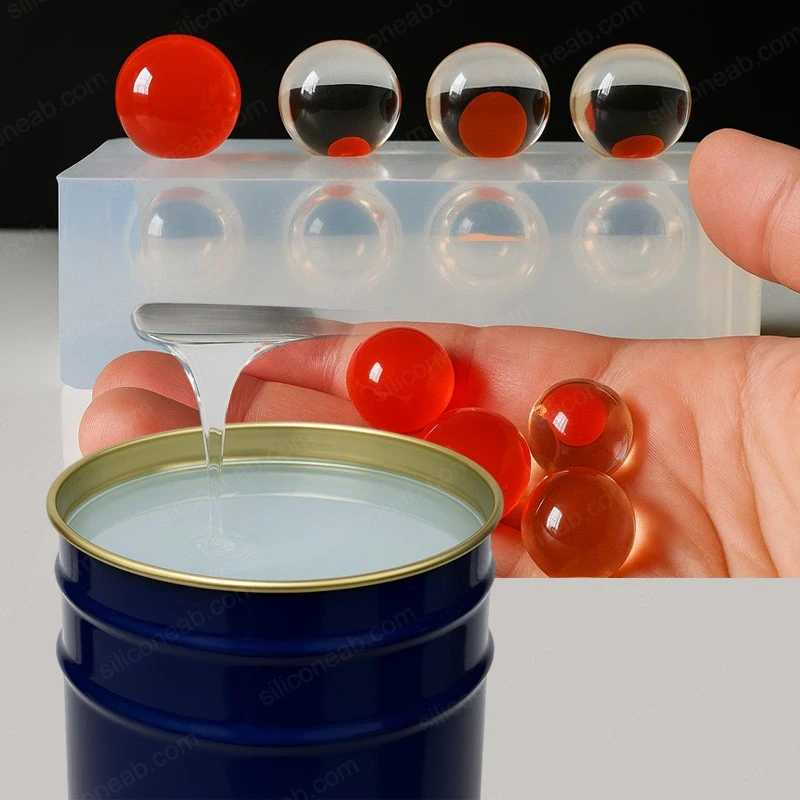
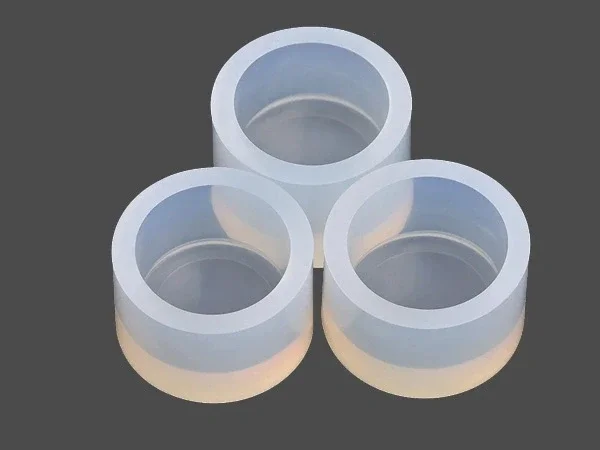
  • Complex & Intricate Resin Crafts: Casting resin parts with deep undercuts or highly delicate features, where the mold's softness ensures damage-free demolding.
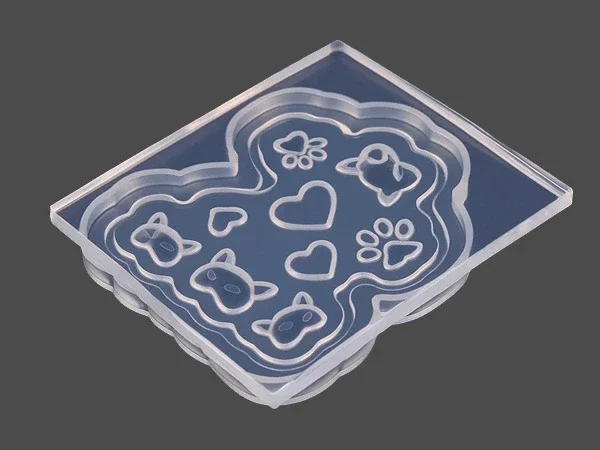
  • 3D Nail Art & Miniature Molds: Specifically designed for creating miniature molds for 3D nail art decorations and small resin jewelry. Its low hardness preserves intricate details and prevents damage during demolding.
  • transparent mold for resin

    Transparent Mold for Resin

  • 3D nail art molds

    Nail Art Mold

  • soft transparent silicone mold

    Soft Transparent Mold

  • Simulated resin crafts silicone mold

    Simulated Resin Crafts

4. Processing Notes

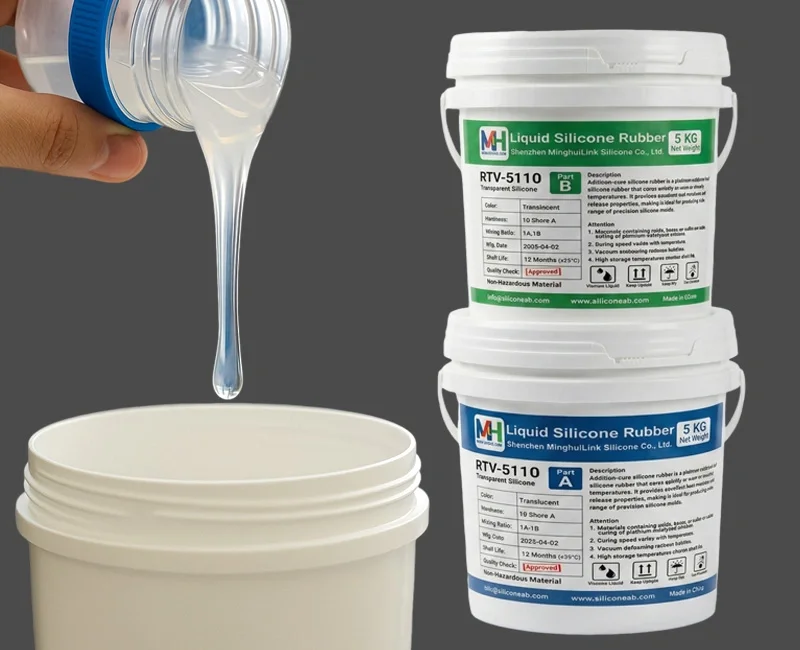
  1. Vacuum Degassing: Due to the higher viscosity of transparent liquid silicone, vacuum degassing is essential to achieve bubble-free results and ensure the transparency of the mold.
  2. Batch Consistency: Always use Part A and Part B from the same kit. Do not cross-mix batches.
  3. Mixing Ratio: Weigh components accurately by weight. Precision is critical for both 1:1 and 10:1 mix ratios to ensure optimal performance.
  4. Temperature & Curing: Cure between 20-30°C (68-86°F). Temperatures below 20°C (68°F) may extend curing time or result in softer hardness. Curing at temperatures above 60°C (140°F) may increase shrinkage.
  5. Catalyst Handling (10:1 Ratio): Tightly seal the Part B catalyst container immediately after use. Prolonged exposure to air can cause hydrolysis, leading to incomplete curing.

Cure Inhibition Warning

The platinum catalyst is sensitive to contaminants. Ensure all tools and models are clean. Avoid contact with Sulfur (clays, latex gloves), Tin (condensation silicones), Amines (epoxy resins), and 3D Printed UV Resin (SLA/DLP), as these will prevent curing and leave a tacky surface.


Troubleshooting & Solutions:

5. Safety Precautions

Under normal storage and handling conditions, this product is stable and non-hazardous. However, standard industrial hygiene practices should be followed.

  • General: Keep out of reach of children.
  • Skin Contact: Wash thoroughly with soap and water.
  • Eye Contact: Rinse thoroughly with clean water for at least 15 minutes and seek medical attention.
  • Inhalation: Under normal conditions of intended use, this material is not considered an inhalation hazard.
  • Ingestion: Do not induce vomiting. Rinse mouth and seek medical attention.

6. Storage & Shelf Life

Storage Conditions
Store in a cool, dry place at room temperature (15-25°C / 60-77°F). Keep away from direct sunlight, acids, and bases.
Shelf Life
12 months from the date of manufacture when stored properly. High temperatures may reduce shelf life.
Opened Containers
Reseal immediately after use to prevent contamination and moisture ingress.
Beyond Shelf Life: If stored beyond the specified date, the product is not necessarily unusable. However, user testing is required to confirm performance before use.
Parameter Item Test Method RTV-5110 A/B RTV-5120 A/B RTV-5210 A/B RTV-5220 A/B
Unvulcanized Physical Properties @ 24 Hrs 25°C/77°F
Physical State - Liquid / Fluid Liquid / Fluid Liquid / Fluid Liquid / Fluid
Form - Viscous Viscous Viscous Viscous
Odor - No Odors No Odors Odorless Odorless
Part A (Base) Color ASTM E 1767 Transparent Transparent Transparent Transparent
Part B (Catalyst) Color ASTM E 1767 Clear Clear Clear Clear
Part A Viscosity, mPa.s ASTM D 4287 35,000 40,000 40,000 50,000
Part B Viscosity, mPa.s ASTM D 4287 30,000 35,000 200 200
Part A Specific Gravity, g/cm3 ASTM D 792 1.05-1.07 1.05-1.07 1.05-1.07 1.05-1.07
Part B Specific Gravity, g/cm3 ASTM D 792 1.05-1.07 1.05-1.07 1.00 1.00
Part A and Part B mixed @ 25°C/77°F
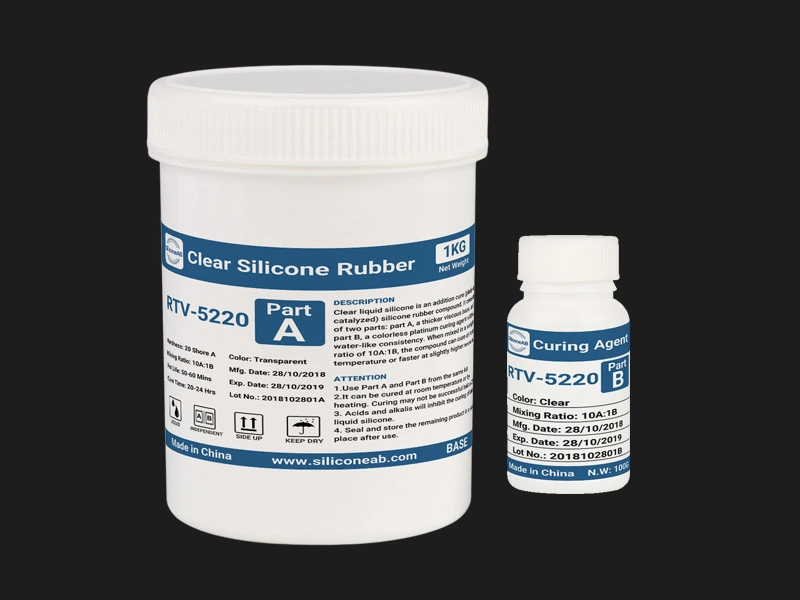
Mix Ratio by Weight (A:B) - 1:1 1:1 10:1 10:1
Working Time, Minutes - 45 45 45 45
Curing Time, Hours - 6 7 6 7
Typical Properties of Cured Rubber @ 24 Hrs 25°C/77°F
Hardness, Shore A Durometer ASTM D 2240 10 20 10 20
Tear Strength, N/mm ASTM D 624 C 8.0 10.0 8.0 10.0
Tensile Strength, Mpa ASTM D 412 2.0 2.5 2.0 2.5
Elongation, % ASTM D 412 450 400 450 400
Shrinkage, % - ≤0.15 ≤0.10 ≤0.10 ≤0.10
Heat Resistance, °C (°F) - 250 (482) 250 (482) 250 (482) 250 (482)

Step 1: Model Preparation

The master pattern should be thoroughly cleaned and dried. If the master model is fragile, weak, or porous, it may be necessary to apply a consolidant or sealant, and possibly fill in deep holes or crevices.

Step 2: Applying Release Agent

This series of transparent silicone material exhibits excellent mold release properties, and in most cases, a mold release agent is not required for most materials. However, if the master pattern is particularly porous or rough, or has many crevasses and undercuts, or not prone to spalling, it is recommended to apply a thin layer of mold release agent to facilitate mold release, which can prolong mold life.

Step 3: Measuring & Mixing

According to the instructions, mix the required quantities of Part A and Part B in the correct weight ratio, and thoroughly blend them together. Accurate weighing and thorough mixing are essential for achieving the optimal physical properties of the cured rubber.

Step 4: Vacuum Degassing

The transparent liquid silicone raw material has a high viscosity, and to ensure that there are no air bubbles in the mold, it is necessary to use a vacuum pump to degas. For vacuum degassing, it is recommended to mix Parts A and B in a mixing container that is 3 to 4 times larger than the volume of silicone rubber and deaerate until the mass of rubber rises and then collapses. Continue the process for an additional two minutes. If conditions permit, another round of vacuum degassing will be more effective after pouring the silicone.

Techniques to Reduce Air Bubbles:

  1. Hold the silicone container high above the master pattern and allow it to flow down slowly in a thin stream. This helps to break up any air bubbles as the silicone flows.
  2. Temporarily incline the master pattern at an angle and pour the liquid silicone onto the higher end, allowing it to flow down over the rest of the pattern. Once the silicone reaches the lower end, lay the pattern flat and/or tilt or rotate it as necessary to achieve even coverage.

These techniques can be used alone or in combination with each other. Additionally, reducing the temperature and decreasing the ratio of curing agent can extend the working time and help to reduce air bubbles.

Step 5: Pouring Silicone

After vacuuming, it is important to pour the transparent liquid silicone as soon as possible to ensure optimal flow and release of air bubbles. The liquid silicone should be poured to a depth of at least 0.5cm over the highest point of the model surface to prevent tearing of the mold. If the layer of silicone is too thin, it can easily tear the mold.

Step 6: Demolding the Mold

Under normal circumstances, transparent liquid silicone cures within the specified demold time at room temperature (25℃/77°F). Higher temperatures will result in shorter curing times, while lower temperatures may require more time for curing to complete.

After the specified curing time has elapsed, the outer surface of the mold should feel hard and dry. If the mold's hardness does not change after a period of time, it is usually safe to remove or demolded. However, if the silicone is still soft or sticky, it may need more time to cure.

  • Jesse2023-04-29

    Is this product based on platinum or tin curing? I am asking in the context of 3D printed masters, which are said to have adverse effects on curing.

    Author Reply:If you are using UV resin as your 3D printing material, the contact surface with platinum-cured silicone may become sticky and unable to cure. In this case, you need to apply a primer on the surface of the master to protect it. Tin-cure silicones are not affected by this issue.

  • Lucas2023-04-18

    What temperature does this clear silicone need to cure?

    Author Reply:Our clear liquid silicone is RTV silicone, which means it can be cured at room temperature. However, the temperature should not be lower than 20°C/68°F, otherwise it may be difficult to cure or the curing hardness may not meet expectations. Alternatively, you can increase the temperature to speed up the cure. This typically takes 1-2 hours at 60-80°C (140-176°F).

Leave a Comment

Anonymity
verification code
More>>

Related Products