1. Description
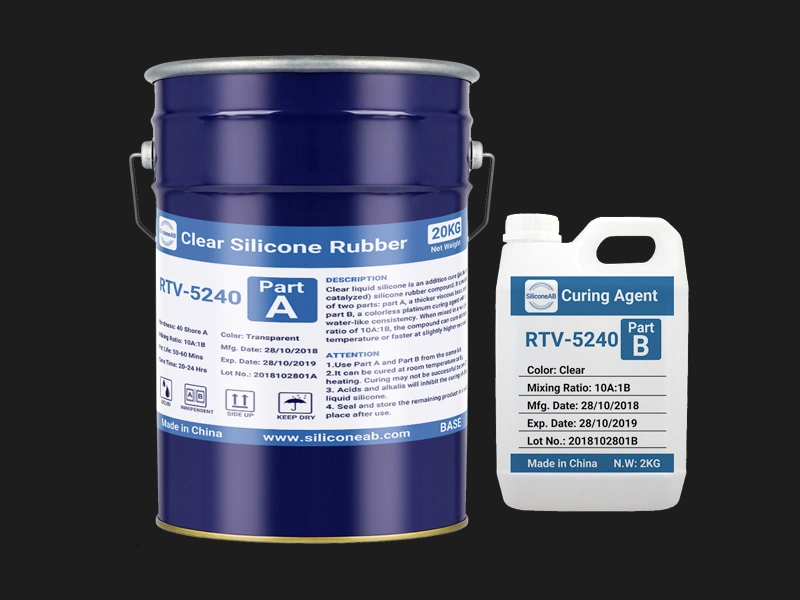
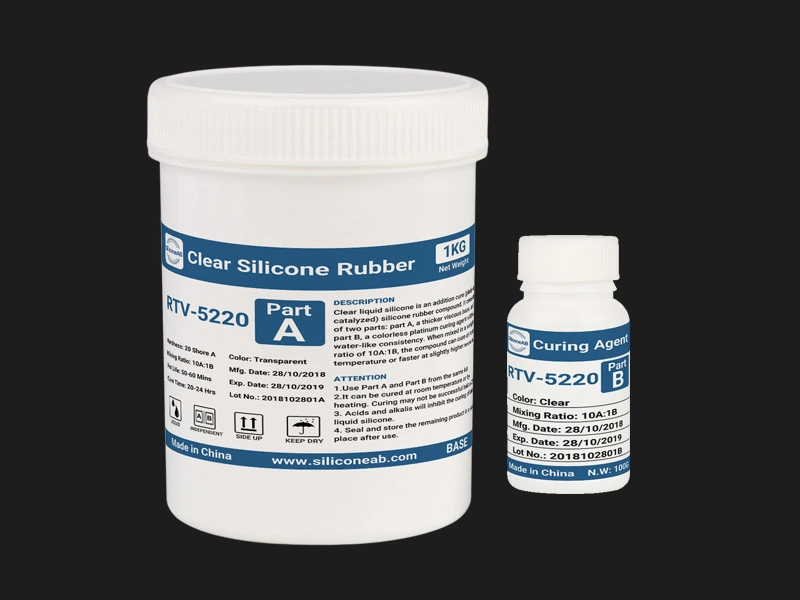
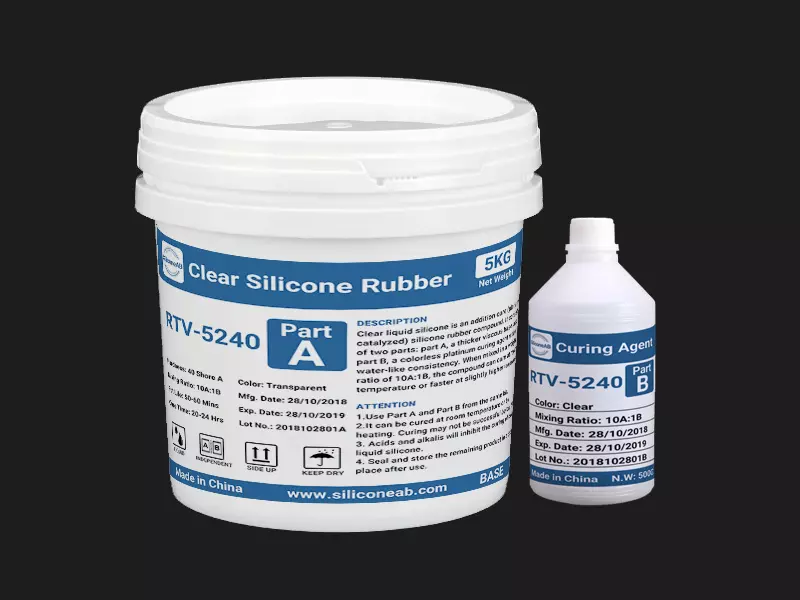
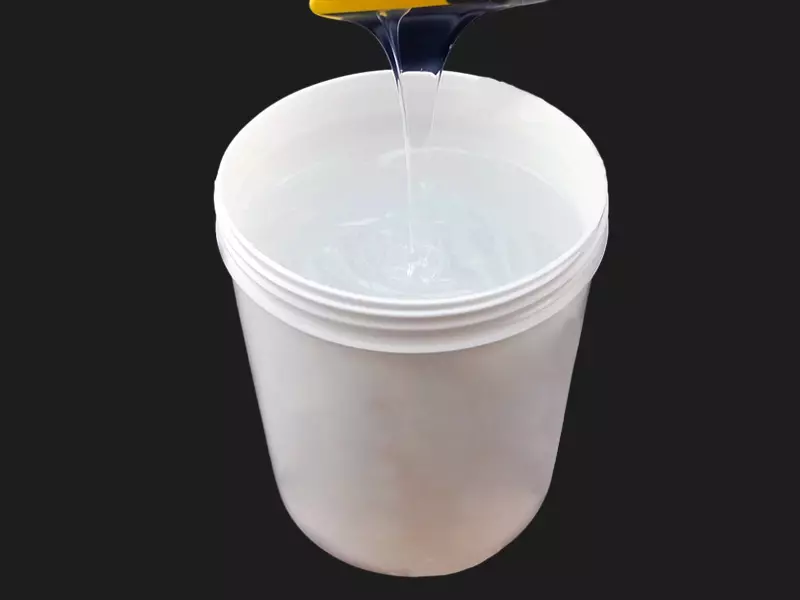
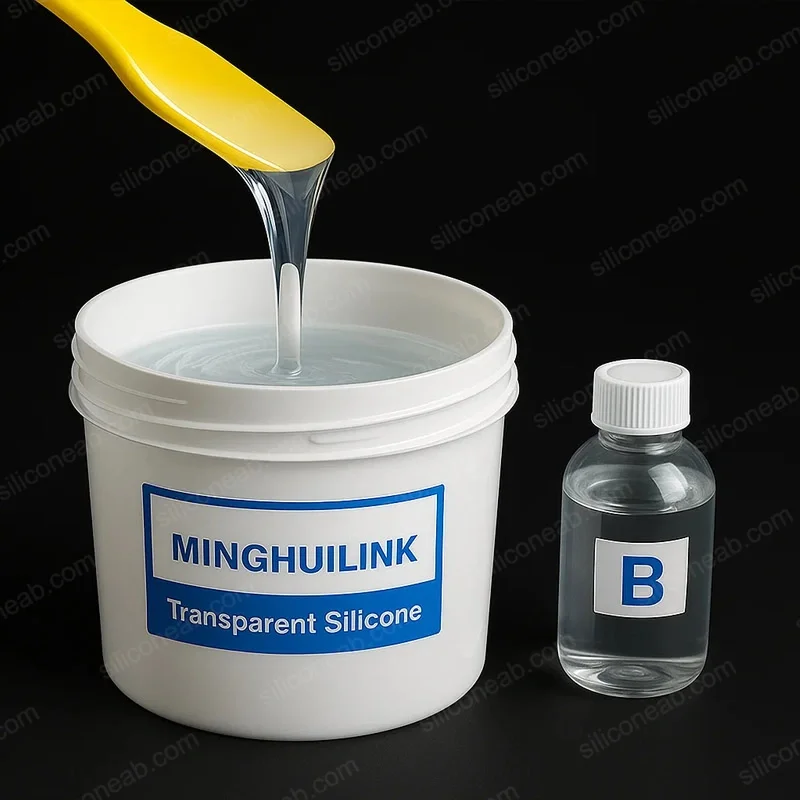
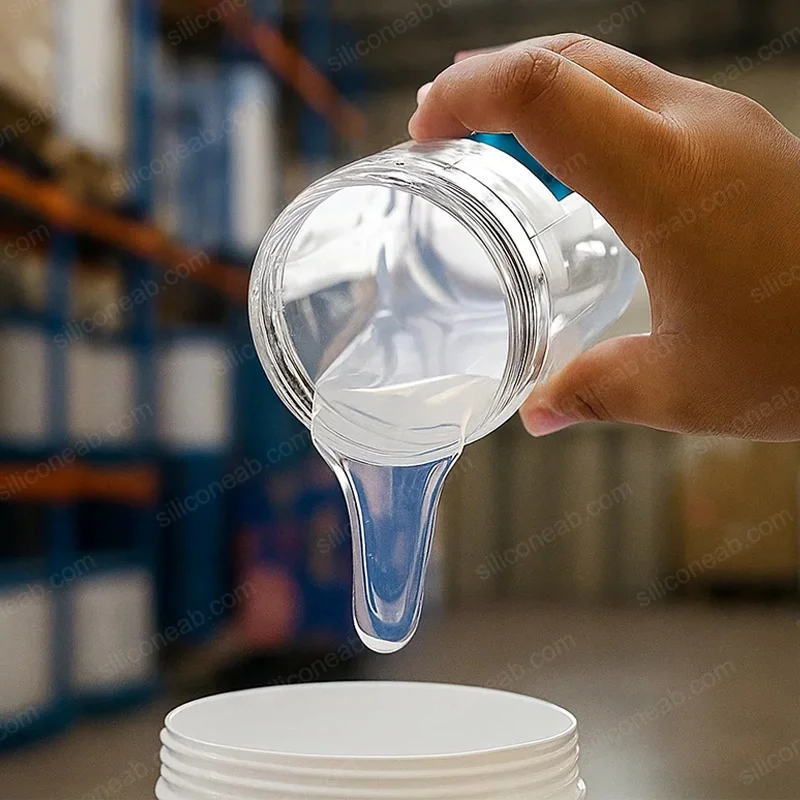
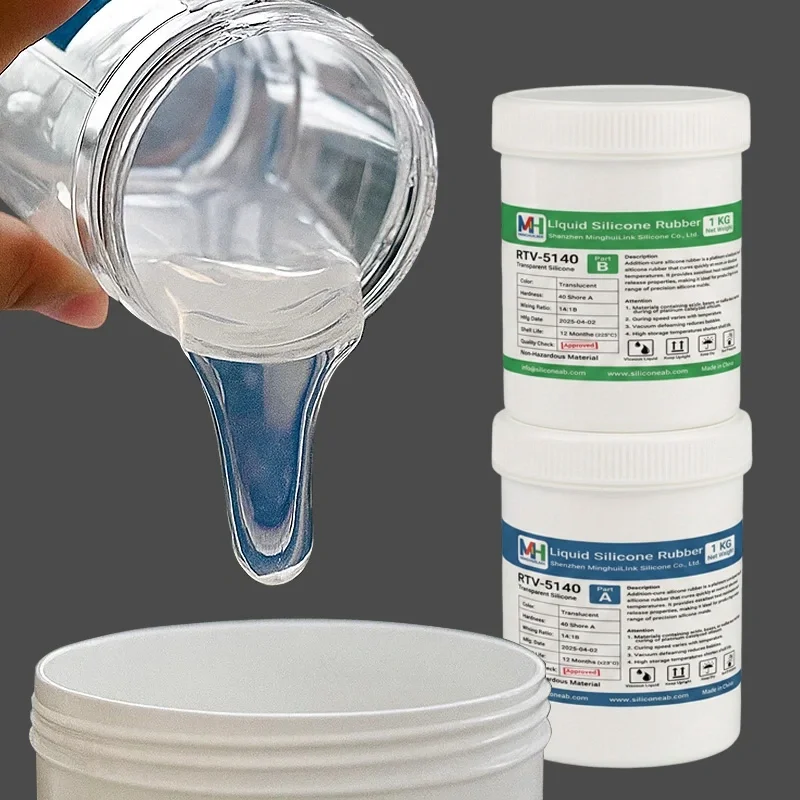
This series of High Hardness Transparent Silicone Rubber, also known as Clear Platinum Cure Silicone, is a high hardness addition-cure silicone material characterized by its excellent dimensional stability and high strength. It offers the same crystal-clear transparency as our softer series but with added rigidity for more demanding applications.
Available in 1:1 or 10:1 mix ratios, it cures to a tough, durable rubber at room temperature or can be accelerated with heat. It is specifically engineered for applications requiring rigid see-through molds, such as rapid prototyping, jewelry lost-wax casting, and high-precision resin parts where mold deformation must be minimized.
2. Features
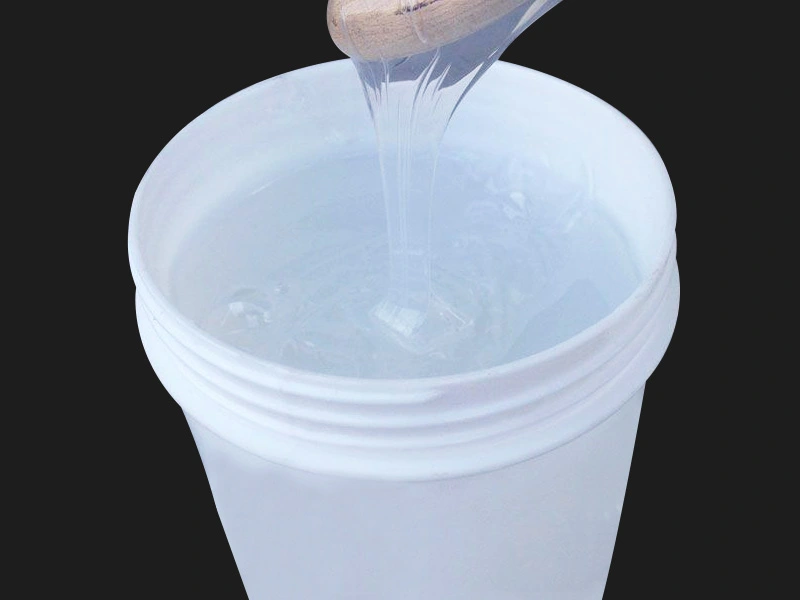
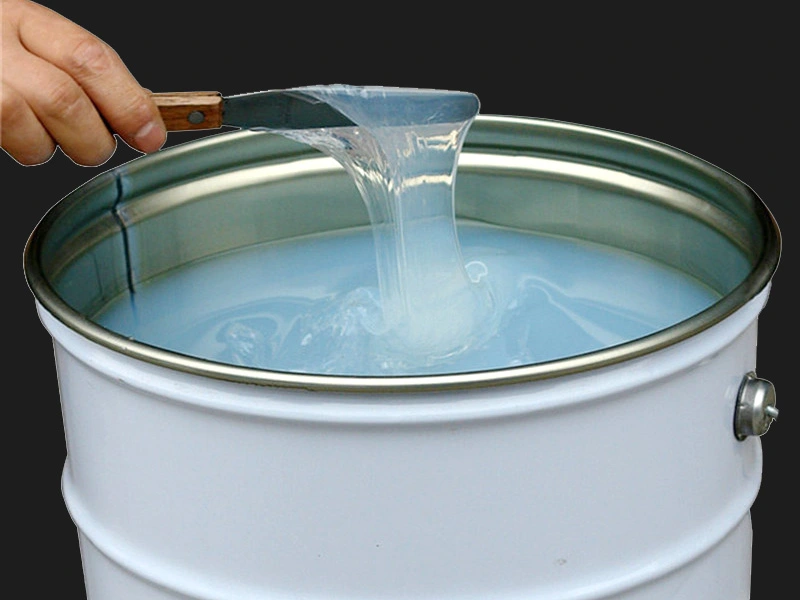
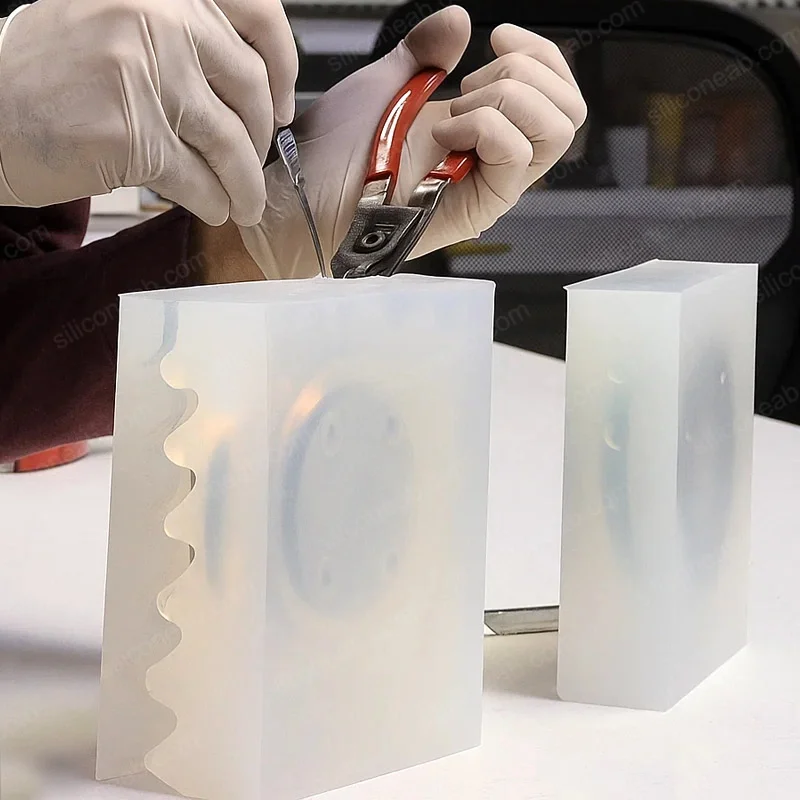
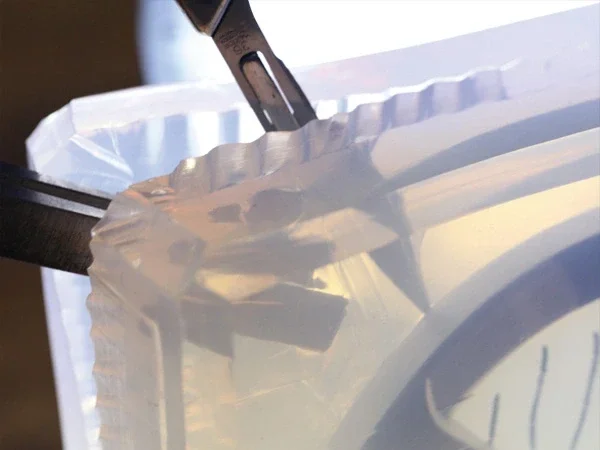
- High Transparency: Crystal-clear appearance allows for precise cutting of parting lines in block molds.
- Dimensional Stability: Ultra-low shrinkage (≤0.1%) ensures accurate reproduction of prototypes and mechanical parts.
- High Hardness & Strength: 30-40 Shore A hardness provides excellent rigidity and resistance to deformation under pressure.
- Fine Detail Reproduction: Captures the most intricate textures and details from the master model with high fidelity.
- Outstanding Release: Excellent self-releasing properties eliminate the need for release sprays, preventing surface cloudiness and ensuring a flawless, high-gloss finish.
- Heat Resistance: Durable up to 250°C (482°F), making it suitable for casting exothermic resins.
3. Applications
This series is engineered for applications where transparent mold rigidity and precision are paramount. Its high stability makes it the ideal choice for:
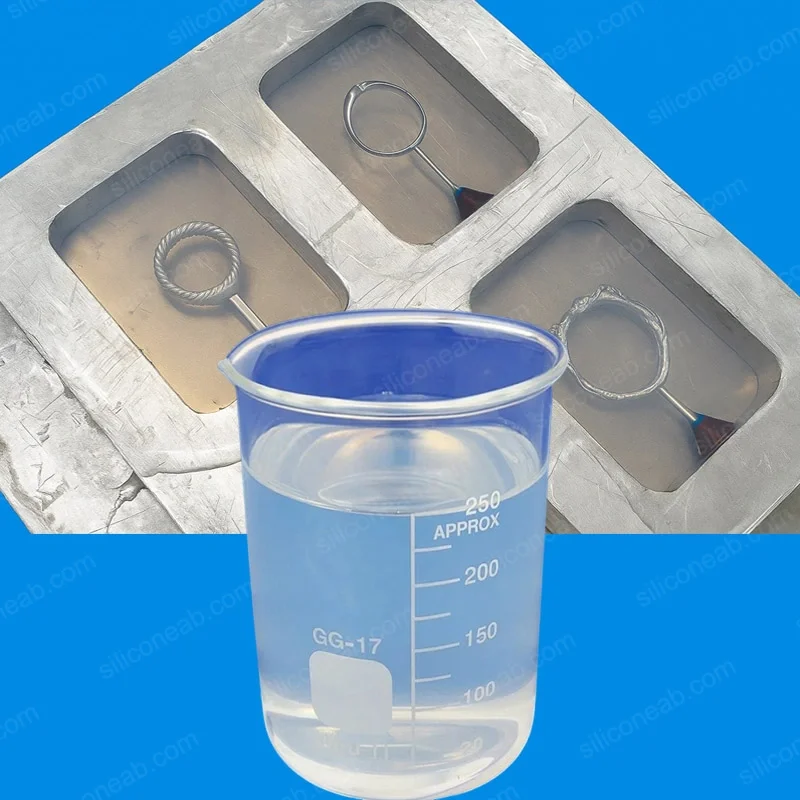
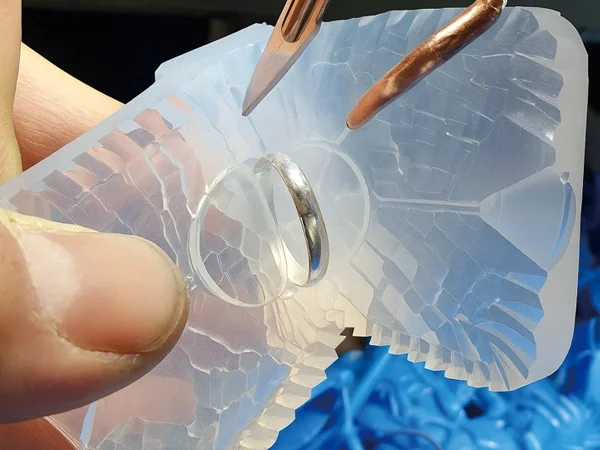
- Lost Wax Casting: Perfect for making jewelry wax molds where rigidity prevents deformation during injection. Its high transparency allows for easy visual inspection to detect internal defects or air bubbles.
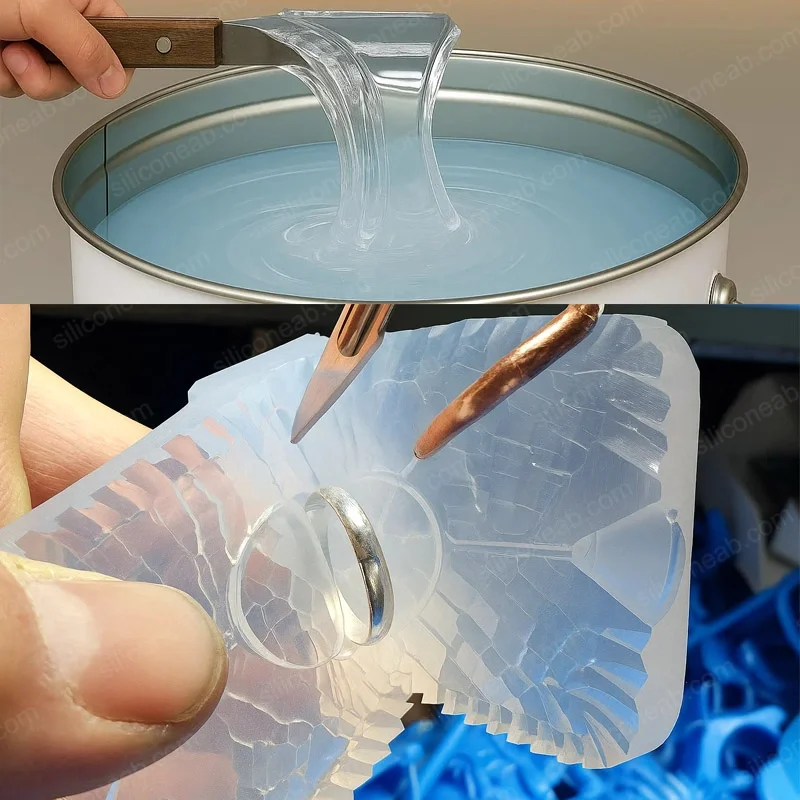
- Resin & Diamond Casting: Ideal for casting clear epoxy or polyester resin facets (like faux diamonds). Its superior non-stick surface allows for easy demolding without release agents (which cause cloudiness), ensuring a crystal-clear, glossy finish.
- Rapid Prototyping: Creating precise molds for reproducing prototype parts (e.g., consumer electronics, automotive components) in PU resins.
- Precision Parts: Industrial components requiring tight tolerances and internal visual inspection.
Jewelry Molds
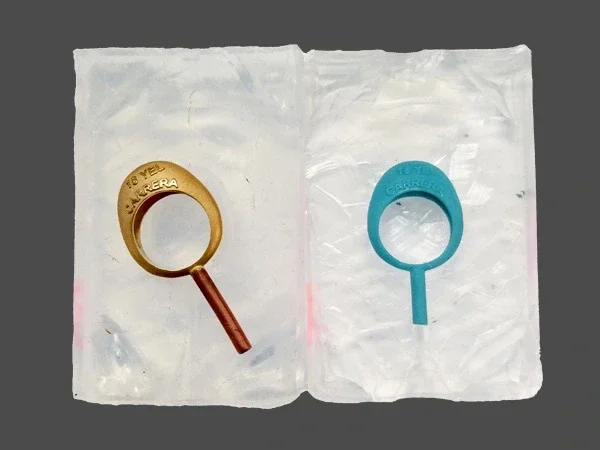
Lost Wax Casting
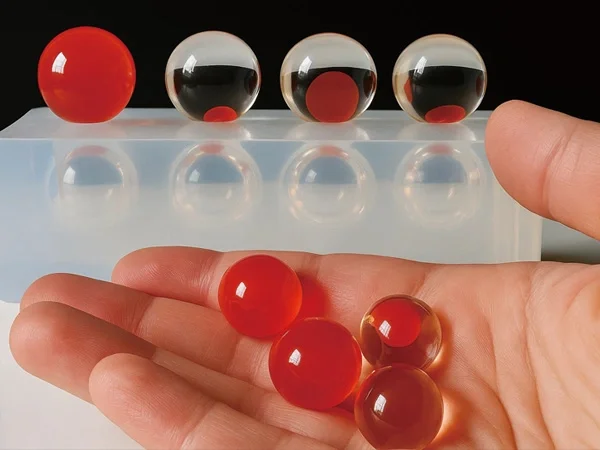
Epoxy Resin Mold
Rapid Prototyping
4. Processing Notes
- Vacuum Degassing: Due to the higher viscosity of transparent liquid silicone, vacuum degassing is essential to achieve bubble-free results and ensure the transparency of the mold.
- Batch Consistency: Always use Part A and Part B from the same kit. Do not cross-mix batches.
- Mixing Ratio: Weigh components accurately by weight. Precision is critical for both 1:1 and 10:1 mix ratios to ensure optimal performance.
- Temperature & Curing: Cure between 20-30°C (68-86°F). Temperatures below 20°C (68°F) may extend curing time or result in softer hardness. Curing at temperatures above 60°C (140°F) may increase shrinkage.
- Catalyst Handling (10:1 Ratio): Tightly seal the Part B catalyst container immediately after use. Prolonged exposure to air can cause hydrolysis, leading to incomplete curing.
Cure Inhibition Warning
The platinum catalyst is sensitive to contaminants. Ensure all tools and models are clean. Avoid contact with Sulfur (clays, latex gloves), Tin (condensation silicones), Amines (epoxy resins), and 3D Printed UV Resin (SLA/DLP), as these will prevent curing and leave a tacky surface.
Troubleshooting & Solutions:
5. Safety Precautions
Under normal storage and handling conditions, this product is stable and non-hazardous. However, standard industrial hygiene practices should be followed.
- General: Keep out of reach of children.
- Skin Contact: Wash thoroughly with soap and water.
- Eye Contact: Rinse thoroughly with clean water for at least 15 minutes and seek medical attention.
- Inhalation: Under normal conditions of intended use, this material is not considered an inhalation hazard.
- Ingestion: Do not induce vomiting. Rinse mouth and seek medical attention.
6. Storage & Shelf Life
- Storage Conditions
- Store in a cool, dry place at room temperature (15-25°C / 60-77°F). Keep away from direct sunlight, acids, and bases.
- Shelf Life
- 12 months from the date of manufacture when stored properly. High temperatures may reduce shelf life.
- Opened Containers
- Reseal immediately after use to prevent contamination and moisture ingress.