This tutorial will demonstrate how to create a two-part silicone mold and cast polyurethane resin to replicate a glass bear craft. The tutorial is simple and easy to understand, making it perfect for beginners.
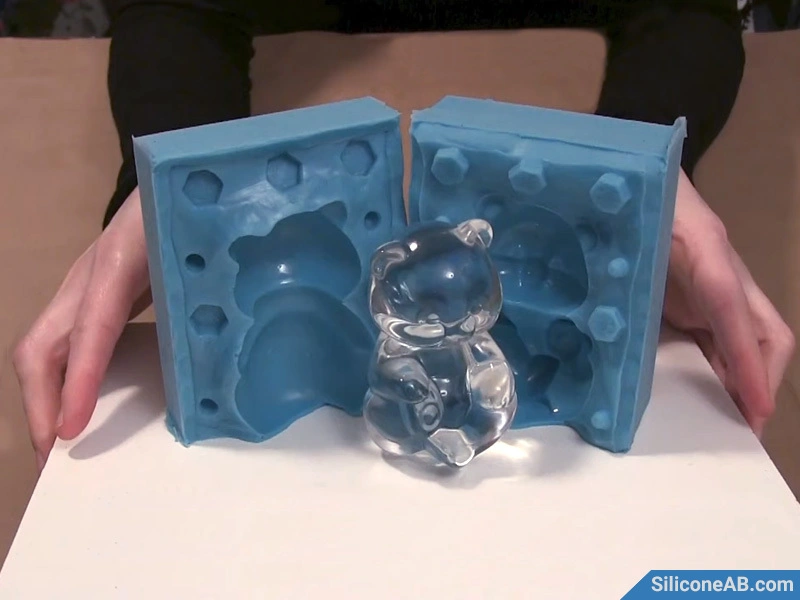 two part silicone mold
Tools & Materials
- Original model: glass bear
- Platinum-cured silicone
- Polyurethane resin + pigment
- Sulfur-free clay
- Plastic cups + stirring sticks
- Hot glue gun
- Bolts
- Mold release agent
- Mold box
- Ruler
Step 1: Secure the Master Model
According to the shape of the glass bear model, create a parting line using sulfur-free clay, embedding part of the model in the clay. Note: Ordinary clay contains sulfur, which inhibits the curing of platinum-cured silicone.
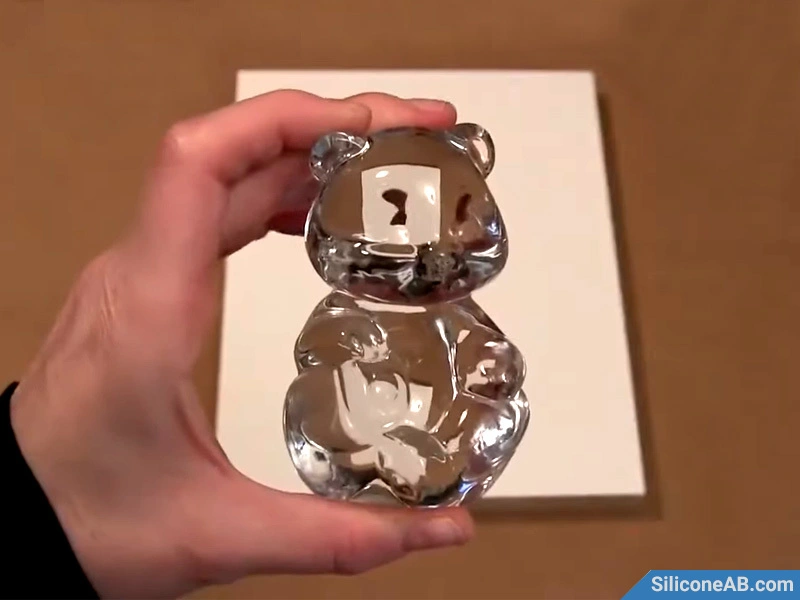 glass bear crafts
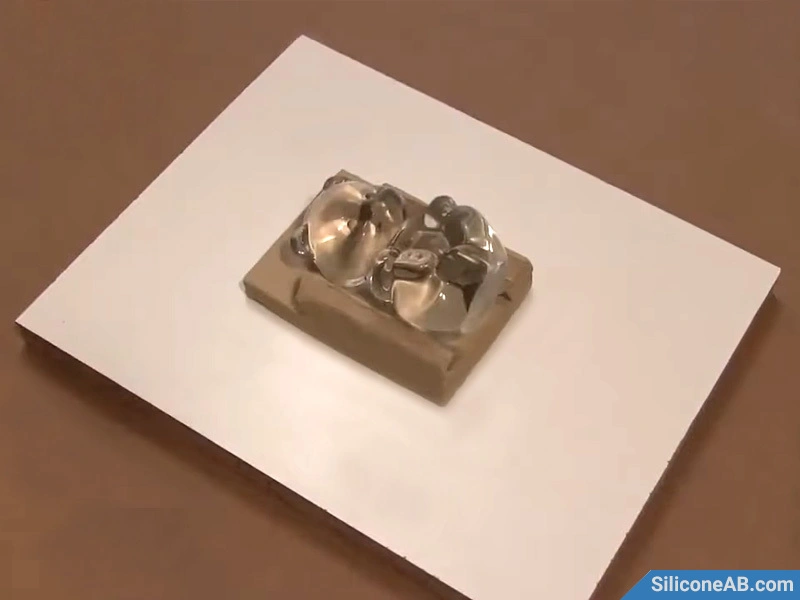 fixed glass bear
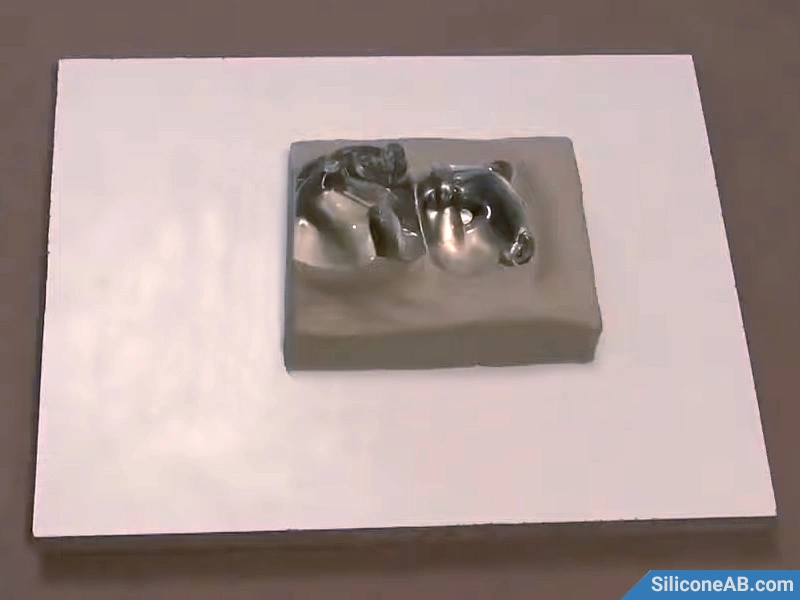 embedding clay
Step 2: Set Positioning Holes
Use bolts to create positioning holes in the clay to ensure the two parts of the silicone mold align tightly, producing a seamless casting.
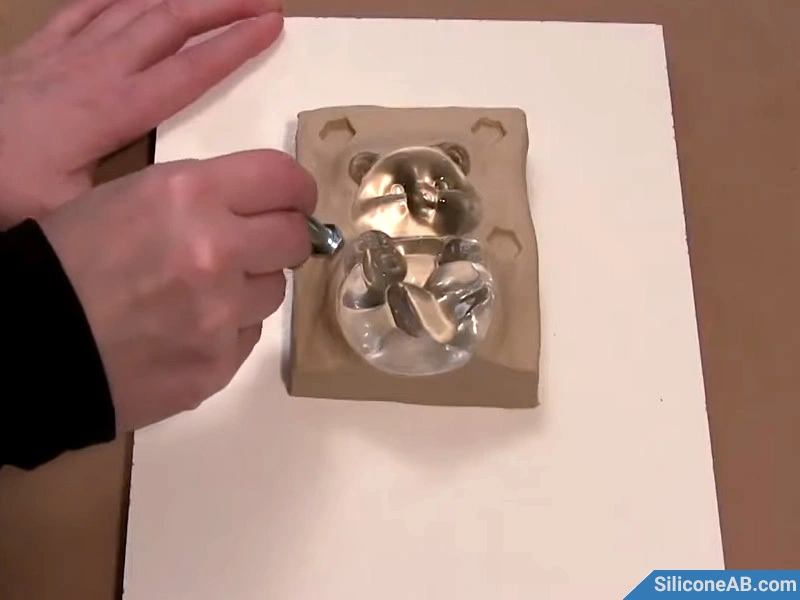 groove positioning hole
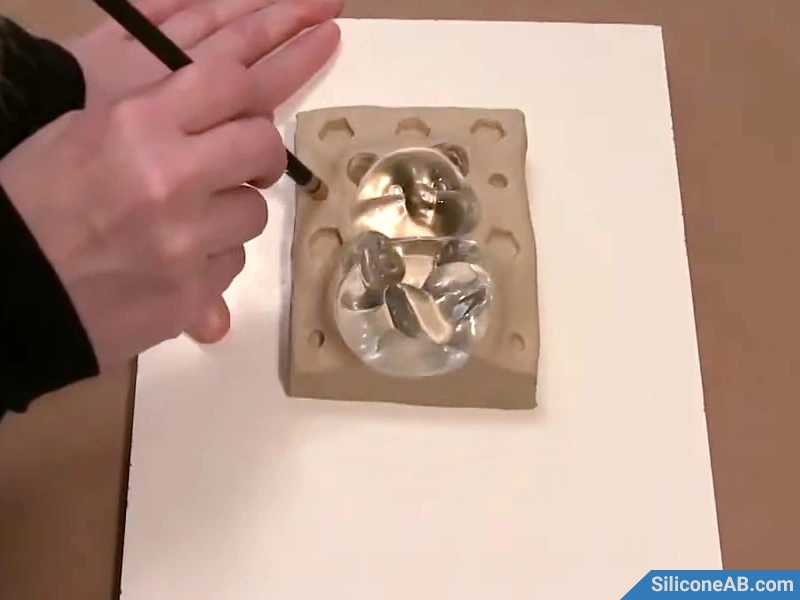 setting the positioning holes
Step 3: Build the Mold Box
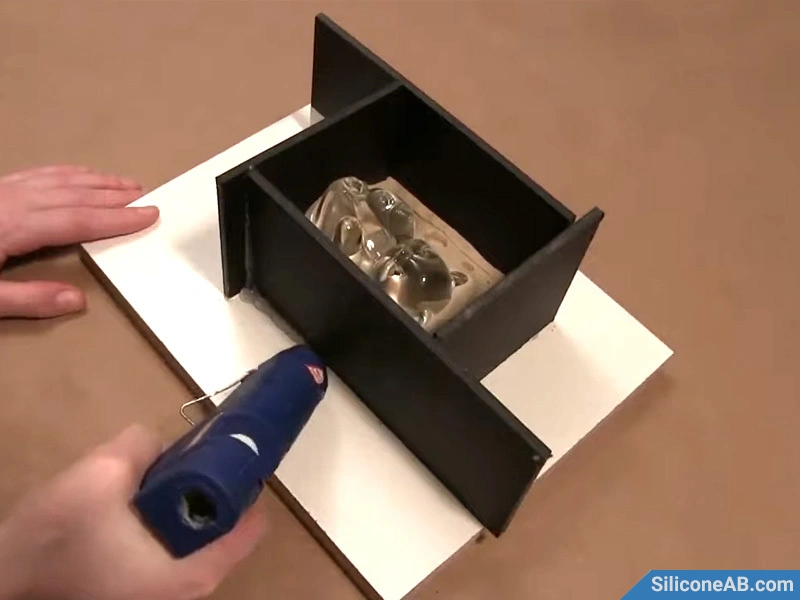
Construct the mold box and seal all seams with hot glue to prevent liquid silicone from leaking out.
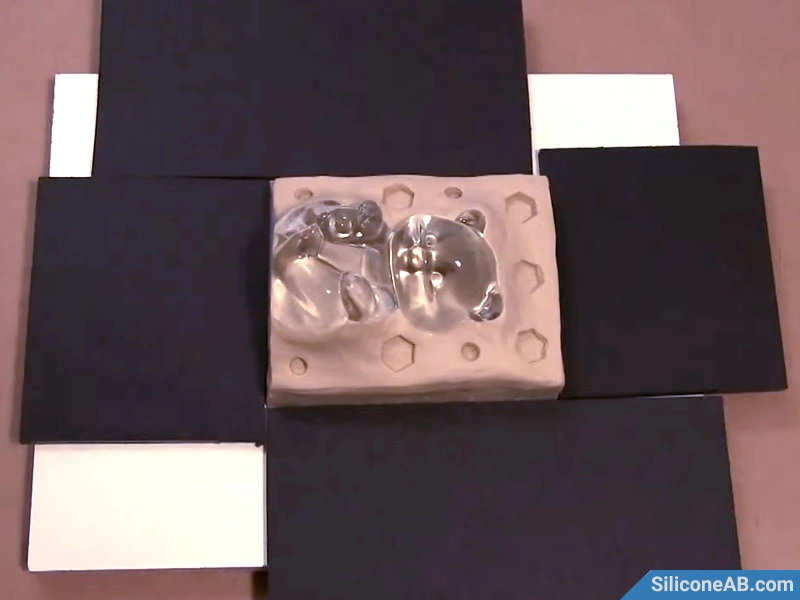 prepare the mold box
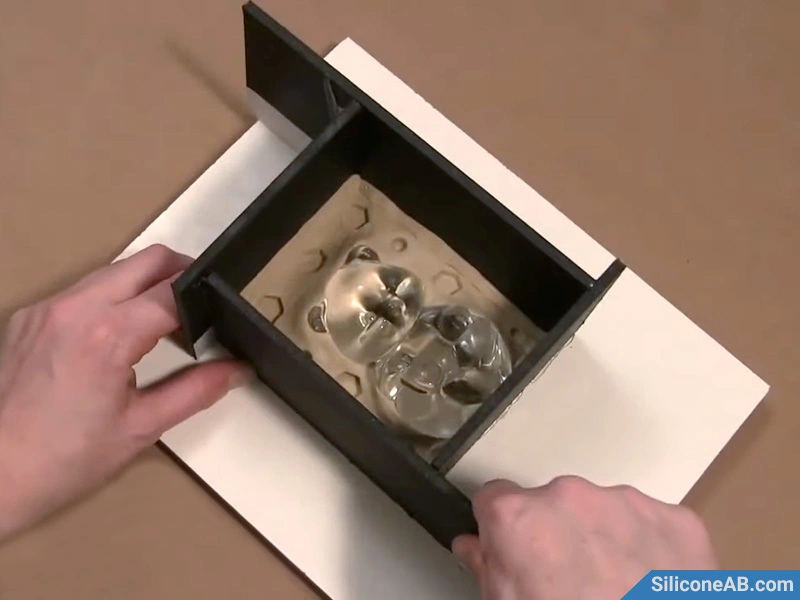 building the frame
 sealing seams
Step 4: Calculate the Required Amount
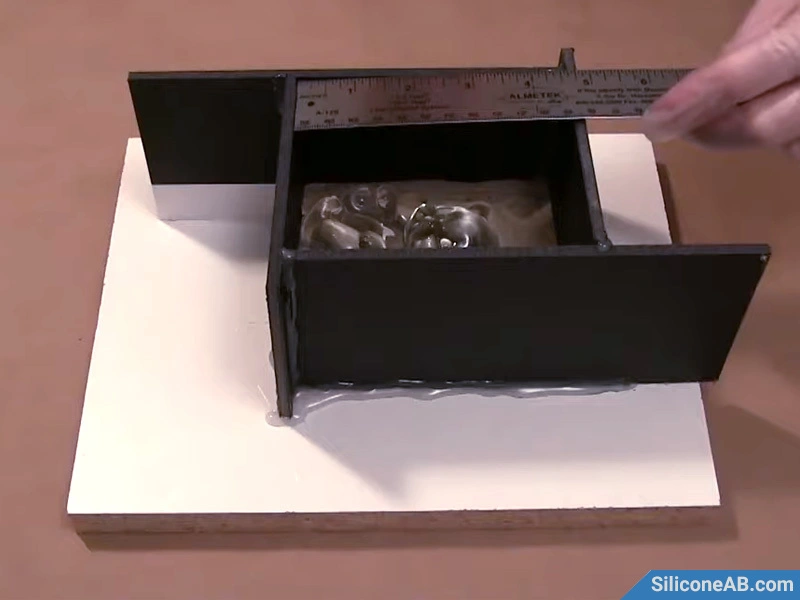
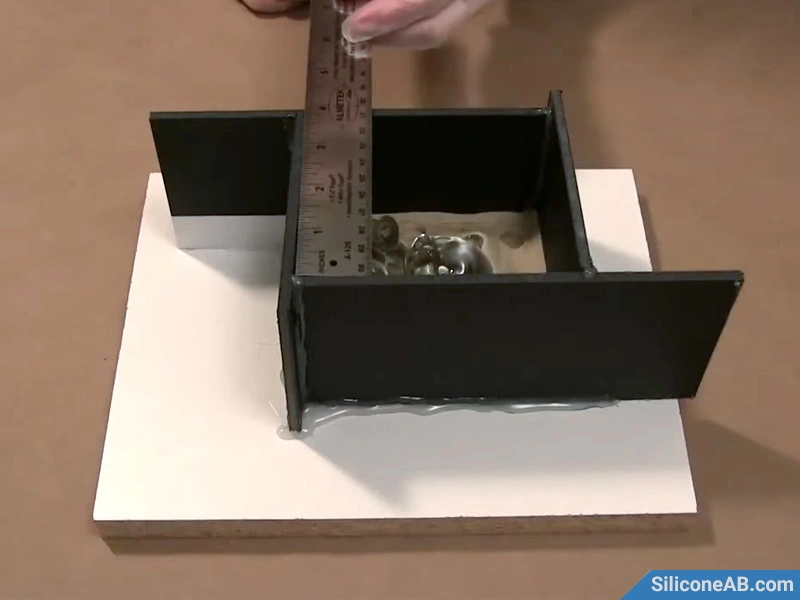
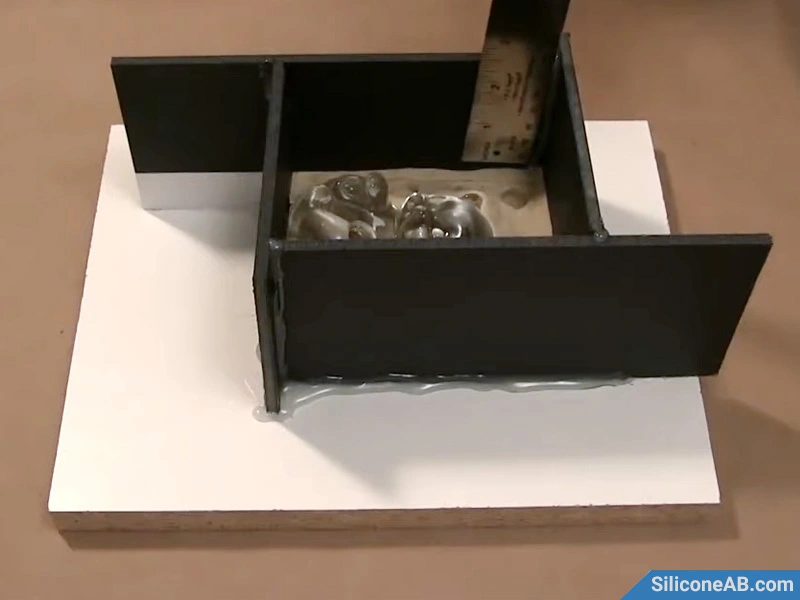
Measure the length, width, and height of the mold box with a ruler, then calculate the required amount of silicone using the formula: weight = density × volume. It is recommended to use our website's silicone amount calculator.
 measure length
 measure width
 measure height
Step 5: Prepare the Silicone
Prepare the silicone according to the calculated amount, weighing out parts A and B of the platinum-cured silicone in a 1A:1B ratio (by weight or volume) and mixing them thoroughly. Usually, 20-30 Shore A hardness silicone is chosen, depending on the size of the master model.
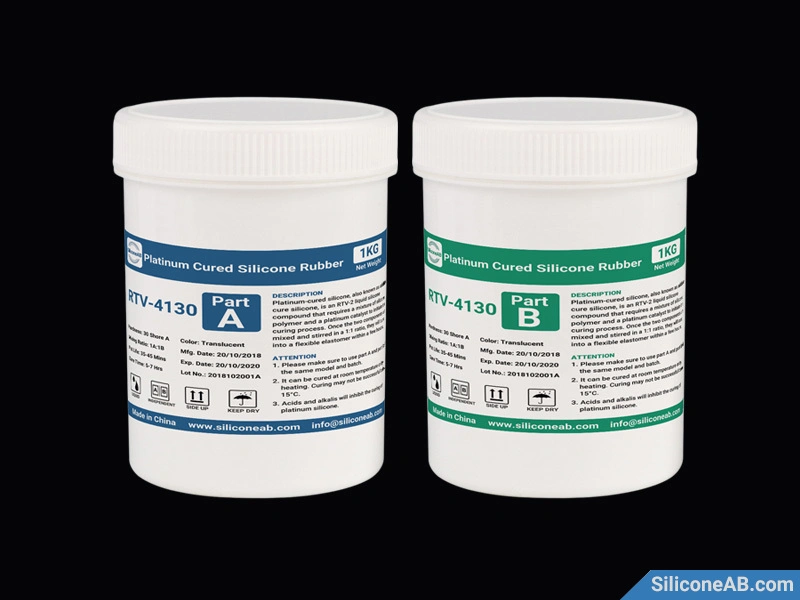 addition silicone
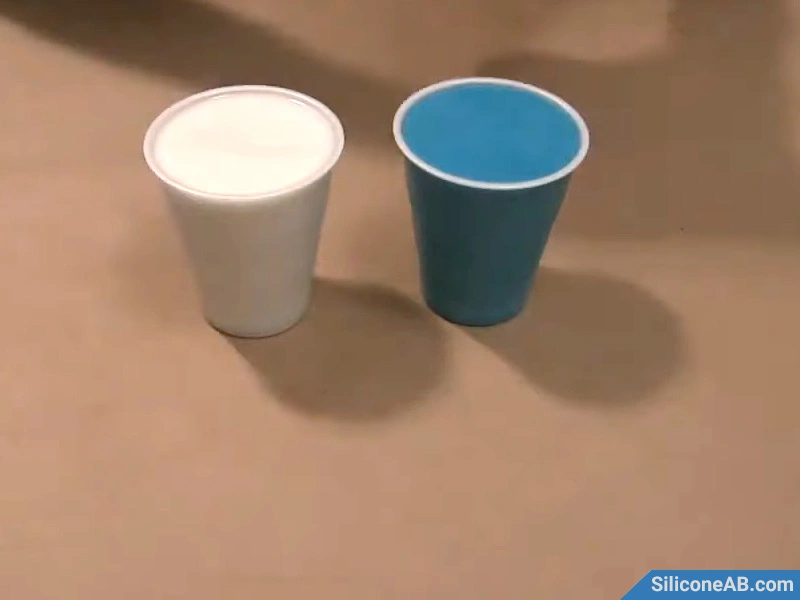 weigh silicone
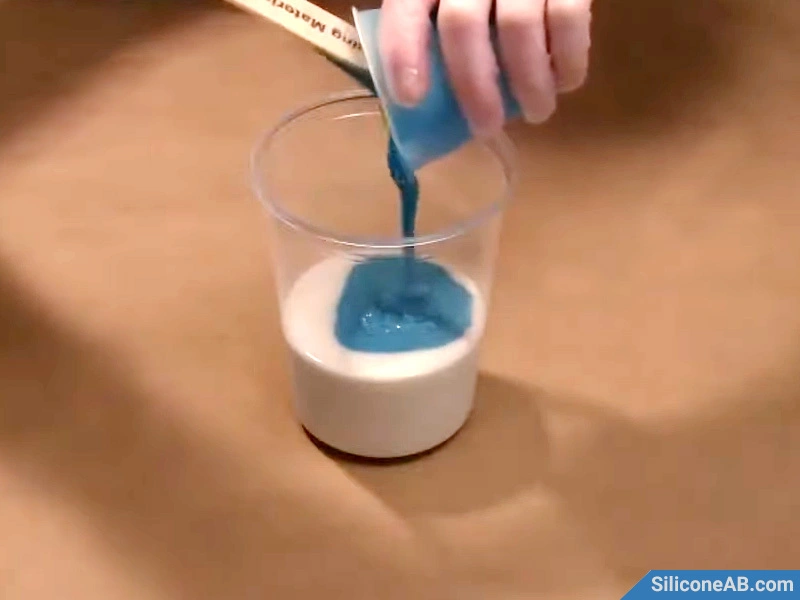 mixed liquid silicone
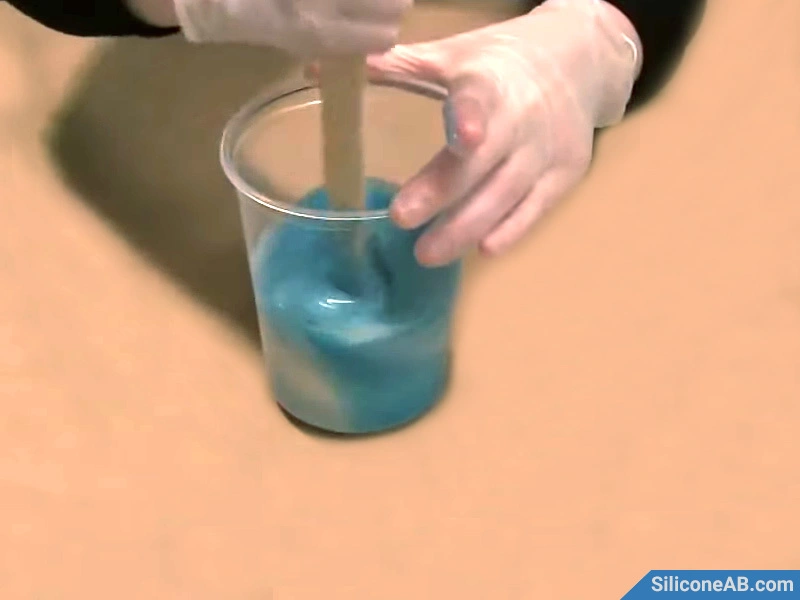 stirring liquid silicone
Step 6: Vacuum Degassing
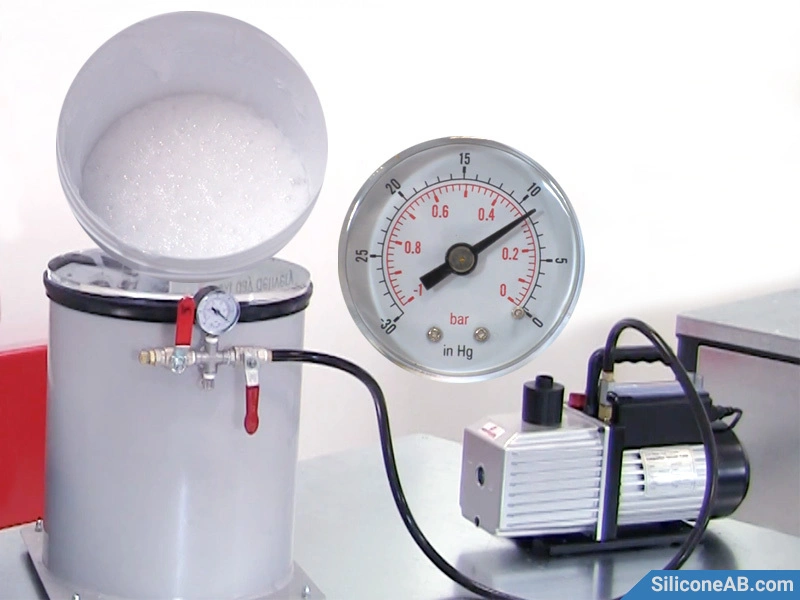
Due to air incorporation during mixing, it's recommended to use a vacuum pump to degas the mixed silicone to avoid bubbles in the silicone mold.
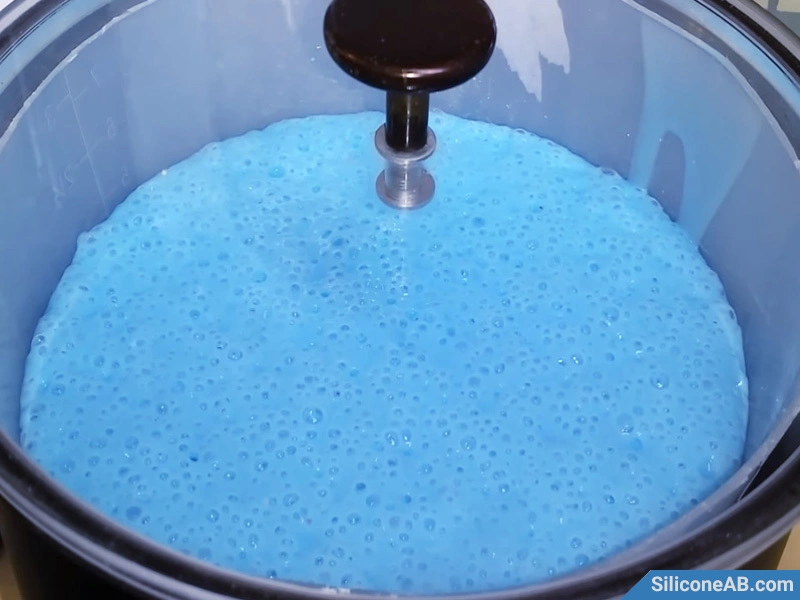 vacuum degassing
Step 7: Pour the Silicone
Slowly pour the degassed silicone into the lowest point of the mold box, allowing it to flow naturally until it covers the model. Pouring slowly in a thin stream helps reduce bubble formation.
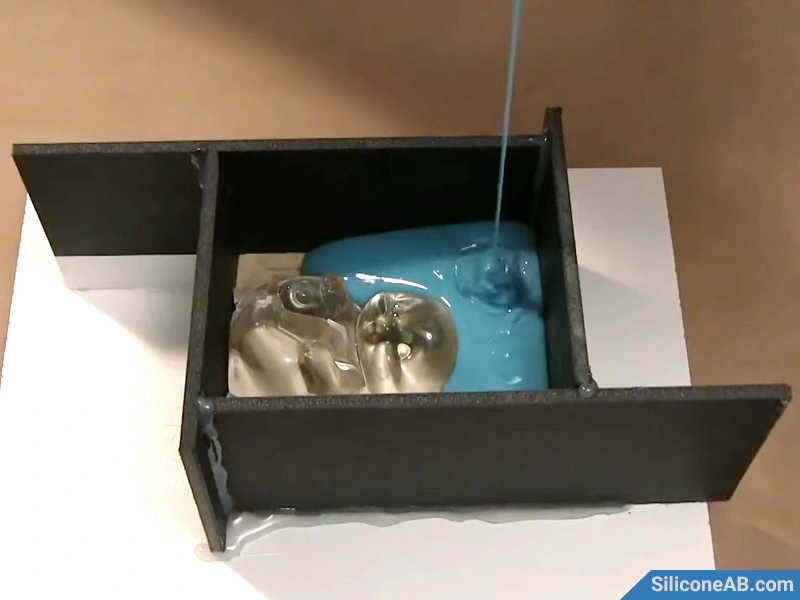 pour liquid silicone
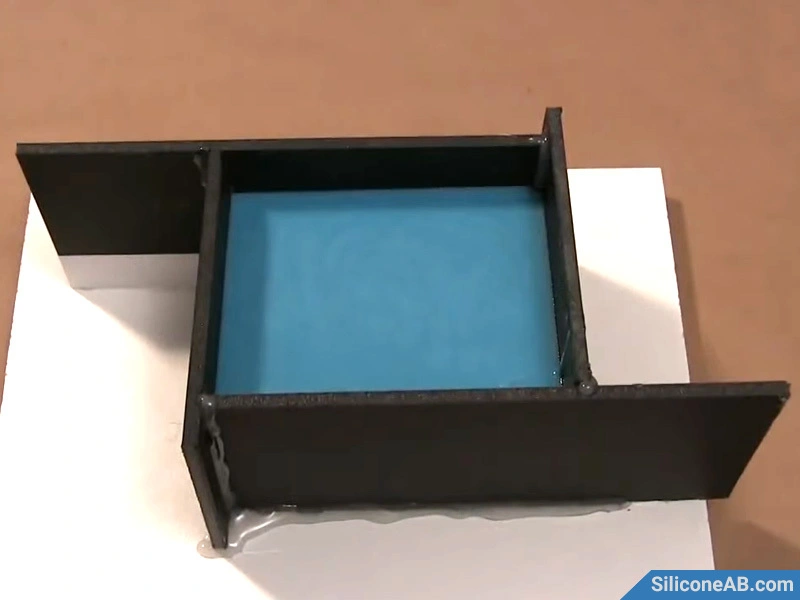 static curing
Step 8: Remove the Mold Box
The silicone curing time varies by brand and ambient temperature, typically 3-5 hours. Once fully cured, remove the mold box.
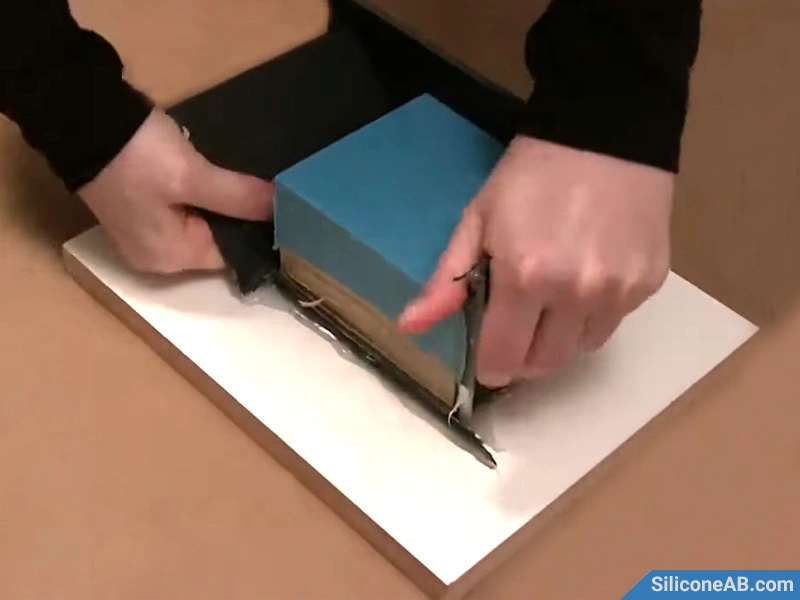 removing the mold frame
Step 9: Remove the Clay
Carefully peel the clay away from the model and clean the model with alcohol. Do not separate the model from the silicone mold at this stage.
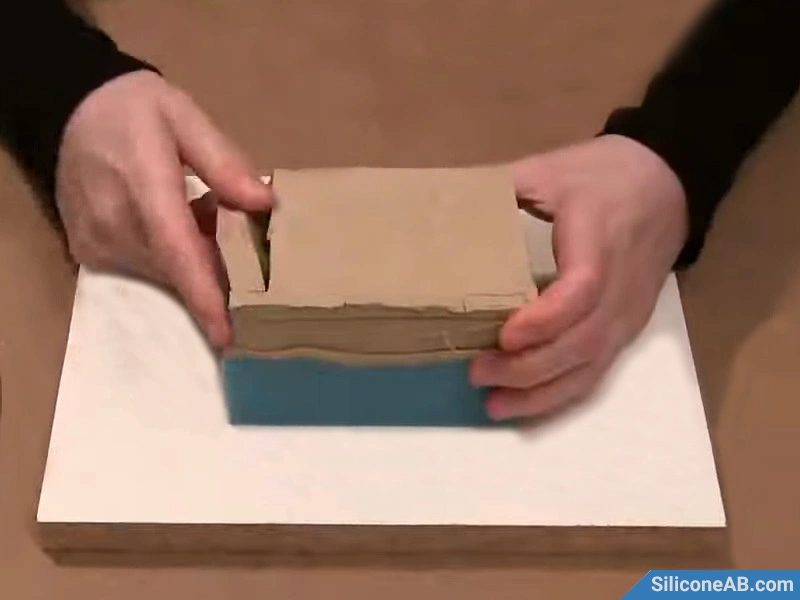 peeling clay
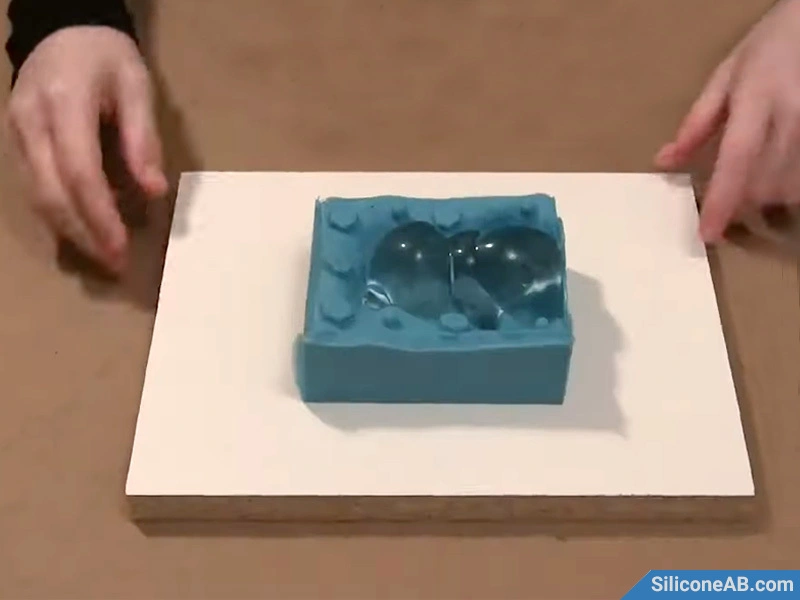 one part silicone mold
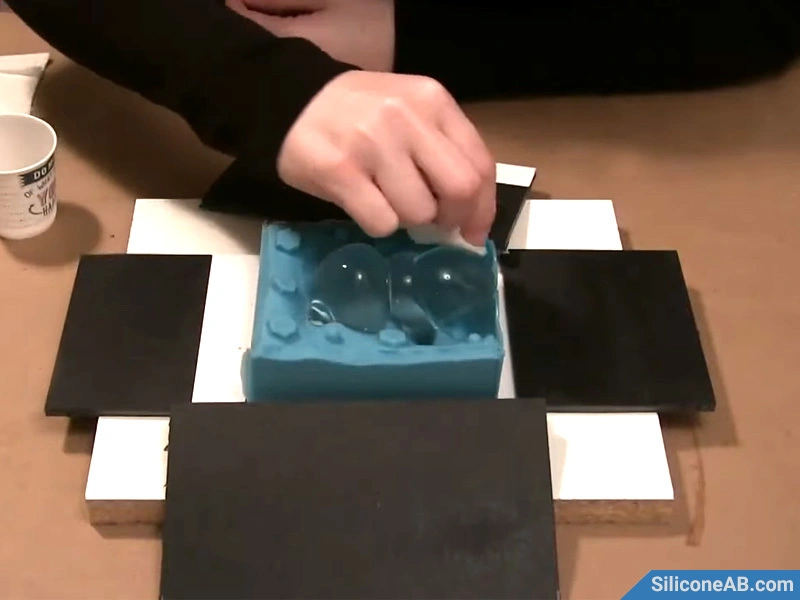 wipe the glass bear
Step 10: Rebuild the Mold Box
Reassemble the mold box and spray it with a mold release agent. The release agent is essential to prevent difficulty in separating the silicone after curing.
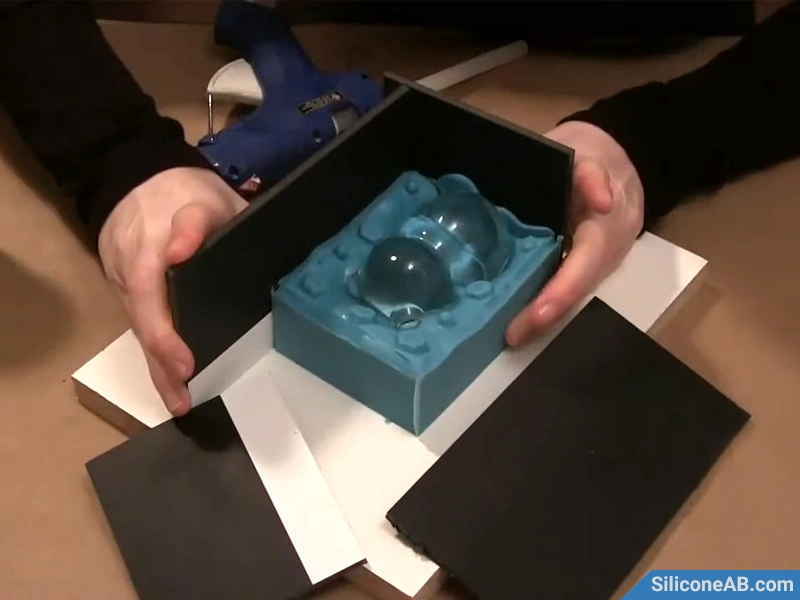 rebuild the mold box
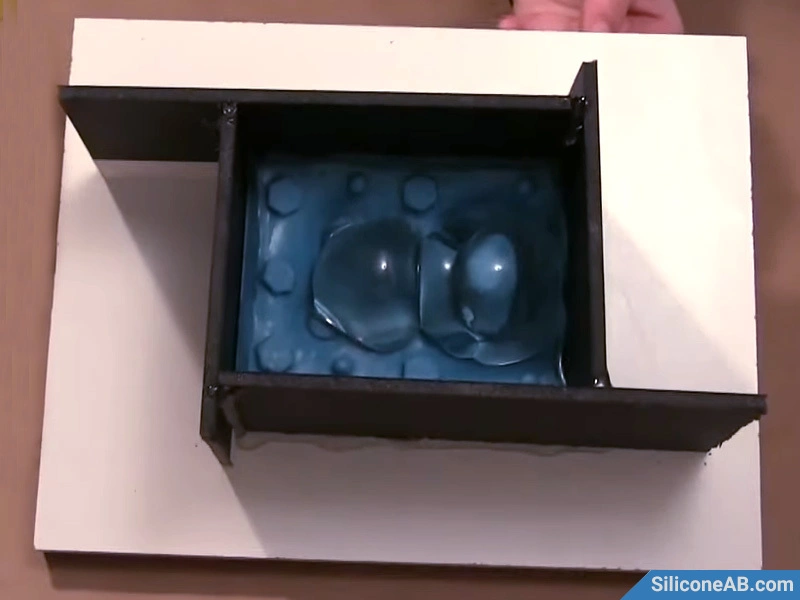 sealed mold box
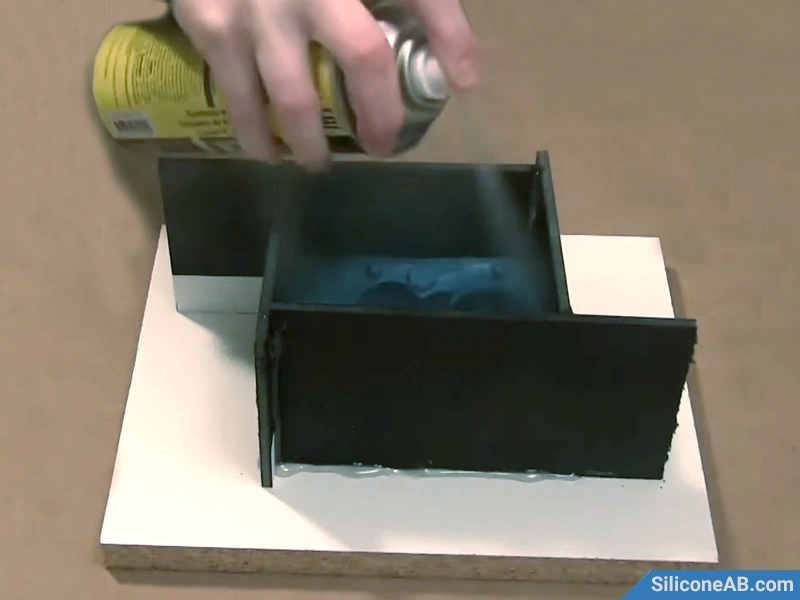 spray release agent
Step 11: Make the Second Part
Repeat steps 5 to 8, mixing and pouring silicone to create the second half of the mold.
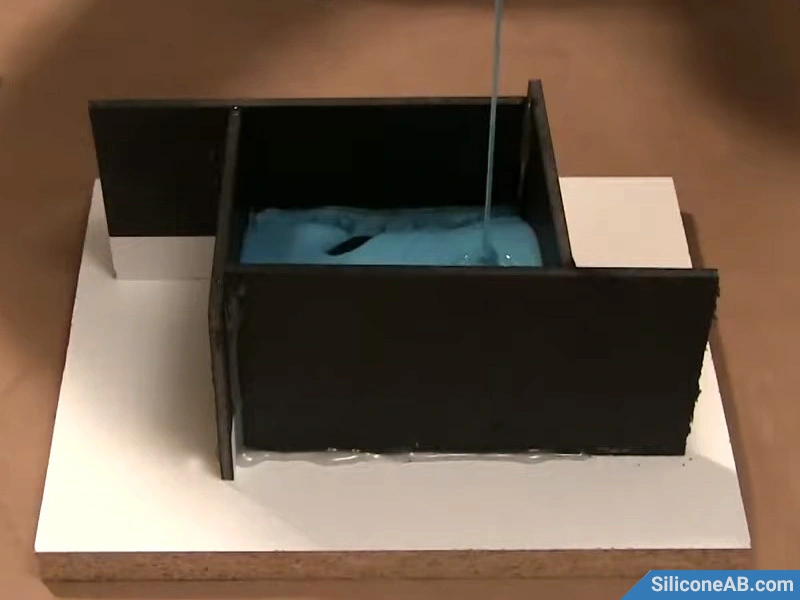 pour in silicone
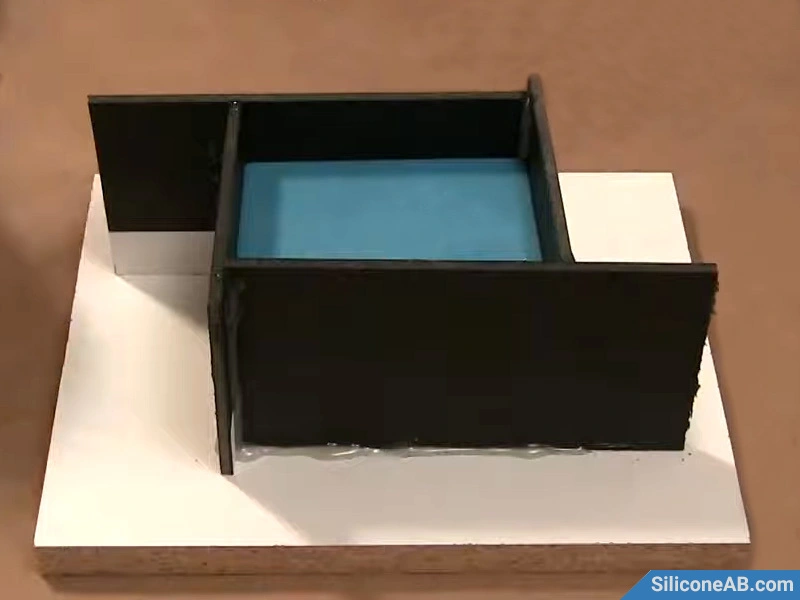 wait for the silicone to cure
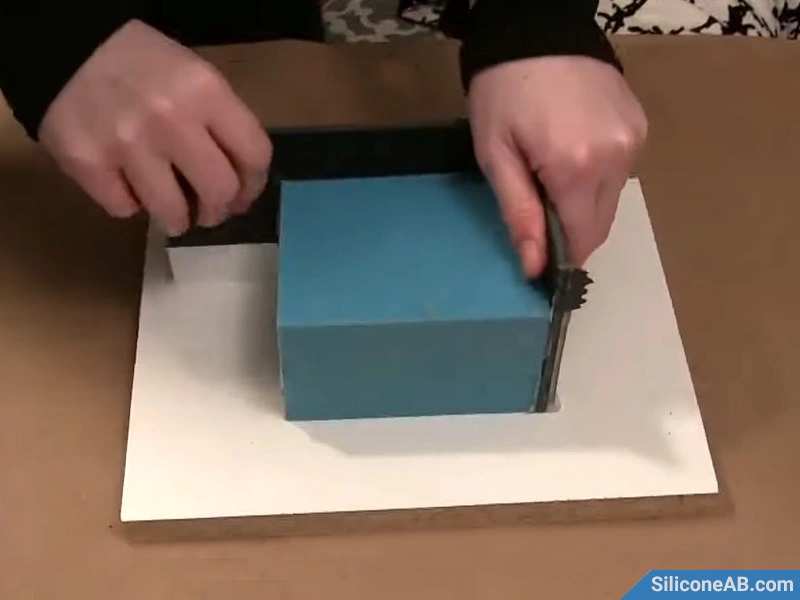 demolding mold box
Step 12: Separate the Mold
Carefully separate the two parts of the silicone mold and remove the original glass bear model. Thanks to the excellent release properties of platinum-cured silicone and the release agent, this should be an easy process.
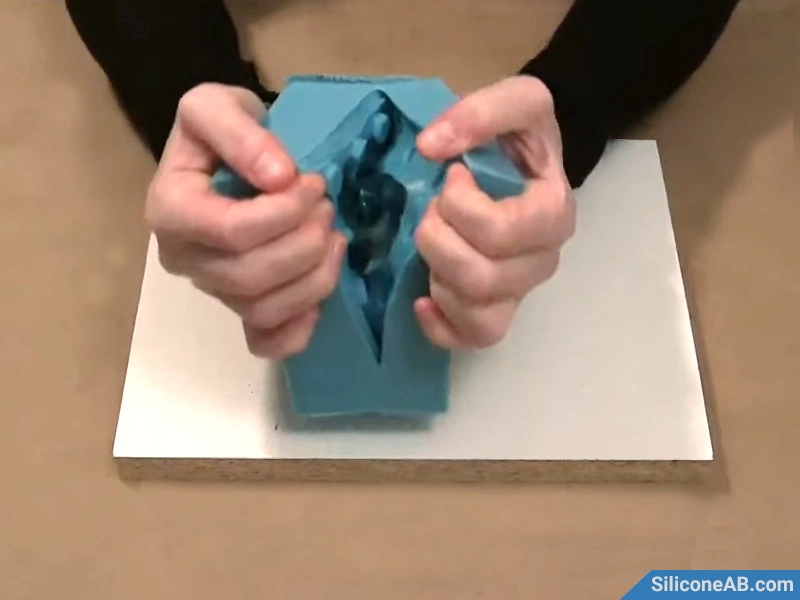 separation silicone mold
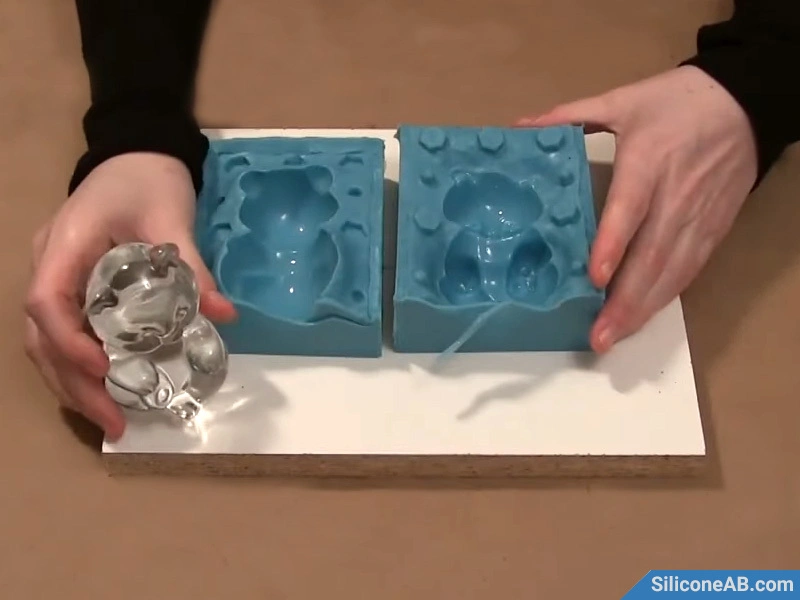 take out the glass bear
Step 13: Assemble the Mold
Reassemble the two parts of the silicone mold, securing them with rubber bands. The positioning holes created in step 2 will ensure proper alignment. For larger molds, use non-elastic straps to prevent deformation during casting.
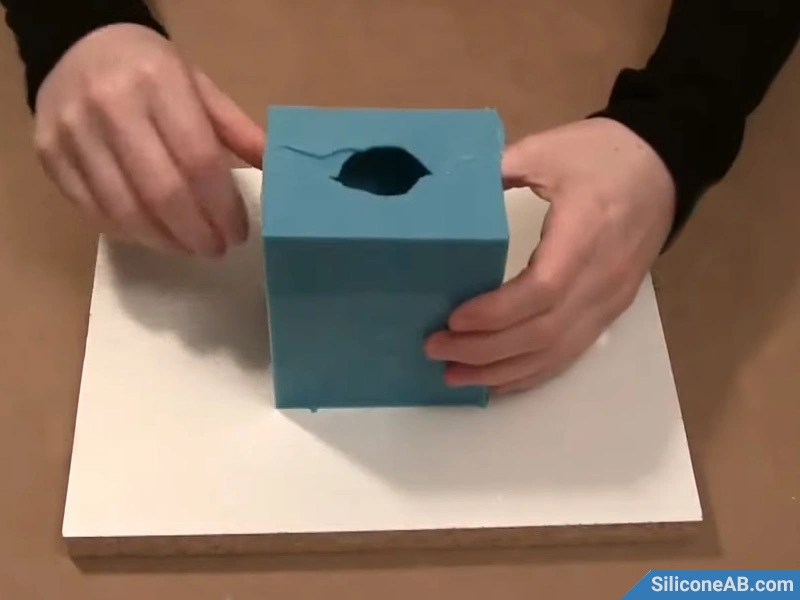 combination mold
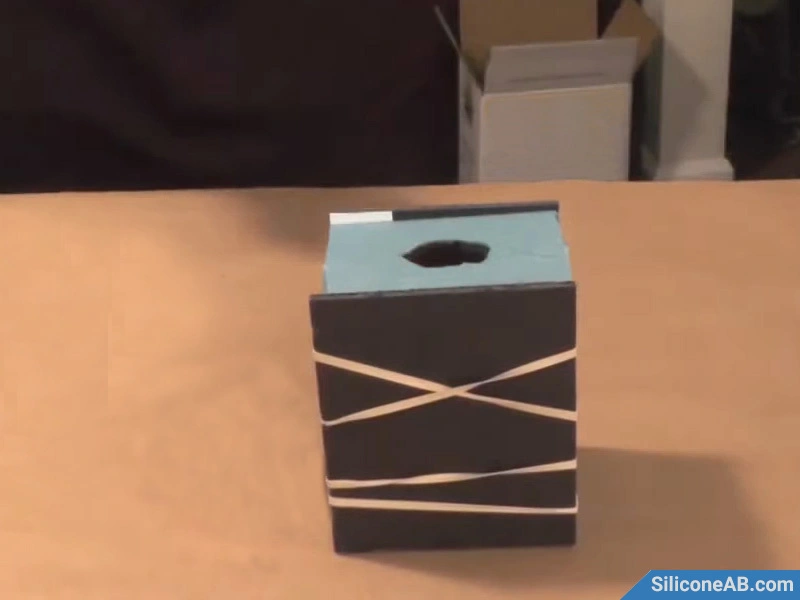 bundle mold
Step 14: Prepare the Resin
Weigh parts A and B of the polyurethane resin in a 1A:1B ratio (by weight or volume) and add the desired pigment, mixing thoroughly.
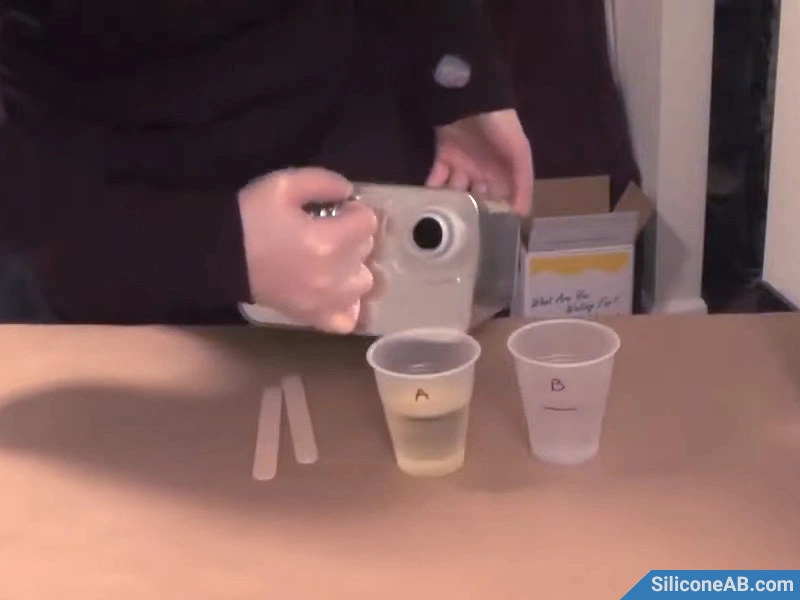 weigh the pu resin part A
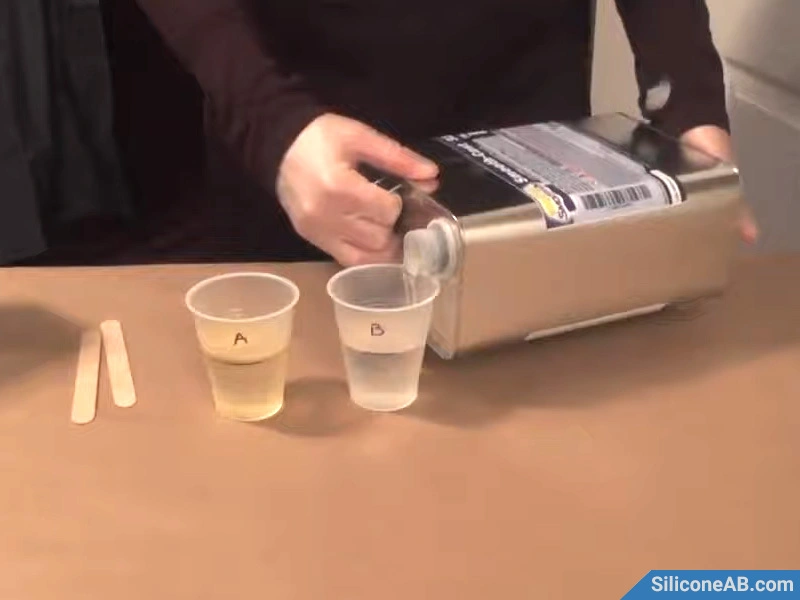 weigh the pu resin part B
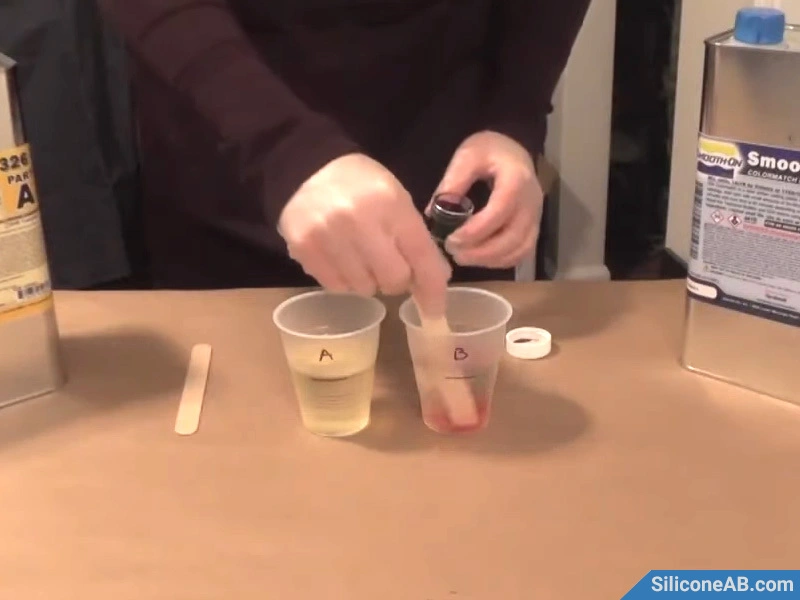 add pigment
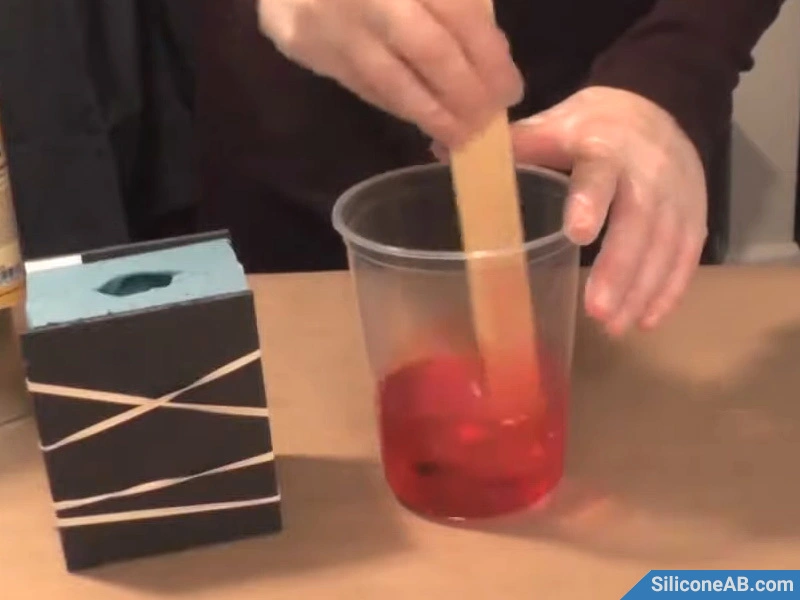 stirring polyurethane resin
Step 15: Pour the Resin
Pour the mixed polyurethane resin into the mold. Fill about a quarter of the mold and then vibrate or rotate it to ensure the resin covers every detail of the model. Polyurethane resin has a short working time, so mix and pour quickly.
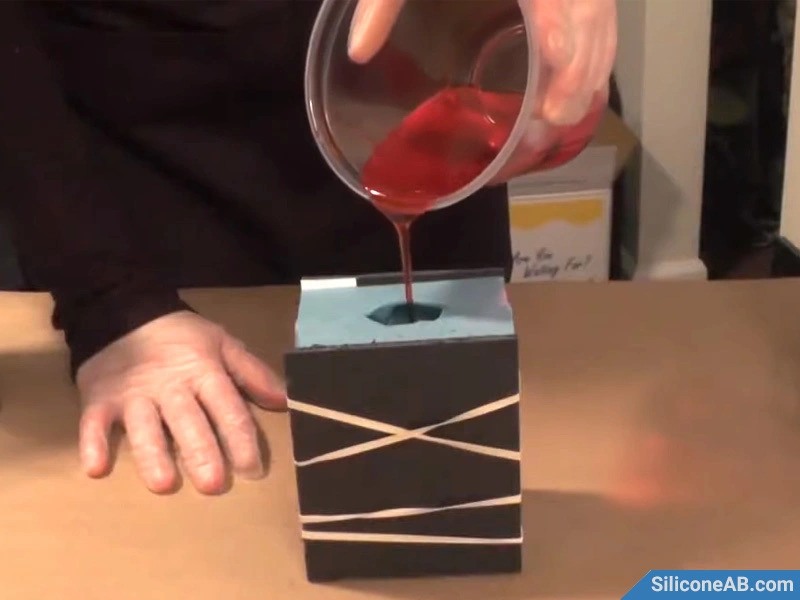 pour polyurethane resin
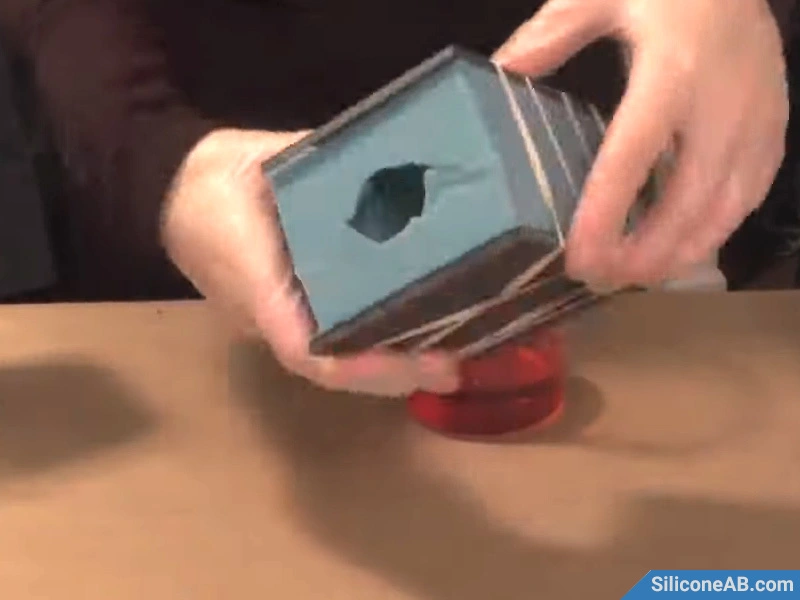 rotary mold
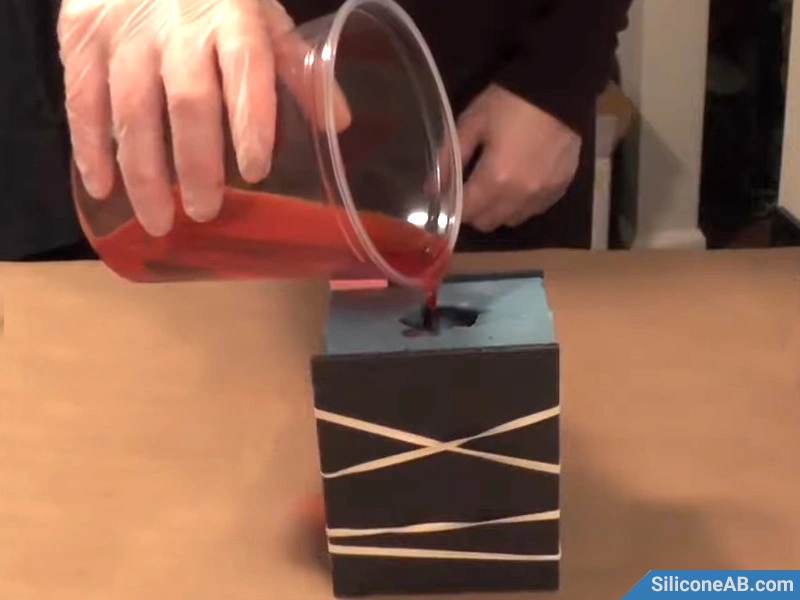 casting polyurethane resin
Step 16: Remove the Mold
To check if the resin is cured, leave a small amount in a plastic cup and touch it to test its state. If cured, you can demold the cast resin product.
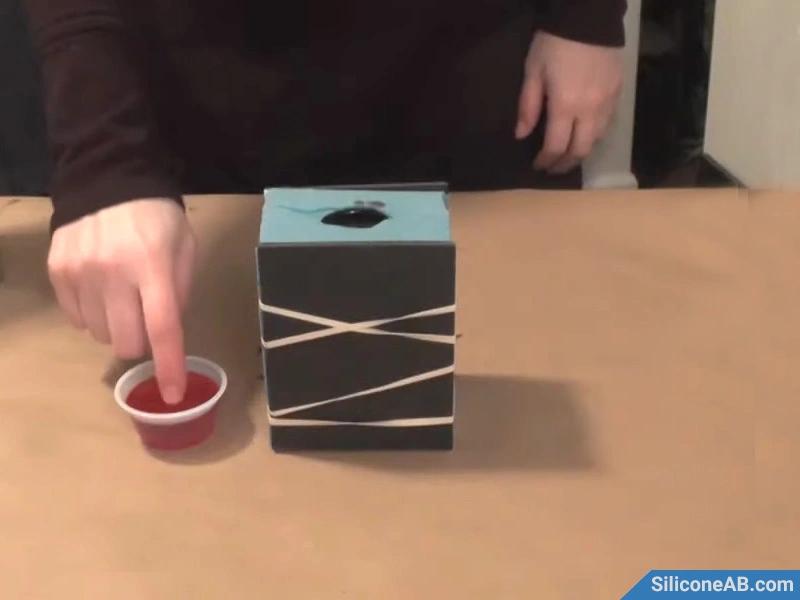 verify polyurethane resin curing
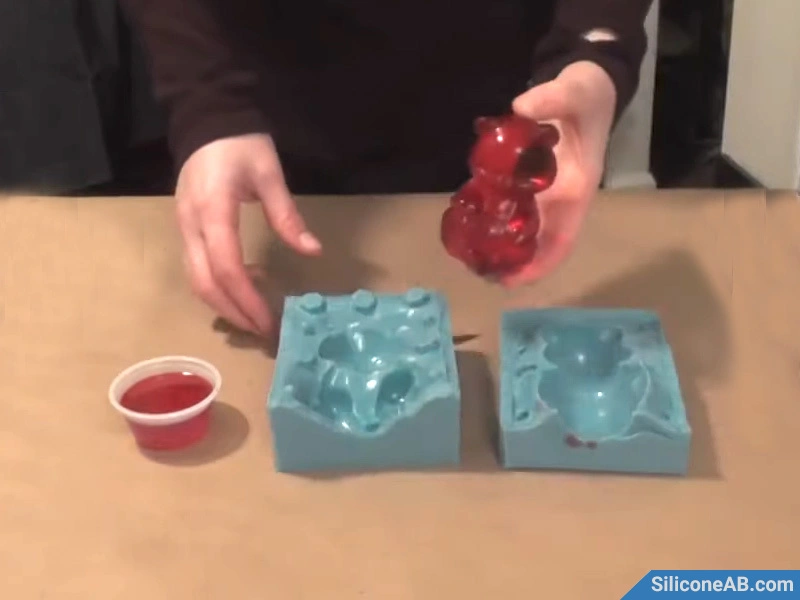 take out the resin crafts
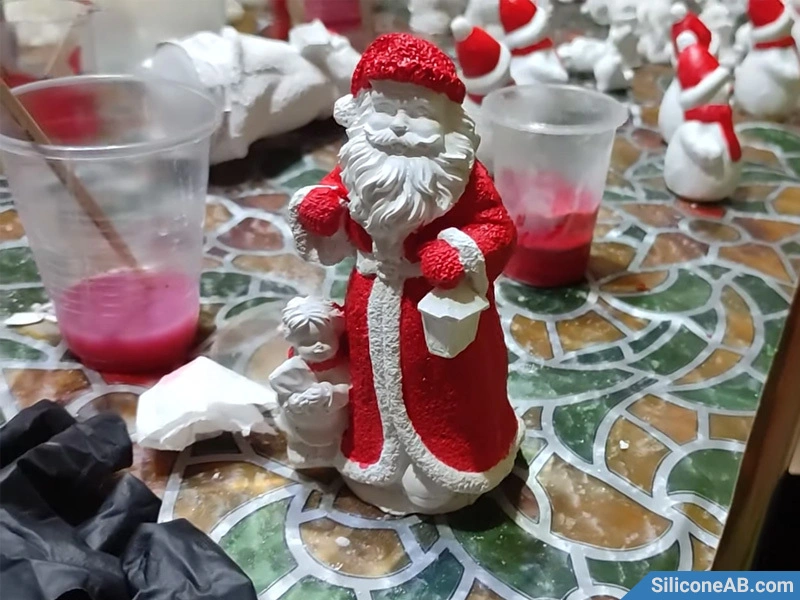
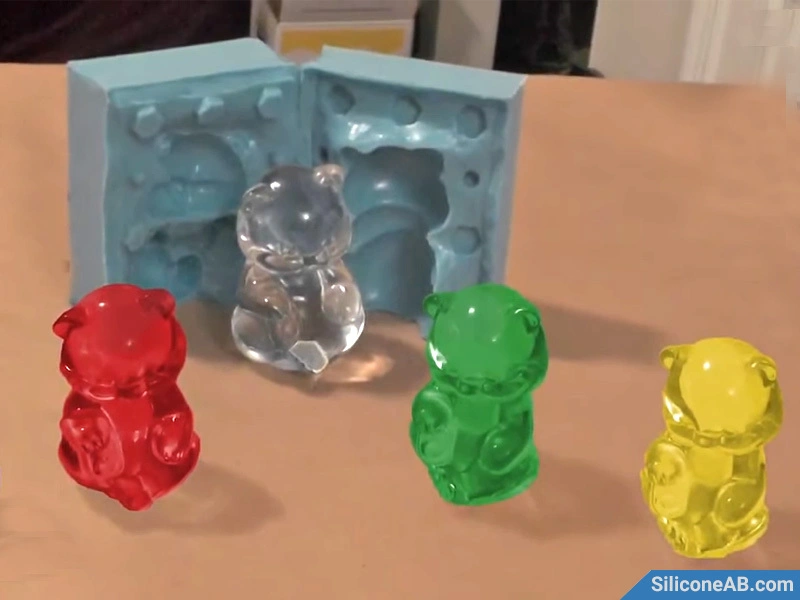 polyurethane resin crafts
By following these steps, you can easily create high-quality two-part silicone molds and replicate exquisite glass bear crafts. We hope this tutorial is helpful to you, and happy crafting!

We value your comments, but please refrain from posting meaningless or irrelevant content. Kindly review our Comment Policy before commenting.