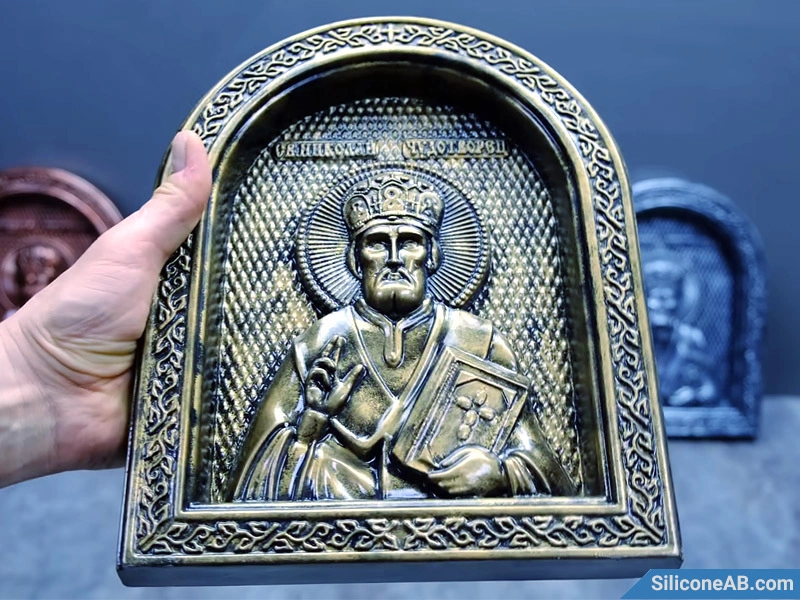
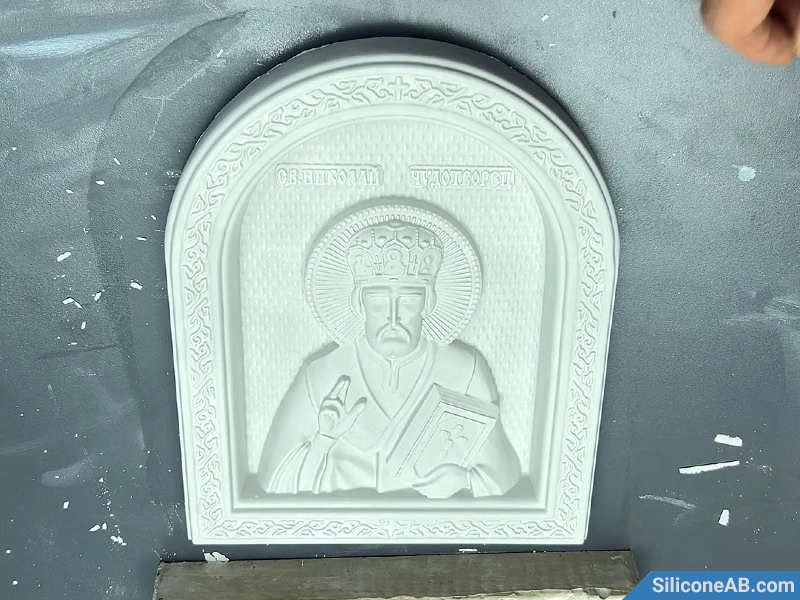
This tutorial documents the process of casting plaster statues, explaining each step and noting important considerations. From preparing the original model to making the silicone mold and casting with plaster, this article will guide you through the entire process. It is ideal for beginners in silicone mold making and craft enthusiasts.
Tools and Materials
- 3D printed model (Nicholas statue)
- Silicone materials (condensation silicone + curing agent)
- Plaster
- Brush
- Digital scale
- Measuring cup and stir sticks
- Mold frame (cardboard)
- Release agent
- Hot glue gun
Step 1: Prepare the Model
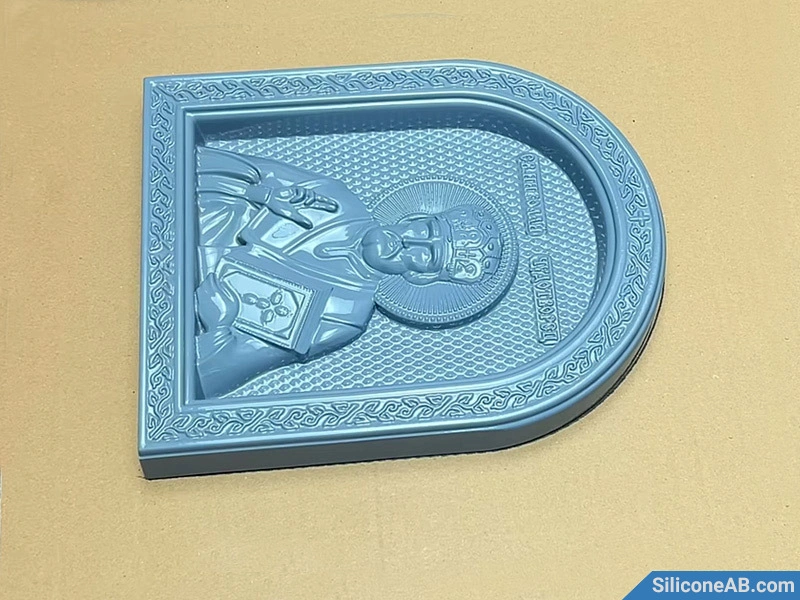
Clean and dry the 3D-printed statue model. If necessary, use fine sandpaper to smooth the surface. If using addition-cured silicone, ensure the UV resin on the 3D printed model is fully cured to avoid inhibiting the platinum silicone’s curing process.
Step 2: Build the Mold Box
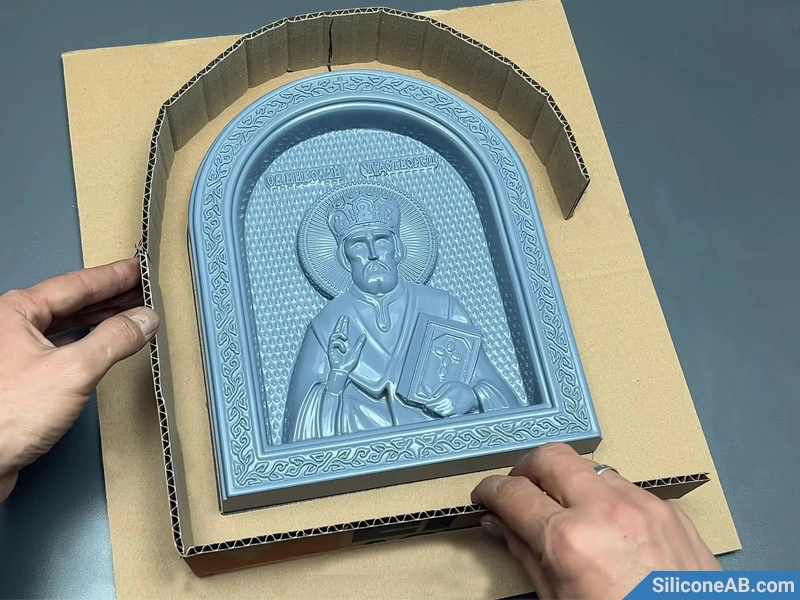
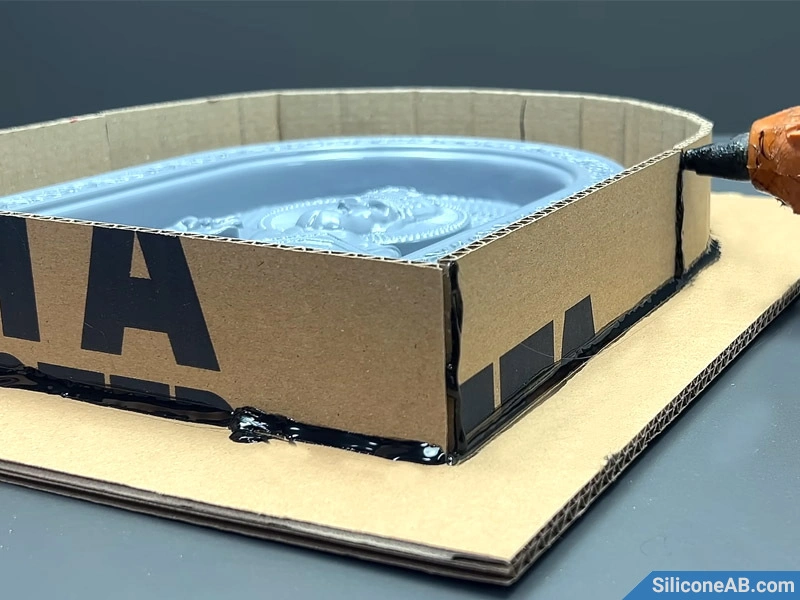
Secure the original model and construct a mold box with cardboard, leaving a 1-2 cm gap around the model. Seal the edges and seams with hot glue to prevent silicone leakage.
Step 3: Apply Release Agent
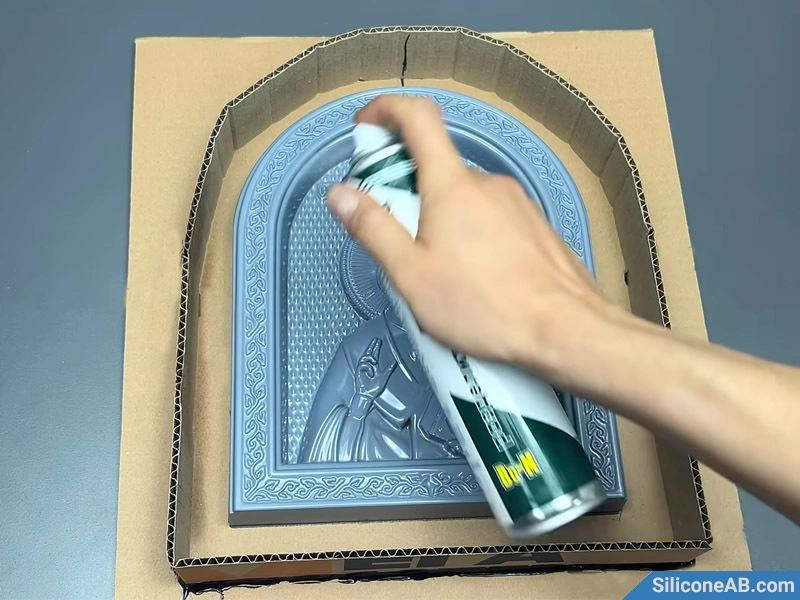
Evenly apply a release agent to the surface of the model and the inside of the mold box. This prevents the silicone from sticking to the model and the mold box, making the demolding process smoother.
Step 4: Mix the Silicone
Mix the condensation silicone and curing agent according to the ratio (100:3) and stir evenly. Using a vacuum deaerator can achieve better results. The curing time of RTV-2 silicone is influenced by ambient temperature and the amount of curing agent, and the ratio can be adjusted (100:2-100:4) based on operating conditions to suit different projects.
Step 5: Pour the Silicone
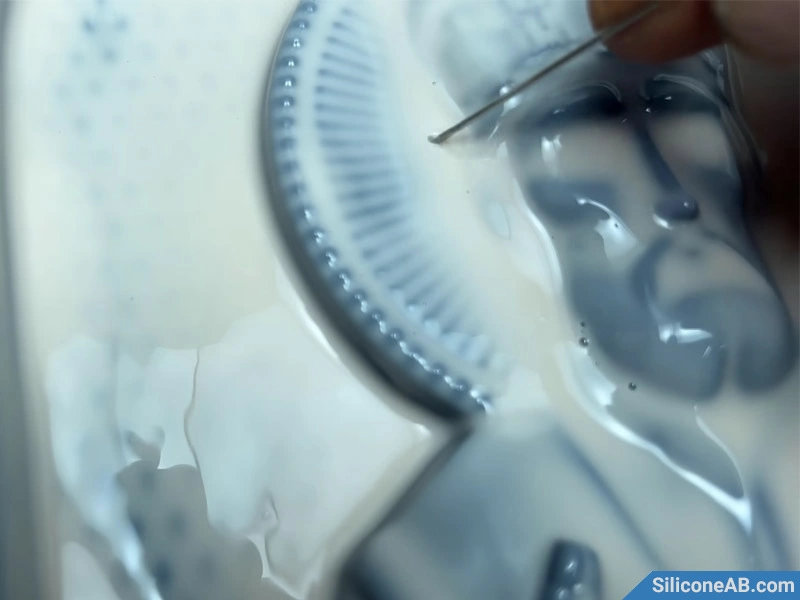
Pour the mixed liquid silicone into the mold box and use a brush to apply silicone to the model's surface, ensuring coverage of all details. The first layer of silicone should be thin, just enough to cover the model's surface. Use a toothpick to pop any surface bubbles.
Step 6: Apply Additional Layers
Repeat steps 4 and 5 to apply the second and third layers of silicone. For better visibility, use different colors of silicone for each layer. Applying three layers of silicone provides a suitable thickness, maintaining flexibility while ensuring performance. For enhanced durability, you can add a layer of gauze between two layers of silicone.
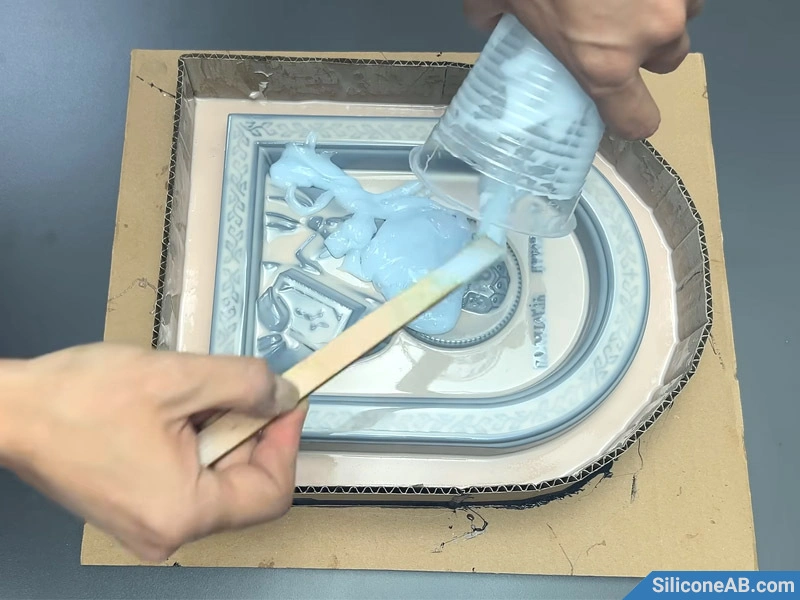 pour the second layer of silicone
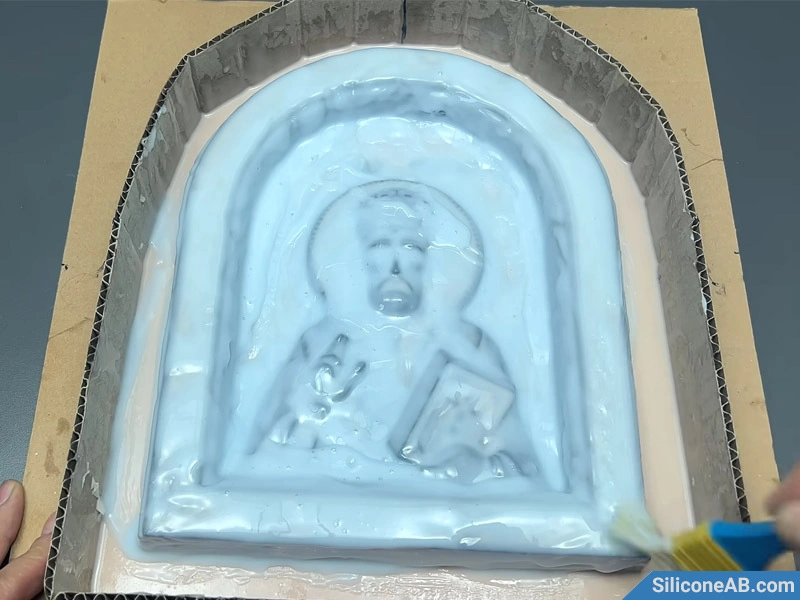 brush on the second layer of silicone
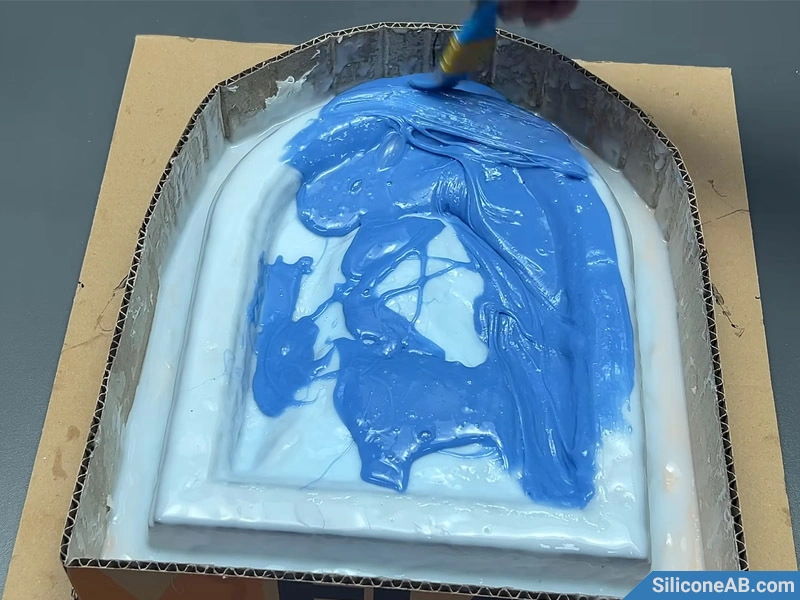 pour the third layer of silicone
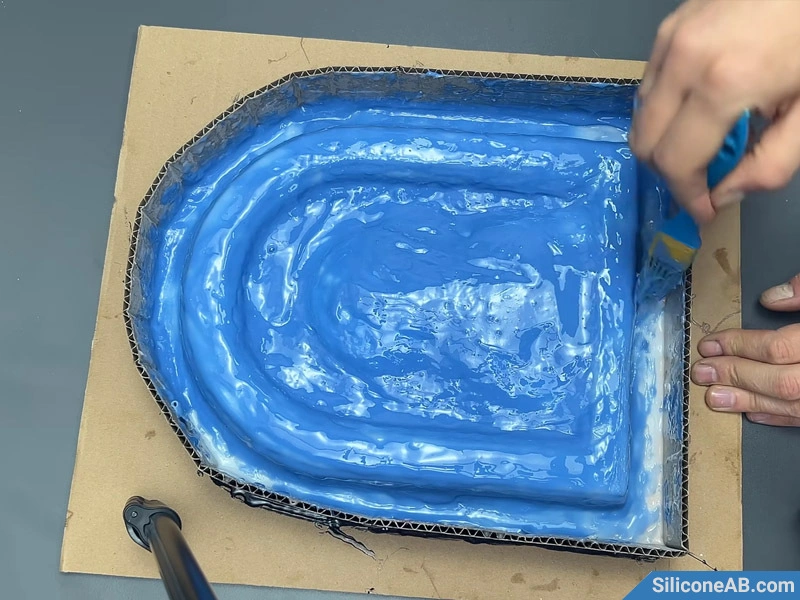 brush on the third layer of silicone
Step 7: Silicone Curing
Place the mold box on a level surface and wait for the silicone to cure. Curing time varies from a few hours to 12 hours depending on the ambient temperature and the amount of curing agent.
Step 8: Cast the Outer Mold
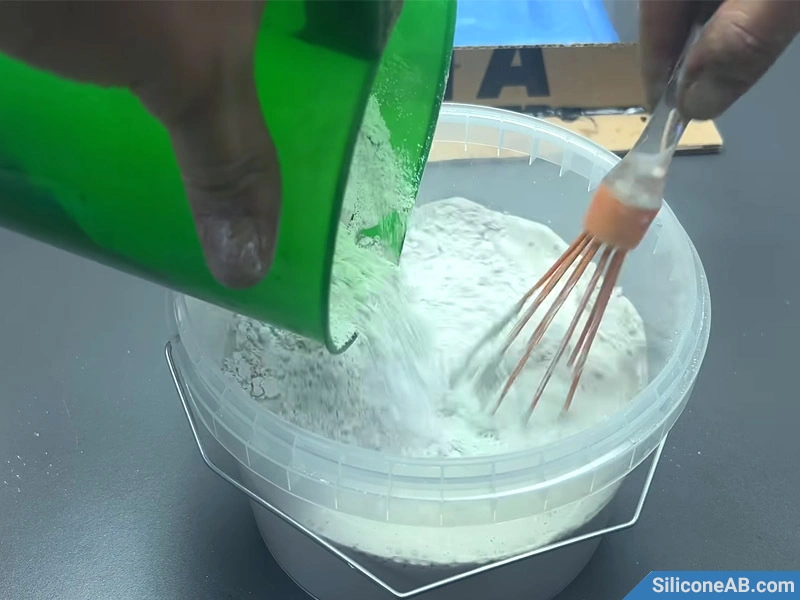
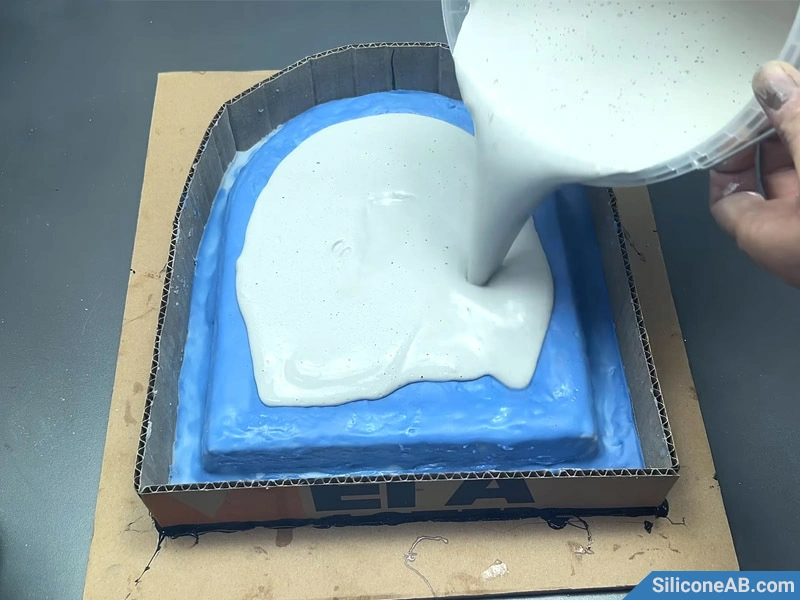
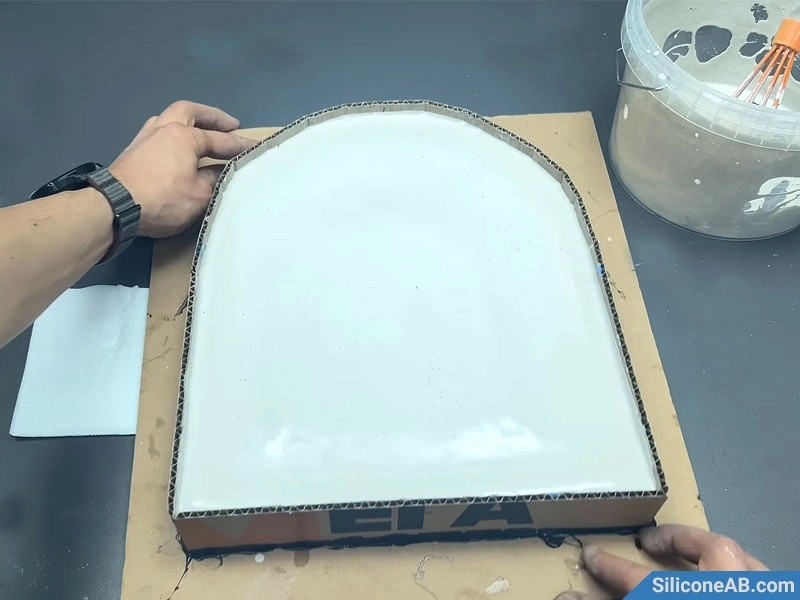
Since silicone is soft and can deform when casting liquid materials, a hard outer mold for support is necessary. Mix plaster with water according to the ratio, pour it into the mold box, and gently shake to level the plaster.
Step 9: Demold
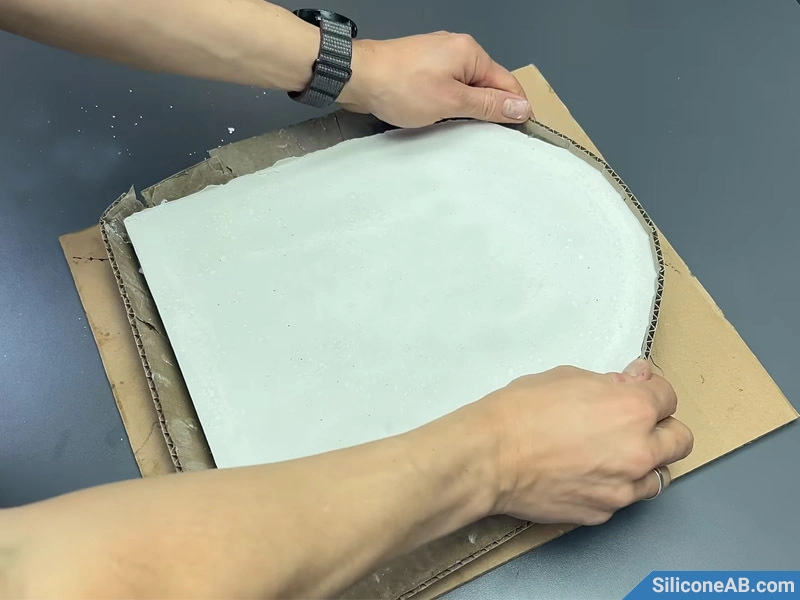
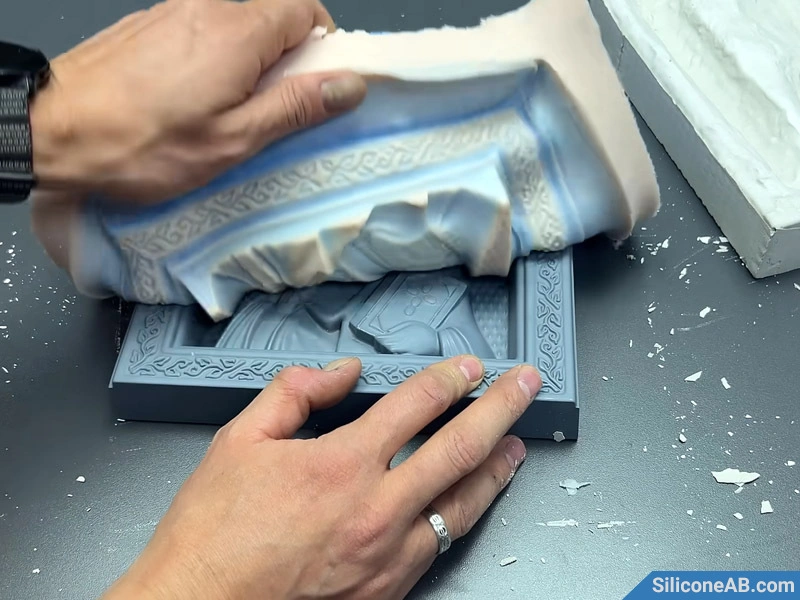
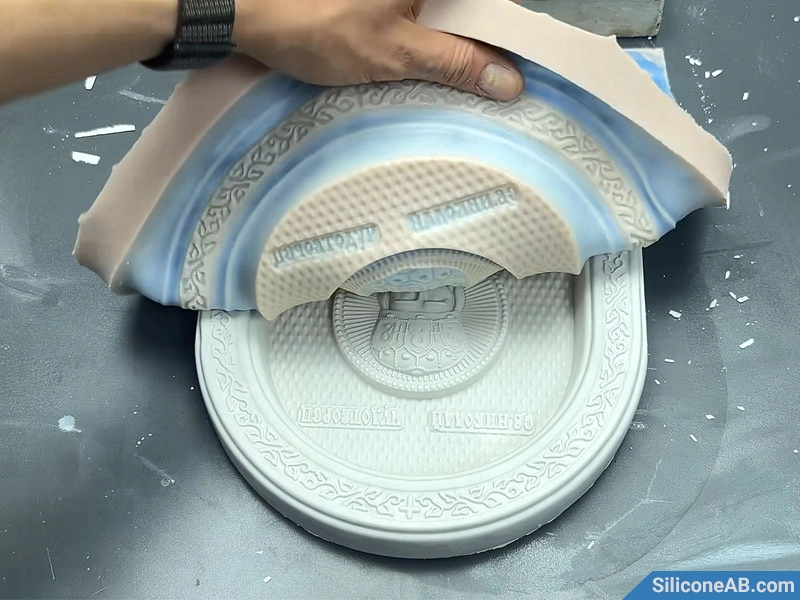
After the plaster cures, dismantle the mold box and remove the plaster outer mold. Carefully separate the silicone mold from the original statue model.
Step 10: Trim the Mold
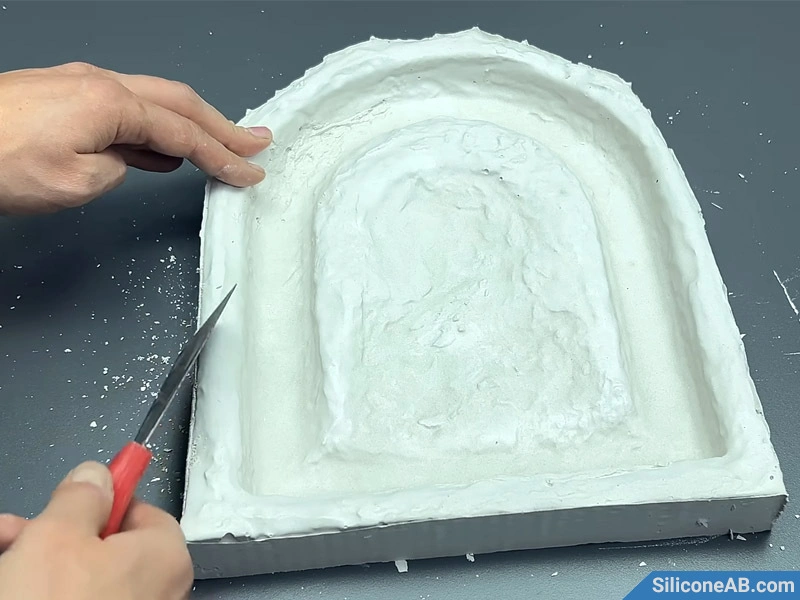
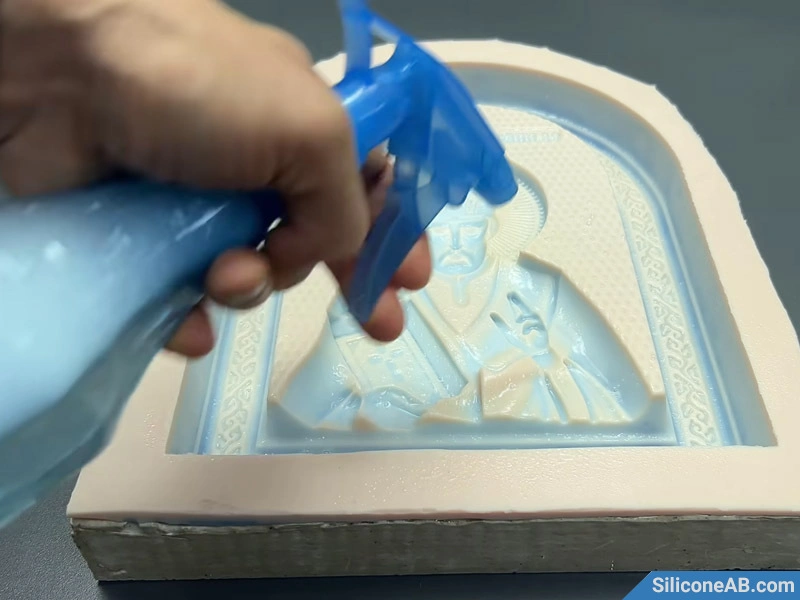
Trim the edges of the silicone mold with scissors and make simple adjustments to the plaster outer mold. Fit the silicone mold into the plaster outer mold and spray soap water release agent inside the mold.
Step 11: Pour the Plaster
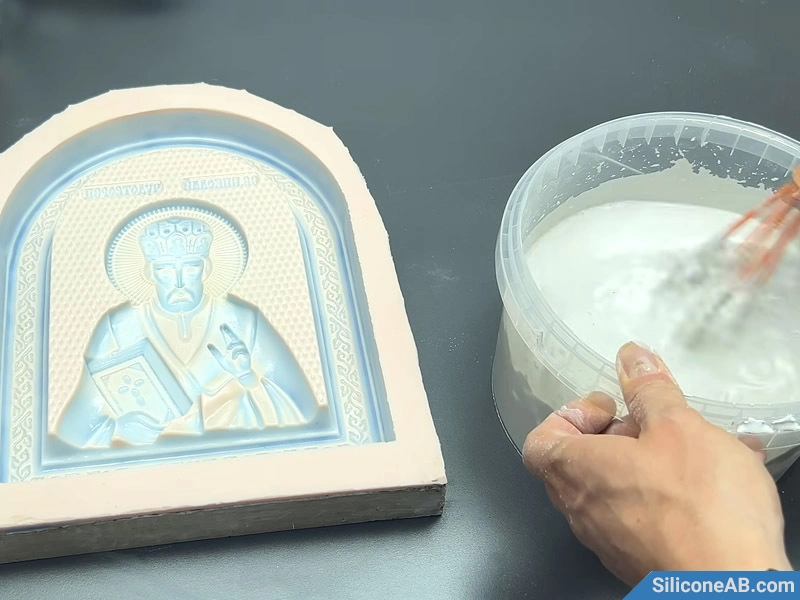
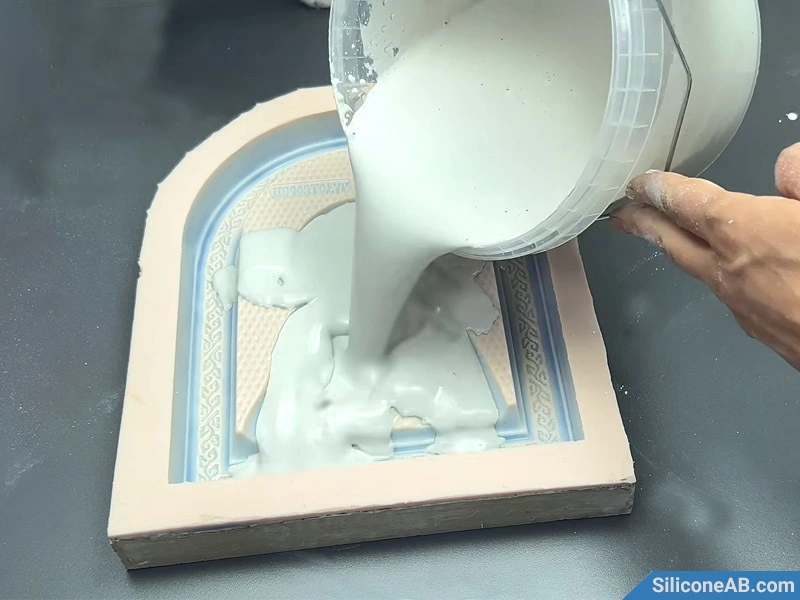
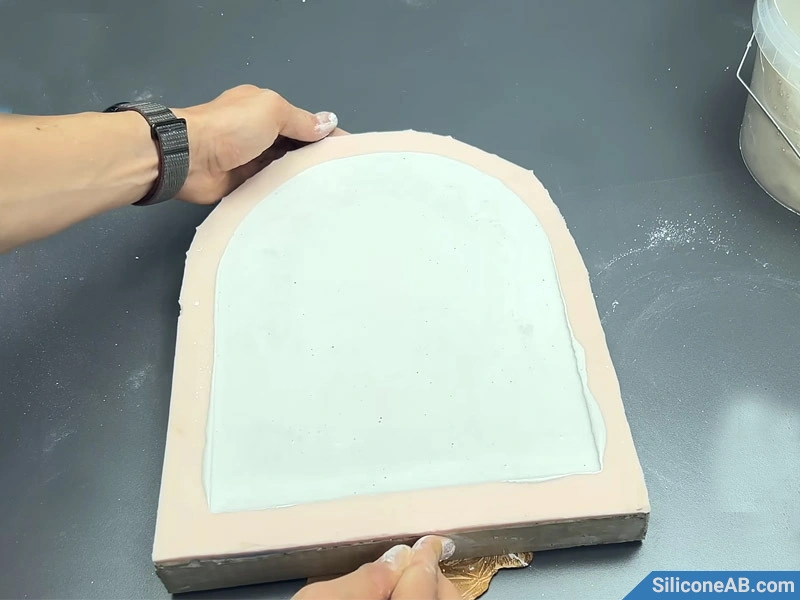
Mix plaster with water evenly and pour it into the silicone mold, filling the cavity completely. Shake the mold to level the plaster and help air bubbles rise and break on the surface.
Step 12: Finish the Statue
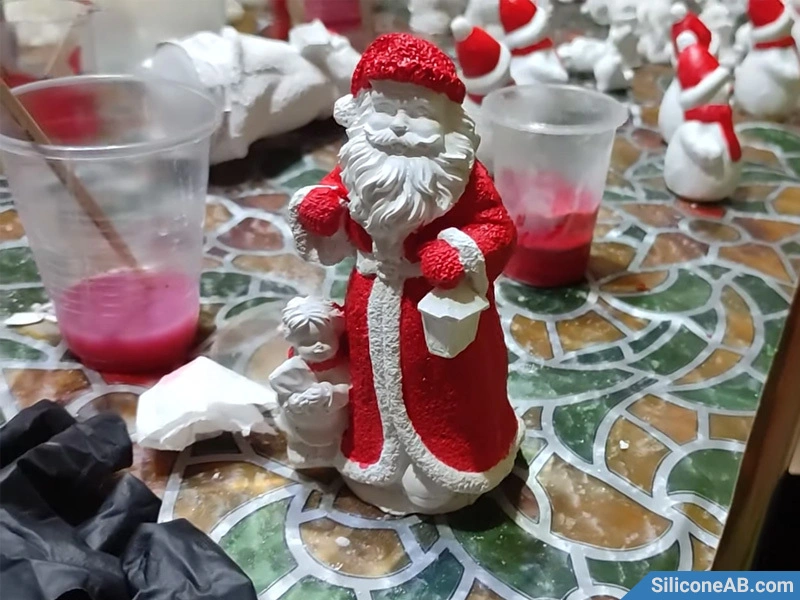
After the plaster cures, separate and remove the plaster statue replica from the mold. You can then sand and paint the plaster statue to enhance its artistic effect.
By following these steps, you can create stunning plaster statues that serve as unique decorative pieces or for religious purposes. This craft project brings a sense of achievement and beauty. We hope this guide provides valuable assistance on your craft journey.
