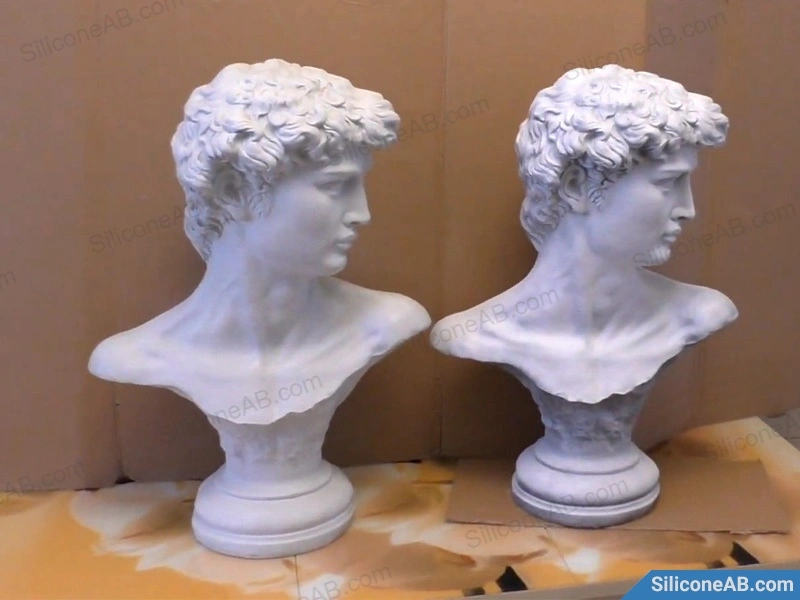
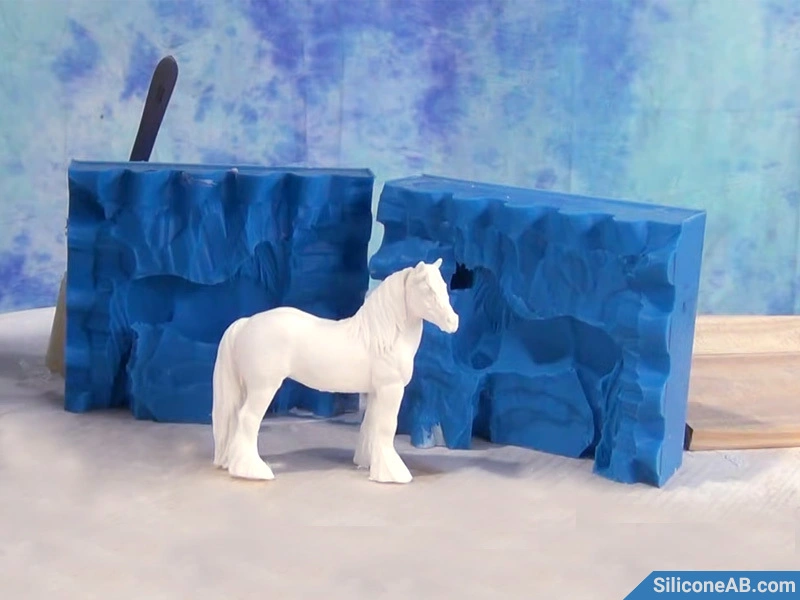
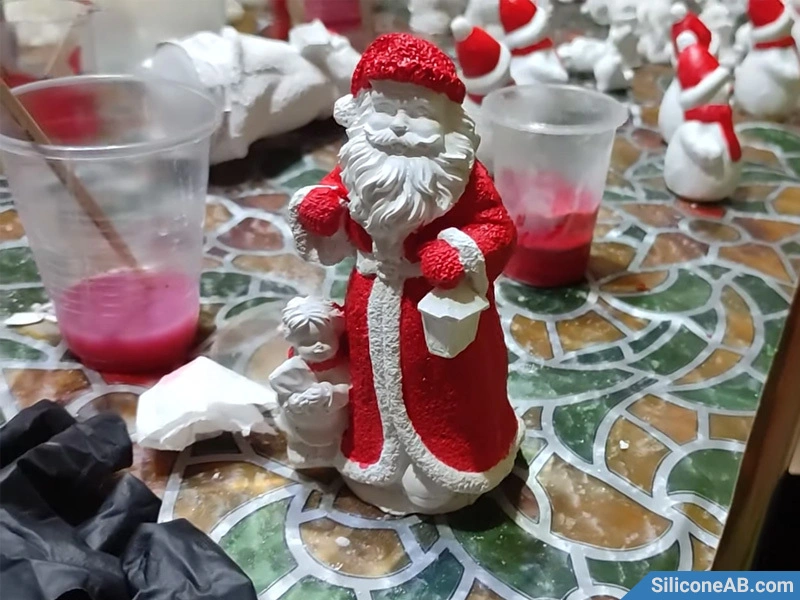
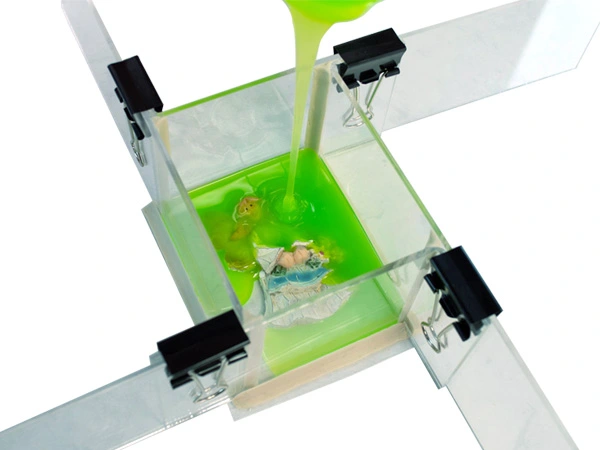
Creating silicone molds and casting concrete statues is a complex but highly artistic craft. This guide offers a step-by-step walkthrough, from preparing the original model to producing the final product, ensuring that you achieve the desired results at every stage. Whether you are a beginner or an experienced artisan, this guide will help you enhance your skills.
Tools and Materials
1. Statue Prototype: The original statue model to be molded
2. Condensation Cure Silicone (with catalyst): Material for mold-making
3. Concrete: Material for the final statue
4. Thickening Agent: Additive to adjust the flow of silicone
5. Release Agent: Chemical to prevent mold sticking
6. Brush: For applying silicone
7. Mixing Stick: For mixing materials
8. Mixing Bucket: For material preparation
Step 1: Prepare the Original Model
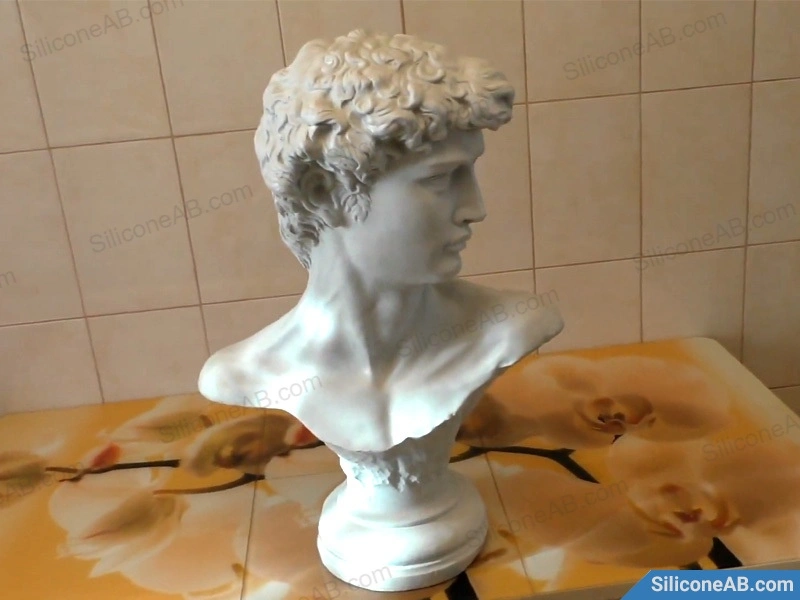
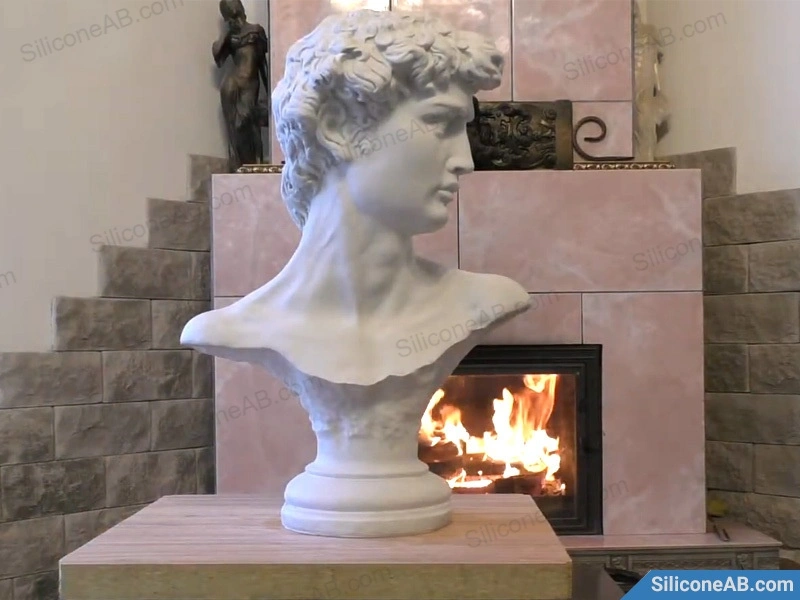
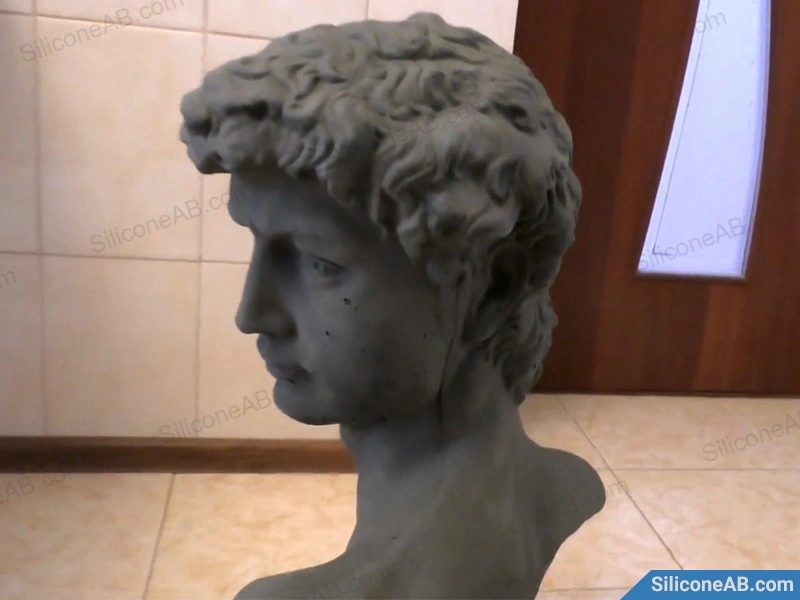
Ensure that the surface of the statue prototype is clean and dry. Place it on a level workspace to ensure smooth subsequent operations.
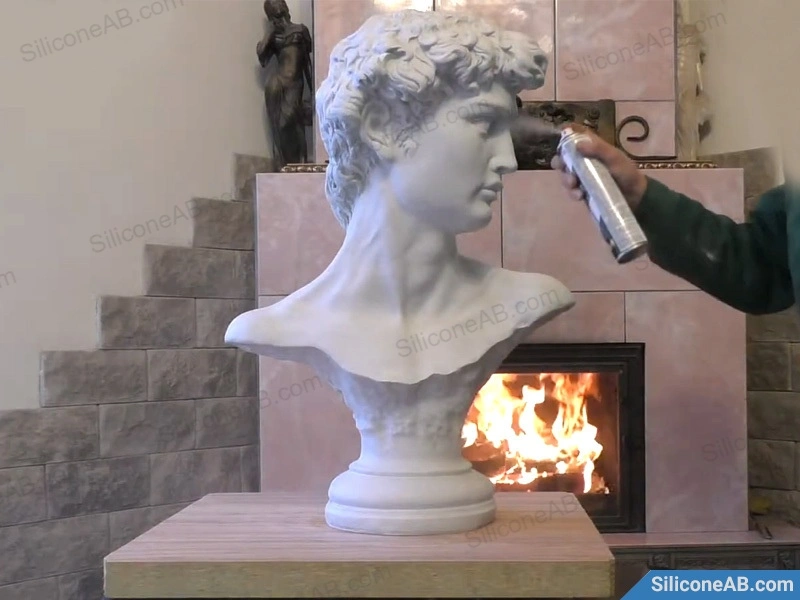
Step 2: Apply Release Agent
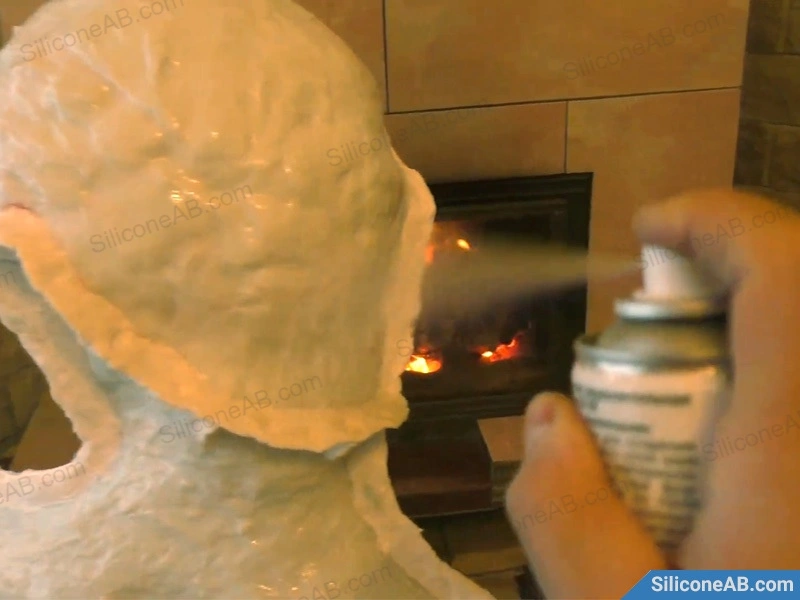
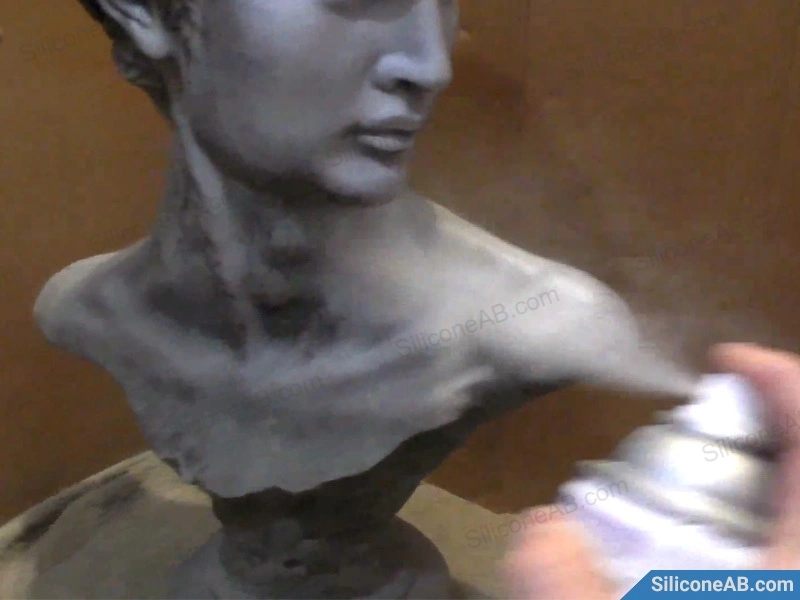
Evenly spray a layer of release agent over the surface of the statue model. This will help in the easy separation of the mold during demolding, preventing damage to the mold.
Step 3: Mix Silicone
Assess the amount of silicone required based on the size of the statue and the silicone manufacturer's instructions. Mix the condensation cure silicone and catalyst accurately, ensuring even mixing to avoid issues with mold quality due to uneven curing.
Step 4: Apply Silicone
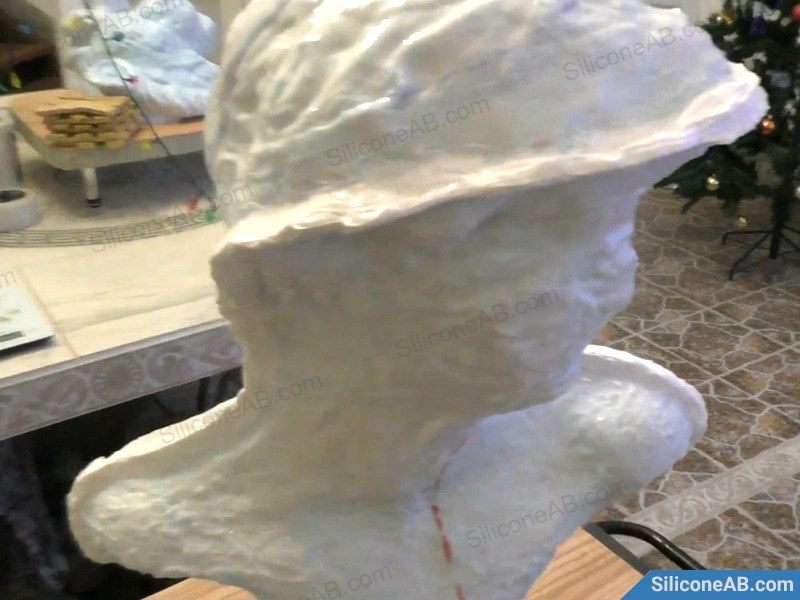
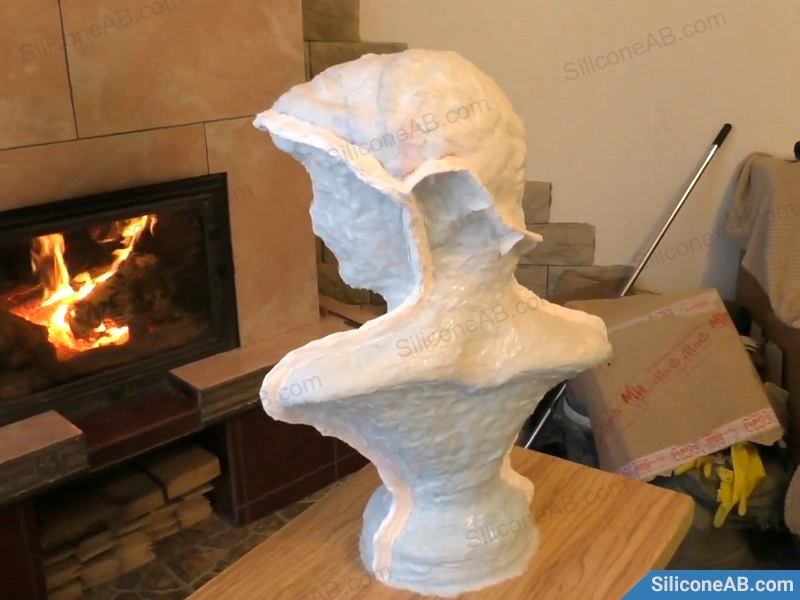
Use a brush to apply the silicone evenly over the surface of the statue. The first layer does not need to be thick, but it must cover all details to avoid imperfections.
Step 5: Apply Multiple Layers of Silicone
After the initial layer has partially cured, apply a second layer of silicone. If the silicone flows too quickly, add a thickening agent to adjust its viscosity. Typically, three layers are sufficient for mold-making.
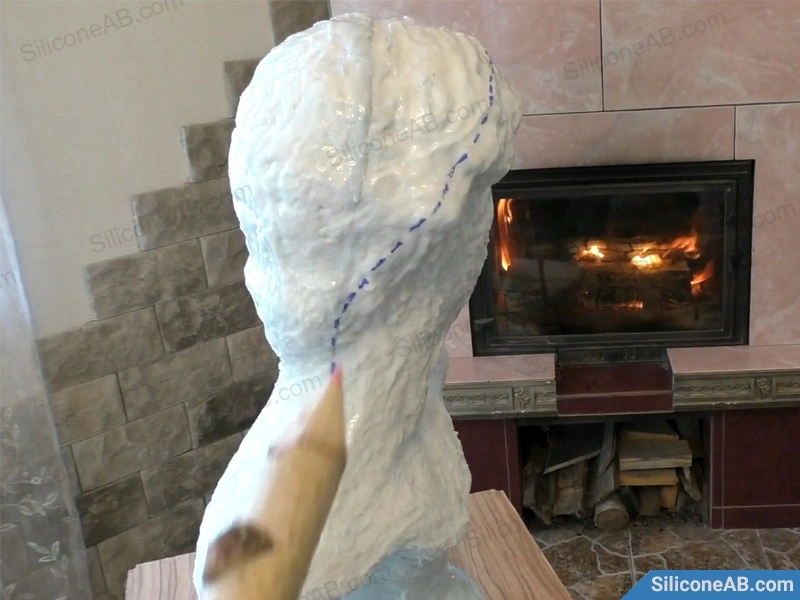
Step 6: Define Parting Lines
Using a brush, outline the parting lines on the surface of the statue model, and use clay to build clear boundary contours. This will provide a clear guide for the subsequent hard shell mold-making and separation.
Step 7: Apply Release Agent
Spray a layer of release agent on the surface of the silicone mold to prevent the hard shell mold from adhering to the silicone mold.
Step 8: Create the Outer Mold
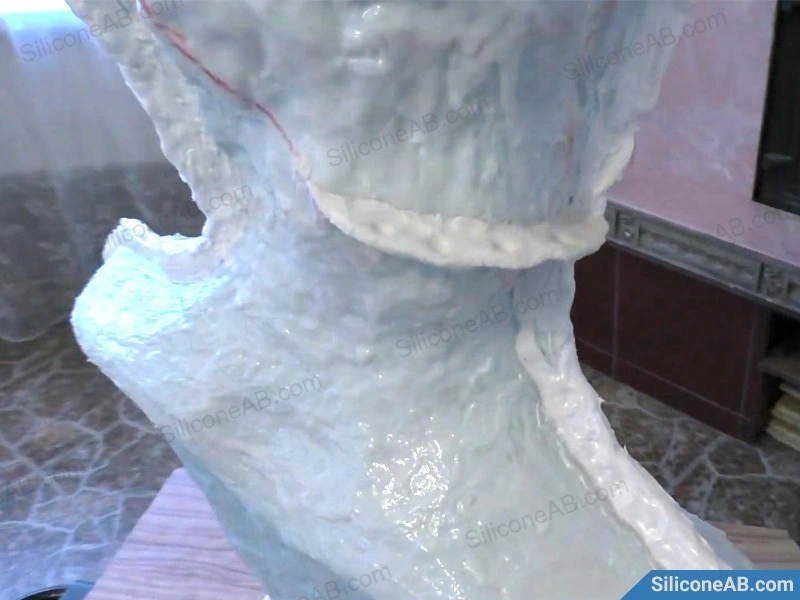
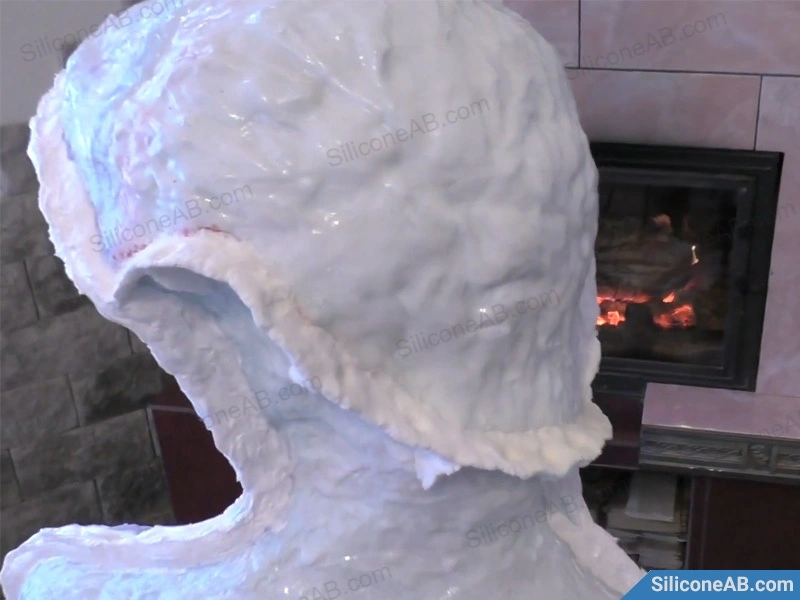
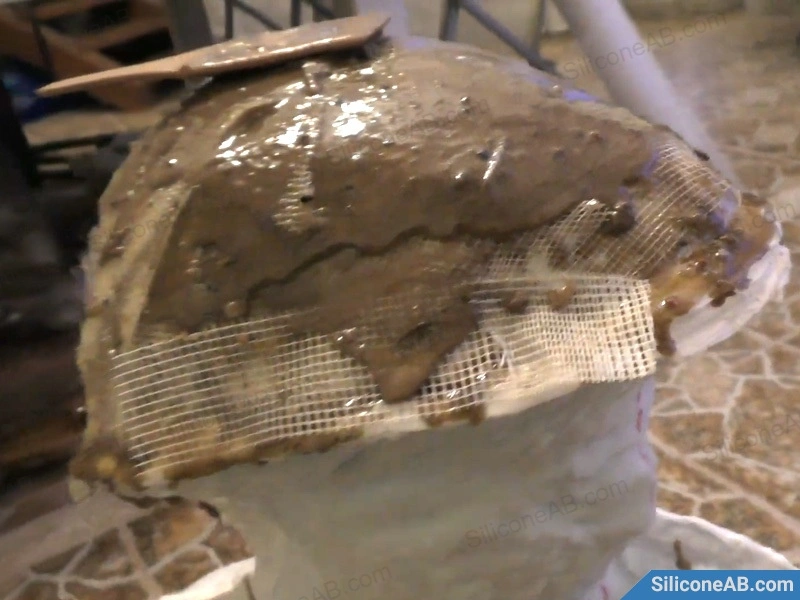
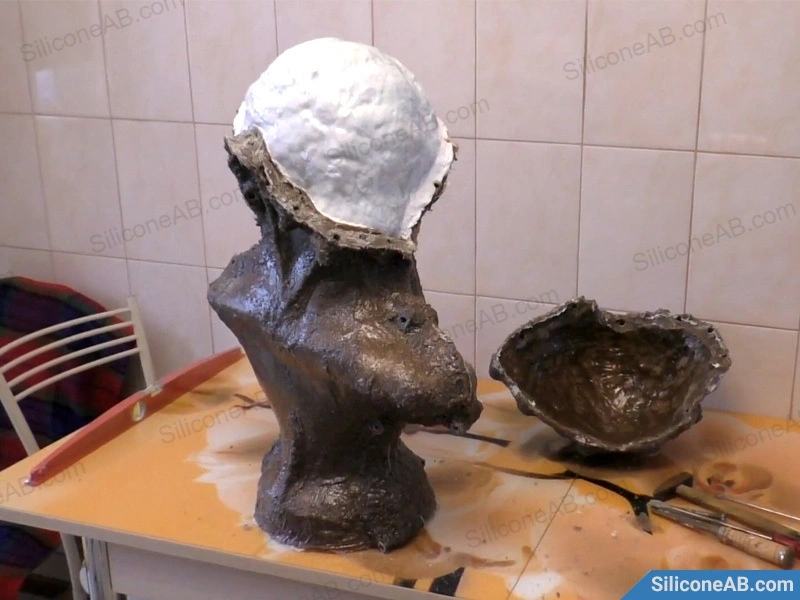
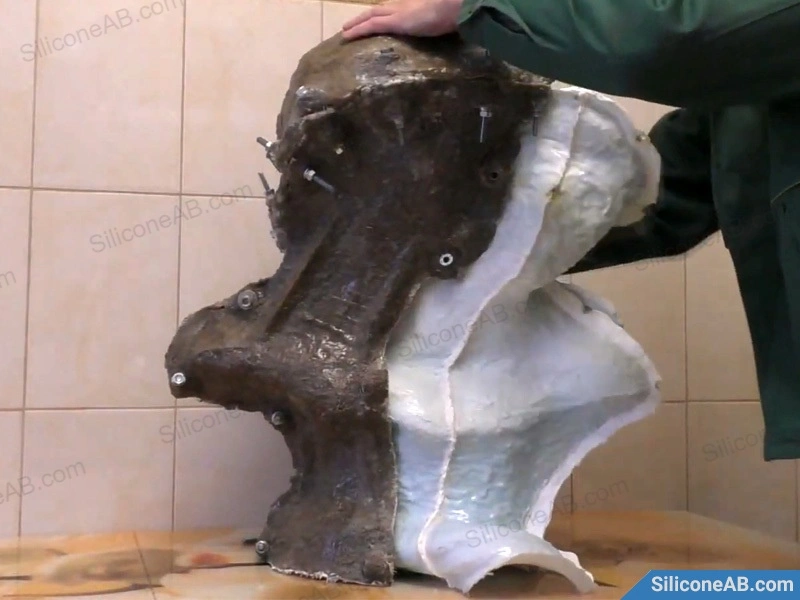
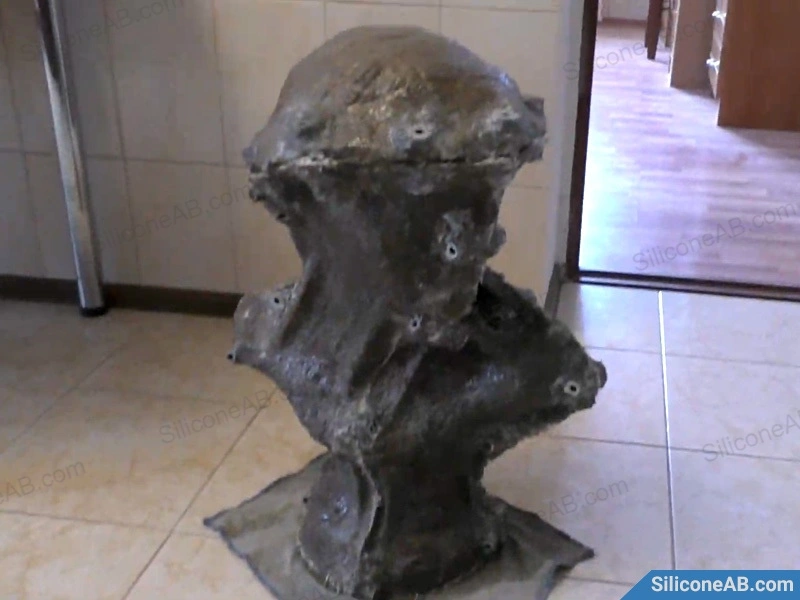
Coat the exterior surface of the silicone mold with fiberglass resin material to create a sturdy outer mold that supports the soft silicone and prevents deformation.
Step 9: Remove the Outer Mold
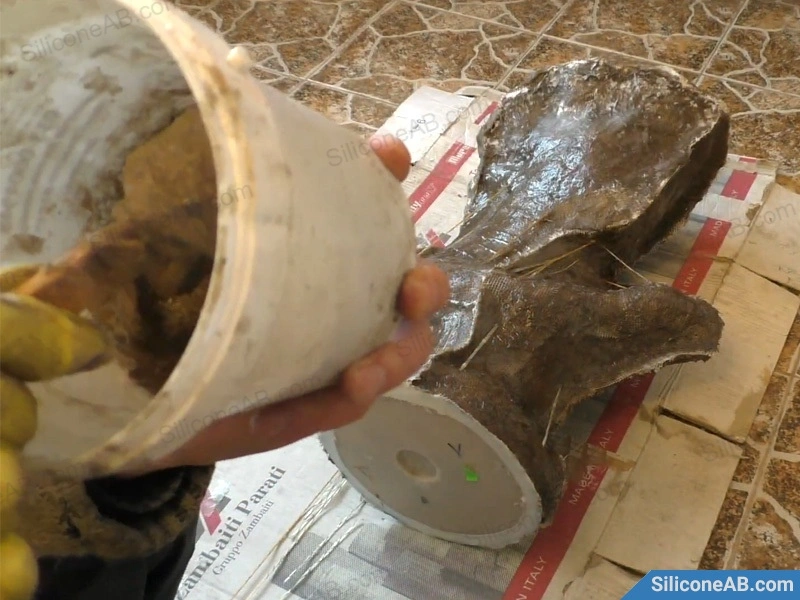
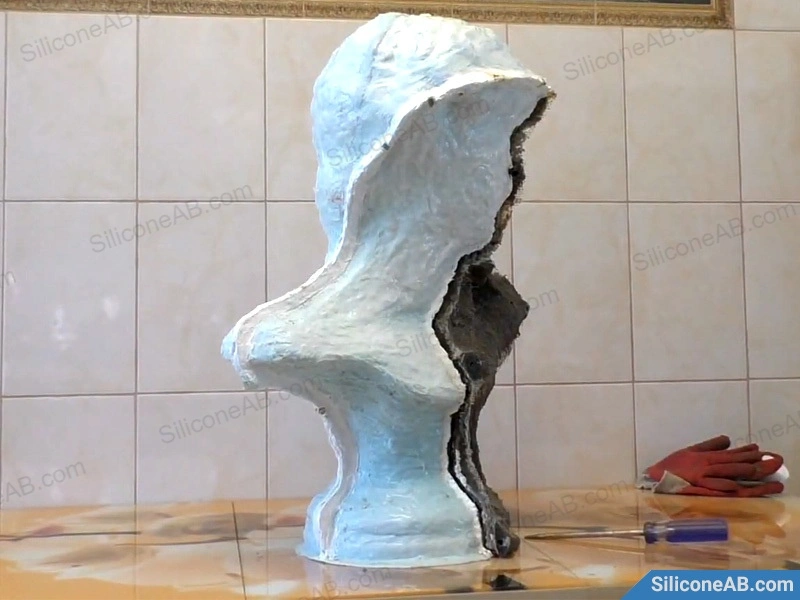
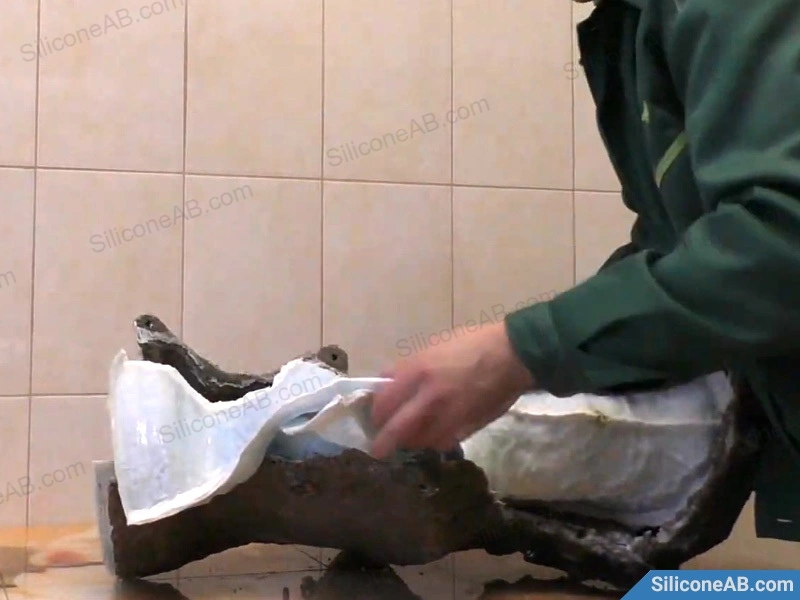
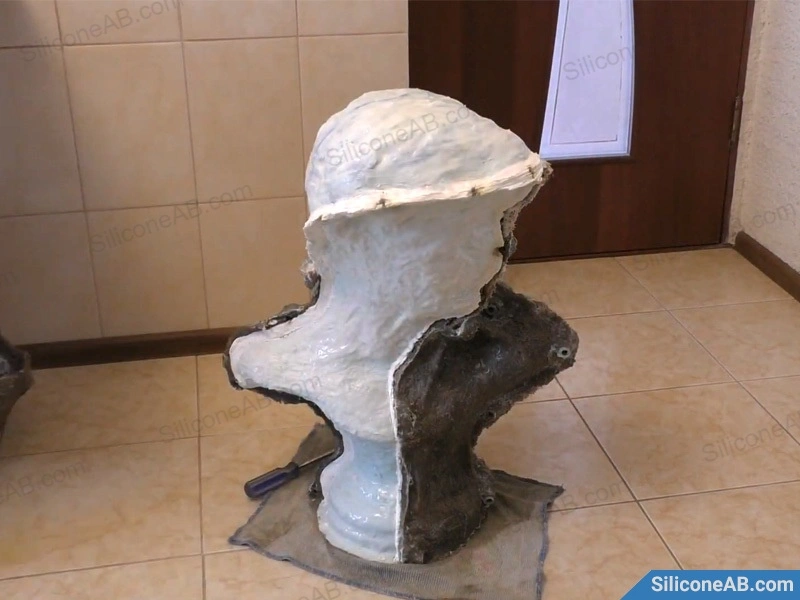
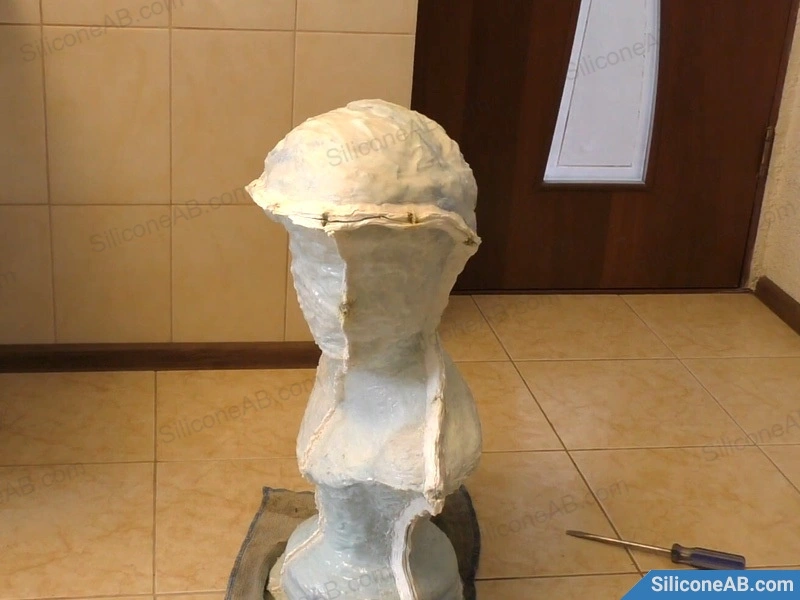
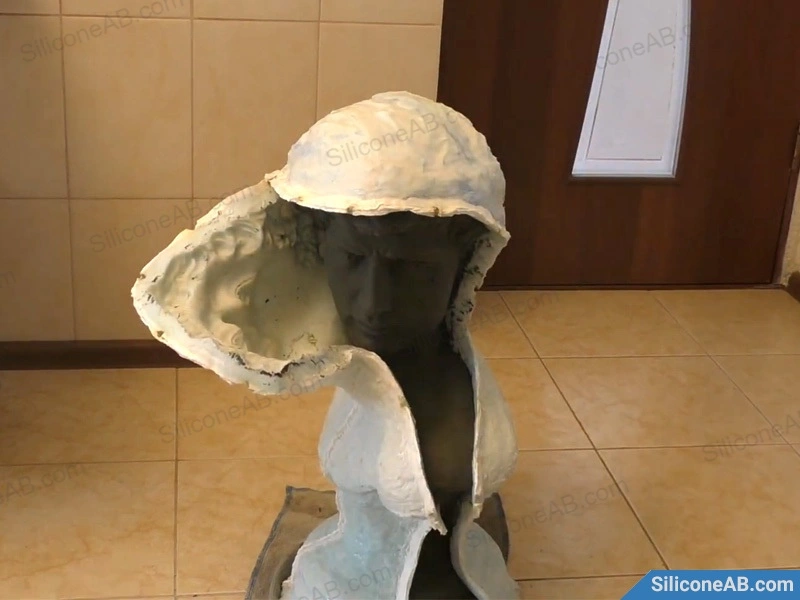
Once the outer mold is fully cured, carefully separate and remove the fiberglass resin hard shell along the pre-defined parting lines.
Step 10: Split the Mold
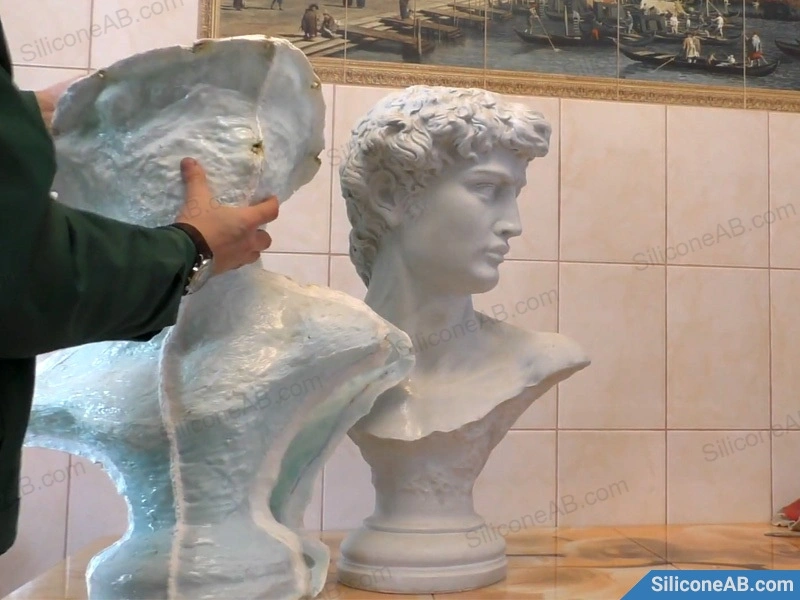
Carefully cut the silicone mold along the parting lines and remove the original statue model, ensuring the mold remains intact.
Step 11: Reassemble the Mold
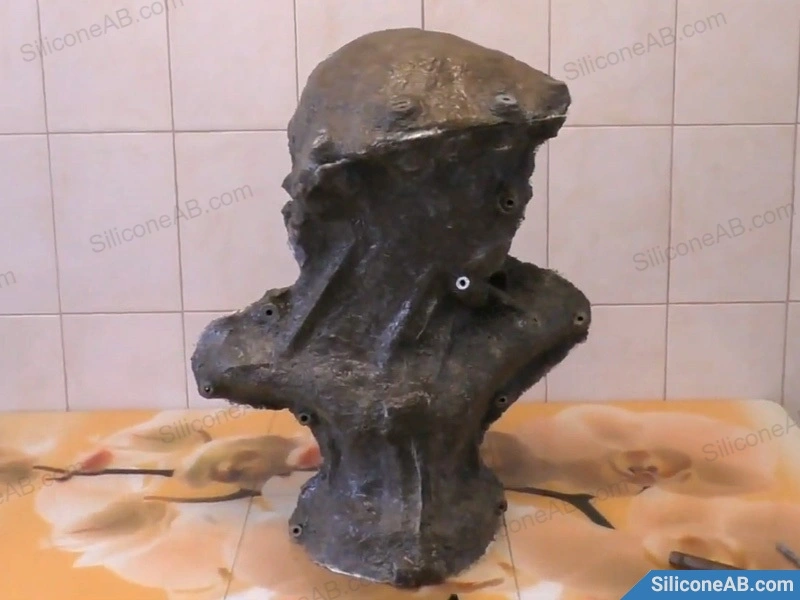
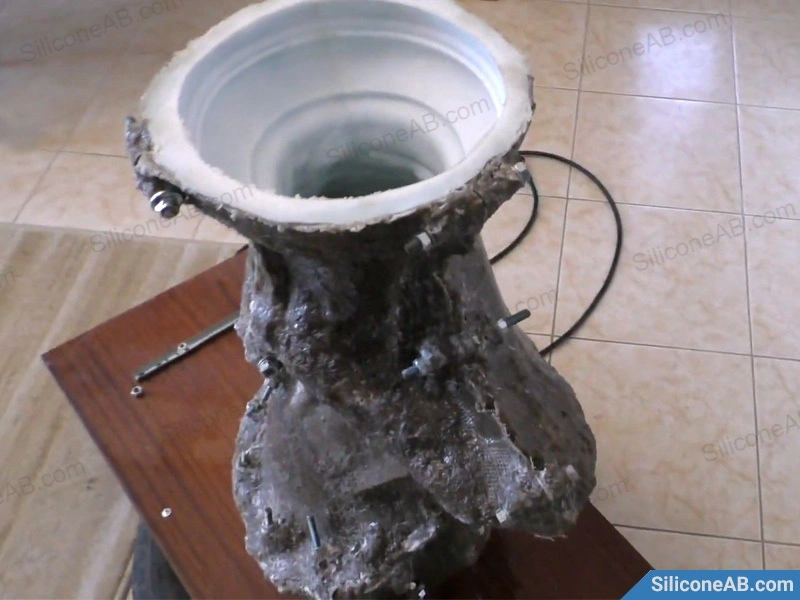
Place the silicone mold back into the fiberglass outer mold, ensuring a snug fit. Secure it firmly in preparation for pouring the concrete.
Step 12: Pour the Concrete
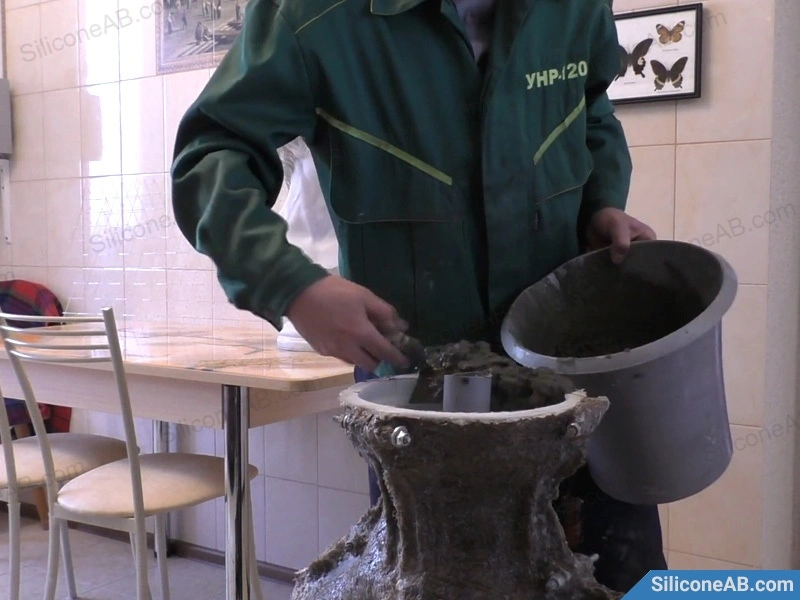
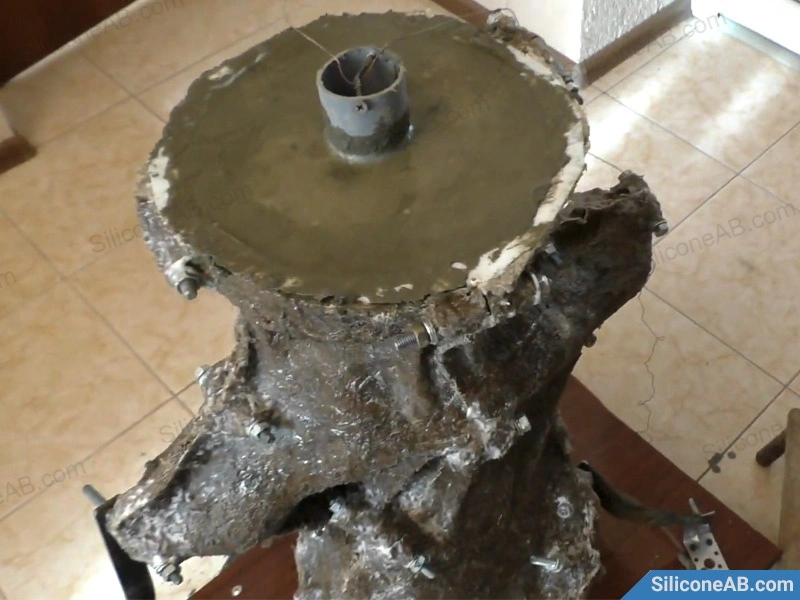
Pour the mixed concrete into the silicone mold. Vibrate the mold to reduce bubbles and voids, ensuring the concrete fully fills the mold.
Step 13: Remove the Outer Mold
Once the concrete has fully cured, dismantle and remove the outer mold.
Step 14: Demold
Carefully separate the silicone mold from the cured concrete statue, taking care to preserve the details.
Step 15: Repair Flaws
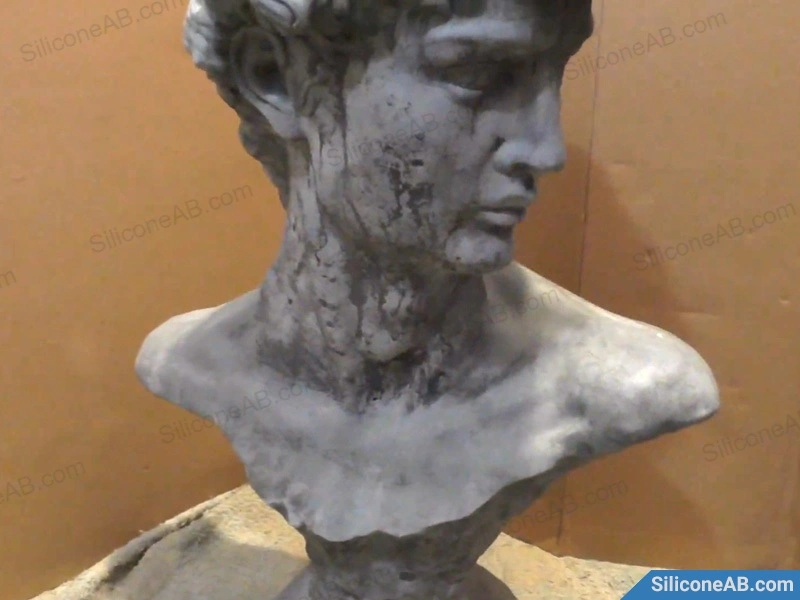
Inspect the statue’s surface and repair any potential flaws to ensure the final product is perfect.
Step 16: Sand and Paint
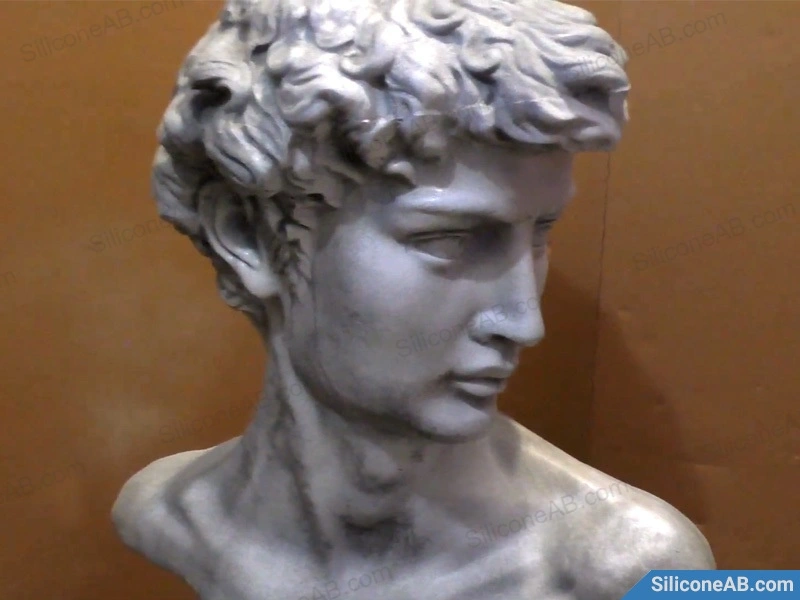
Smooth and polish the finished statue, followed by painting or other surface treatments to complete the final artwork.
Conclusion
Silicone material captures the details and structure of the statue to the greatest extent, giving the final product high artistic value. This guide provides comprehensive steps for statue mold-making, helping you master the necessary techniques. Once you’ve learned these skills, you can replicate every detail in your concrete statue creations perfectly.
